Tuesday, October 25, 2022

FLORAL ARRANGEMENTS

 I have a lot of different floral dies and recently bought a couple of vase dies to go along with the pot dies I had from a cactus die set. So I decided to do some floral arrangements on some previously created backgrounds. These are such simple little atc's but have a big impact as the flora takes centre stage. They can be a bit fiddly working out what plants work best with what pot and as almost every stem is an individual one, I found my little dressmaking clips worked really well to hold it all together so I could "audition" the pieces to see what worked and what didn't. (Thanks Janine for the wonderfully descriptive "audition word".  😉)  
I've included the video at the end of this post so you can see what I mean about the little dressmaking clips and how well they work. I also use them if I need to hold a couple of things together while waiting for the glue to dry. They are very handy!

"Be authentic"


"Lukemoist"


"You do you"


"Ordinary"


"Grow through"


"Live simply"


Video showing the little dressmaking clips and how I've used them.

Tuesday, October 11, 2022

FOUNDRY WAX


Over the years I have used various types of waxes, including water-based (like DecoArt Metallic Lustre), turps based (like Treasure Gold, and Rub-n-buff) and the newer composition using beeswax (like the Finnabair Metallique Waxes). Then the Ranger Foundry Wax entered the scene. This is a totally different type of wax because it has to be heated to activate. It is in a class of its own with its high metallic shine which can be made brighter by subsequent applications, or less shine by not using so much. The method of applying is different in that it dries very quickly and you need to work with only a couple of drops at a time but until you heat it with a heat gun, it's quite dull and not permanent.

I've used it in various ways as shown in my samples below, listed in order: on a plastic snake, on the corrugated card and on a black die-cut, on plastic spiders and smooshed onto a background, dabbed onto a coloured die-cut and added to a piece of string, wiped over a dry-embossed white background and finally wiped onto the raised areas of a black dry-embossed background. 

If you click on the pictures, they will come up much clearer and with more detail.
|
"Embalm and carrion"


"Chaos"


"Spider's web"


"My sin-twister"


"Sadness"


"Ghoul gang"

Wednesday, September 28, 2022

MICA SPRAYS VARIOUS WAYS

 The Ranger Mica Sprays are a beautiful way to add colour and a shimmer to any of your projects. I've used them in a few different ways on my samples below, such as stamping with them, flicking onto a background, colouring die-cut pieces, and using them as paint on a pre-coloured background.  This is one of those products that must be seen in the flesh to appreciate how beautiful it is!

"On the inside"


"By the door of the tomb"


"Smiles of nature"


"Middle of the night"

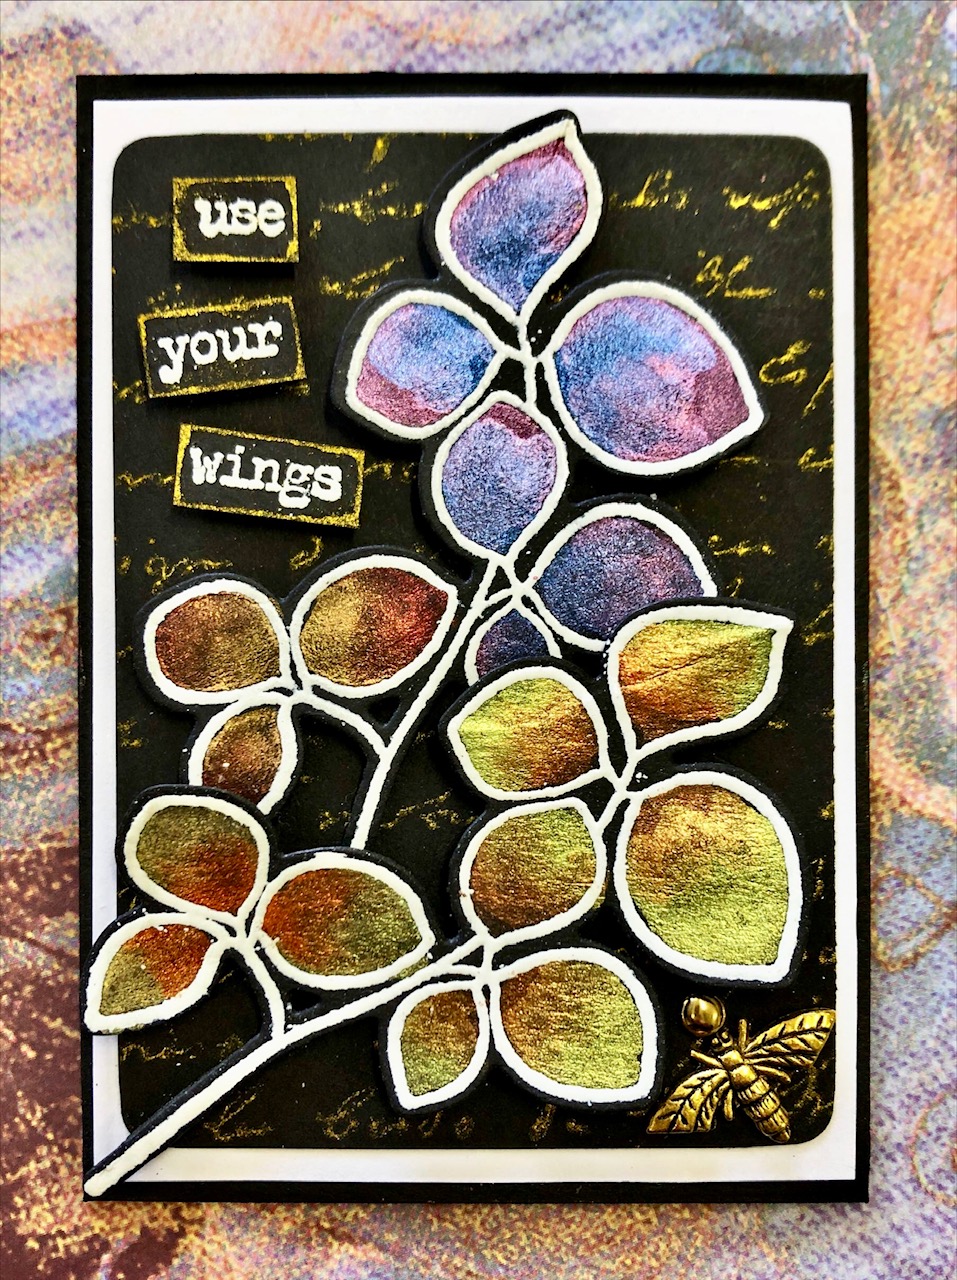
"Use your wings"


"Return to the sea"


Thursday, September 15, 2022

SIMPLE BRUSH MARKER COLOURING

 Brush marker watercolouring is a very simple and quick way to add colour to stamped and embossed images. My examples were all embossed with white super fine embossing powder for the best detail on these floral open-style stamps. Most of my colouring on the flowers was using only 2 colours and the variation comes from the amount of colour put down initially as well as how much water is used when blending the colour out. Less is always more; you can add more colour if you need more depth or shadows. Grey makes great shadows under your stamping and you can continue the blending out with water so your background is not just a plain colour. All of mine were created on 185gsm watercolour paper as this will allow the colours to be blended out whereas ordinary card stock can grab onto your colour from the brush markers and you will find it difficult to get it to spread successfully.

"Field of roses"


"State of mind"
(This is one example that needed to have the complete
background coloured in as the focal points of the bird
and the mushrooms were not large enough to
stand out from the plain white background.)


"Let life surprise you"

"Own your dreams"


"Be authentic"


"Live everyday"


Finally, this is a card I made using this simple brush marker colouring technique that inspired me to shrink the technique down to suit atc's. It does look spectacular on a card front but I'm also pretty happy with how it works on the smaller atc sizes.


Tuesday, August 30, 2022

DEBOSSED EMBOSS

Using embossing folders and card stock to emboss an image into cardstock through a die-cut/embossing machine is always a great way to create a quick background. The reverse side that is not generally used is a debossed design. For this particular technique, I have used the debossed side created using 3D embossing folders. The 3D folders have much greater depth and detail than a standard 2D folder. The 2D ones will work but I was happier with my samples from the 3D ones.  To colour the backgrounds I used my Distress Oxide Inks and foam applicators. 
A quick and easy technique that looks so effective in the flesh.

"Sticks & stones"


"Release the Kraken!"

"Digging in the ground"


"Bugs"


"Use your wings


"Be fearless"


Here are two cards that I made using the new Skull 3D embossing folder from Sizzix. 
The first one below is plain white card stock that has been embossed using a piece of black graphite paper against the card as it was run through with the embossing folder. It gives a great black-and-white effect for very little effort. 

This one has the same black graphite background but with the addition of some of the brown Distress Oxide Inks rubbed over the top for added colour. I also flicked a little of the Distress Mica Stain colours on the background and then fussy-cut out one of the skulls from another background of the same design to give the layered look. The added cut-out skull has some Ranger Foundry in gold and copper applied for further interest.


Sunday, August 14, 2022

LAYERED MASKING

 Masking stamped images is a technique that has been around forever but it always gives such a great impact when used with lots of white space left on the background. For my examples, I have used both Distress Inks and Distress Oxide Inks and the overstamping in the black was Black Soot Archival Ink. Silhouette-style stamps, meaning more solid stamps, will always have the greatest impact on this type of technique. I have used masking paper which is tacky on the back, as well as sticky note paper that is also tacky all over the back. You can die-cut the sticky note paper if you put a piece of non-stick release paper on the back before running it through your die-cut machine. I keep the release papers from my A4 size adhesive magnet sheets and A4 size double-sided adhesive sheets to use for this type of method as well as keeping excess double-sided adhesive on it for later use. 

"Lost in the woods"


"Troublesome ending"
(Who knew a zombie could end up on the
Serengeti? I was going to draw in a severed
arm but thought it best to leave it up to
the imagination.) 😏


"Unwaveringly"

"Middle of the night"
(Yep, loved this one so much I had to do it twice!)


"Untried"


"Walk in nature"

Tuesday, August 2, 2022

STAMPED METALLIC WATERCOLOURING (BLACK)

 Metallic watercolour paints show up beautifully on black watercolour paper. Some brands are better than others as they are more highly pigmented. The interference/iridescent paints that won't appear on white cards are gorgeous on black! To make it easy, I have embossed stamped images with white embossing powder, keeping the watercolour paint within the stamped areas. I even used clear embossing powder on one of the atc's and this worked as well, however, the white embossing powder gives you the most contrast. If you have some metallic watercolour paints, give them a go on black card, the shimmer and shine when tilted to the light is unbelievable!

"Choose to shine"


"Family"


"Beauty in simplicity"
(This embossing is the one with the
clear embossing powder.)


"Destination"


"Too much happy"


"Use your wings"


"Use your wings" close-up