Showing posts with label Gelli Plate. Show all posts

Tuesday, January 27, 2026

ABSTRACT GEL PRINT LANDSCAPES

 There are so many different effects you can achieve by using acrylic paints and a Gelli plate. I've recently bought a 5"x7" Gelelf plate and am really happy with it! My previous gel plate was stained yellow from using alcohol inks on it, which doesn't affect how it works; it just means you don't get a true colour representation if you look at the underside of your gel plate to see what the pulled print will look like. I wanted to try an abstract landscape technique I'd seen recently, and because this is also a cover class where the pull needs to be big enough to fit my 6" x 8" cover of my book, this technique works perfectly, and it also makes perfect ATC-sized prints. I used only Amsterdam paints for all of these prints, as I've found some paints bead up on a gel plate, and I needed consistency for this technique. This is the cover for Technique Book #35.

The size of my cover for my book is 6" x 8" (15cm x 20cm),
so a 5" x 7" gel print fits really well with a border around it.


Seawater


Cosmic Insignificance
(I love these little rocket ship dies)

Go+See+Explore

Flowers don't tell

Breathe

Box of crayons


Live in the moment

|
This is one of my full-size pulls from my 5" x 7" gel plate to
give an idea of how the whole sheet looks before
cutting it up into ATCs.


Tuesday, November 4, 2025

STITCHED LANDSCAPES

 This technique uses the gel prints that we made in the last class, Small Texture Gel Prints. Tearing the pieces of gel print into small pieces and layering them, you can create wonderful landscape designs that are then further highlighted with the use of hand stitching with metallic threads to hold it all in place. An alternative is to use a sewing machine to stitch the papers down. I have done both in the samples below. These are all created on 200gsm Baohong watercolour paper that has the sky area painted before layering the papers. Such a satisfying technique, and it's a great use of gel prints, but could also be done by using plain and small patterned papers. For the first time, I'm using no quotes or words on these as I want the landscapes to speak for themselves; however, I had to call them something so each has a name as a description.

Red Sky

Moonlit Sea
(Here's a good trick to get that perfect moon on
watercolour. Wrap a 5c piece (approx dime size)
with a tissue and while the sky is still wet, press
the tissue-wrapped coin into the sky.
It will leave the perfect moon shape.)


Barren Hills

Golden Sun

Chocolate Hills
(In the Philippines, there is an area with hills that turn
brown when the green dies off. They
are called Chocolate Hills. This reminded
me of the pictures that I'd seen of them.)

Blue Lake


Thursday, June 6, 2024

GELLI PLATE TEXTURE

 It's been a while since we used our Gelli plates so it was time to rectify that. I have a variety of items that I've been putting aside to use for texture on my Gelli prints so this was the opportunity to get them all out. My texture items include: corrugated card, wool (particularly wool bits hanging off it), bubble wrap, scrunched-up baking paper, plastic fern leaves, lids from containers, bag mesh (from citrus produce), texture plates (for clay making or baking) and the list goes on. I didn't use all of these in my samples but it's a good idea to put items that you think will work all together in a container for use in your Gelli printing as that way you won't have to hunt things down, they'll all be together. (Don't forget, to see these images much clearer, click on each one.)

"Results may vary"
(Stringy-style wool was pressed into the paint
to get this texture on the Gelli plate.)


"Leaf blower"
(A plastic fern leaf was pressed into the paint
to create this background texture.)

"Regret nothing"
(Wool with bits hanging off it was pressed
into the Gelli plate to create this background.)


"Care factor"
(Wool for this background on the Gelli plate.)


"Angel face"
(This background was made with scrunched up
baking paper pressed into the paint on the
Gelli plate.)


A close-up of Angel face with the gold highlights
from using the Pebeo Mixtion Relief with gold
foil pressed over the top when it dries to its
tacky stage. Beautiful in the flesh!

"Weird"
(Corrugated card was pressed into the paint on the
Gelli plate to create this texture on the
background.)

Tuesday, October 24, 2023

GEL PLATE DROPLETS

 Gel plates are such a versatile tool and by using ink pads instead of acrylic paint, you can make fast and straightforward backgrounds just with a bit of water and an ink pad. I had previously tried flicking Distress Spray Stains and Oxide Sprays onto a gel plate after inking but found that using just water instead of the sprays worked so much better. My choice of ink pad was Distress Oxide ink pads and you need very little water to get this effect.
If you want to see more detail in these pics, click on the first one and scroll through as I've taken the photos in fairly high resolution. Even though these are small, the little details on atc's matter. 

"Best day ever"

This shows the size of the print that is made
before cutting it down for an atc. As you can
see, you can spread the droplets out or have
them close together. I use a 5"x7" Gelli Plate.


"Two weevils"


"Let it go"


"Escape"


"The big picture"


"Go with the flow"
(The sand texture down the bottom of this atc
is Liquitex Glass Bead Gel mixed with a drop
of Antique Linen distress re-inker and then a
little silver wax rubbed lightly over the top
when dry.)

Wednesday, May 10, 2023

ALCOHOL INKS ON GELLI PLATE

 This is a technique I've been wanting to try for quite a while. The only thing putting me off was knowing that my Gelli plate was going to end up with a yellowish tinge to it as certain colours of alcohol inks end up staining the Gelli plate. It certainly doesn't affect the use of it in any way, it will only make the colours that you put down not seem quite right compared to using a normal white Gelli plate. But then I figured, why have a Gelli plate if I only want to keep it pristine (not a good thing in the Gelli plate world anyway!). So I went ahead and had a play with my Ranger alcohol inks, a couple of brayers and some acrylic paints. I used 2 brayers, one I kept for the alcohol inks and the other for the acrylic paint. I must say, to do some of the print pulls,  I used my Iridescent Medium paint and it was spectacular! It just adds a little shimmer to the background without making it look too shiny like gold or silver acrylic paints do.  I started out by just brayering some alcohol inks on, letting them dry, then using acrylic paint for the pull, and then decided to start to use some stencils as well for extra texture. I love how both of the styles of background turned out. 

"Worthwhile"

"Breakdance"
(stencil used)

"Insect puns"


"I'll drink to that!"


"Sarcasm"
    

"See beauty all around"
(stencil used)


Tuesday, July 19, 2022

LAYERED GEL PLATE BACKGROUNDS

 There are so many ways to use a gel plate; for this class, pigment powders are the base for this layered background technique. Stamping, stencils, acrylic paint, and dies are all used to add further interest to the gorgeous coloured backgrounds. I used Nuvo Shimmer Powders, Lindy's Magical Shakers, Cosmic Shimmer Pixie Powders and even my Ken Oliver Liquid Metals on the gel plate to create my samples. Then it's multiple layers of all the other products that are added to finish them off.


"Live your story"


"I'm so goth"


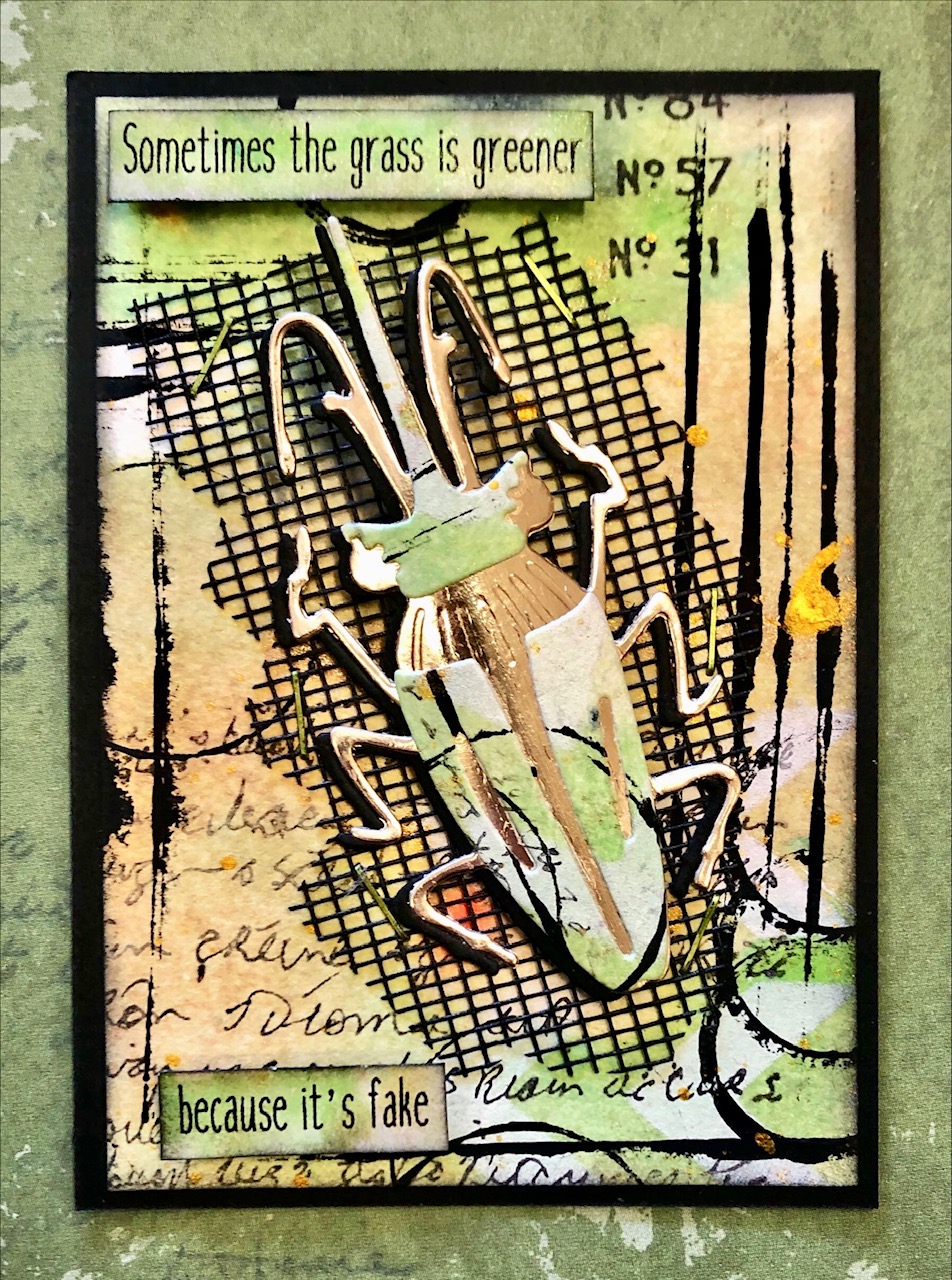
"Fake"


"Ringtone"


"Go+See+Explore"


"Digging in the ground"


Tuesday, October 12, 2021

GELLI PLATE & ACRYLIC INK

Acrylic Inks are one of my new favourite products.  There are so many things you can do with them and in this class, we'll be using them on a Gelli Plate.  You can get two different looks depending on whether you use just the acrylic inks on the Gelli Plate or if you add something to help the inks spread easily, and not bead up so much.  Both give great effects!  Plus, you don't have to wait for the inks to dry as you're not using paint to do your pulls.

"Fungi"


"IDGAF"


"Good for your soul"


"Moth to a flame"


"Choose to shine"


"Shine"
 

Tuesday, August 3, 2021

ALCOHOL INK MARKERS ON GELLI PLATE

 For the new cover class of Technique Book #26, we'll be using Alcohol Ink Markers (like Copics or similar) straight onto a Gelli Plate, then pulled off with the usual thin layer of paint.  This gives a very naive style of print that can be further enhanced by loosely drawing over the design with a fine black permanent marker, stamping or even stitching.  Before I started these samples, I sketched a few ideas onto a scrap of paper so I had an idea of what I'd like to do.  This takes some of the angst away that generally strikes when you have to hand-draw something.  I know some people are quite comfortable with drawing, I'm not, and I know that some of my girls freak out about it too so I wanted to keep the designs nice and easy.  I love the simplicity of the leaf drawings and my other favourite is the Faraway Places atc as it reminds me of a vintage travel poster, as it just came together so easily and I love the colours in it. Hope you give it a try if you have alcohol markers and a Gelli Plate.

Cover of Technique Book #26
(The size of this book cover is 20cm x 15cm, or 8" x 6".
I bind my book at the top with 3 holes so I can fit 3 atc 
samples on each subsequent page.)


"No. 1120"

"3043"


"No. 74"


"Specimen"


"Faraway Places"

"Imperfections"


"Poppies"


"never stop exploring"


"Just one life"