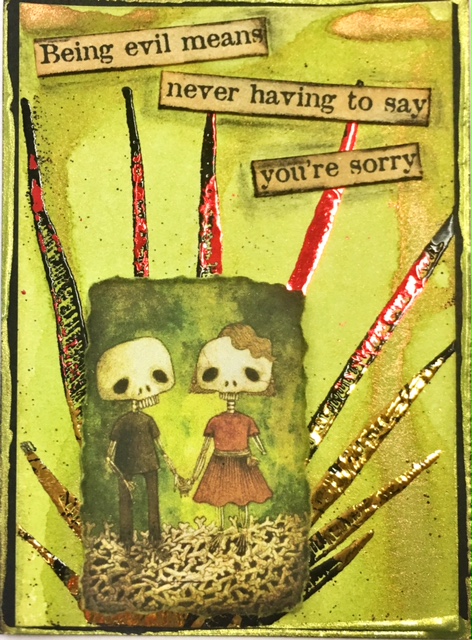
Using Foil in stamping is another of those techniques that seems like it's been around forever! There is a resurgence in interest in it though and there are now several ways to apply foil to your projects. Of course the simplest way is to use a glue that will dry with a tacky surface that you then apply the foil to.... I like to use the Zig two way pen. When you apply it it is wet, allow it dry for a few minutes (around 5 or until it goes clear-looking), place the foil (coloured side uppermost) on to the dried glue and press lightly with your fingers, rub over gently and when you lift the foil it will have transferred to the glue. This same technique is used with the Ranger Sticky Embossing Powder, only you can stamp an image with an embossing ink, tip on some Sticky Embossing Powder, tap off the excess as you would any normal embossing powder and then heat it with a heat gun. You only have around 30 seconds or so to get the foil onto the project so be prepared beforehand! This is like a sticky glue so it will also adhere other things (like flocking, microbeads, glitter etc).
I have also experimented with my laminator. Now I know that to laminate an image with foil you're supposed to use a laser printer to print your image, then run the image through the laminator with the foil on the top to adhere the foil but I tried it a different way. I stamped an image with clear embossing powder, heat set it and then ran that through the laminator with a piece of foil over the top (enclosed in a piece of plain paper first to protect the foil) and it worked perfectly! So you can see there are a few different ways of using foil and as it doesn't scan very well, I've shown below the samples with the scanned image first, then a shot I took with my iphone where I've turned the atc to the light to get the reflection of the foil to show up.
"Enchant"...
"Educated Weed"...
"Oh look"...
"Let's pretend"...
"Luminosity"...
"Black & White World"...
These last two below are the final samples from my previous class - Tyvek. Loved this class!
"Right decision"...
"Solution"...