Showing posts with label alcohol ink. Show all posts

Tuesday, November 19, 2024

ALCOHOL INK VASELINE RESIST

 This class uses alcohol inks and Vaseline to create a resist technique. The most important part of this technique is care in choosing which stamp to use. It needs to be big enough to be a focal point and the colours of your alcohol inks need to be dark or bright enough for the resist-stamped image to show through. These atcs can then be further enhanced with words, die-cuts, rub-ons, stickles, or any of the myriad of embellishments that we all have and sometimes forget to use.
To see these in greater detail, click on the image and scroll through. 

"Whispers in the crypt"


"Be brave"


"Life is too short"

"Insignificance"

"Different"


"Breathe"


Wednesday, June 21, 2023

ALCOHOL WASH ON STONE PAPER

 I have used Yasutomo Mineral Paper before with alcohol inks so I was aware of this different substrate for alcohol inks. So when I saw a 2-pack of A5 sized, unlined Stone Paper for $7 in my local Kmart, I had an inkling of what it was. It works exactly the same as the mineral paper and is such a bargain, 80 sheets for $3.50 (2-pack for $7.00). These samples were created with Ranger alcohol ink as a wash of colour over the stone paper which has a much more matte finish to it than Yupo does. The key is lots of isopropyl alcohol to give the "wash" look, rather than the other usual methods of applying alcohol ink. Because these backgrounds are so subtle, they don't need much in the way of decorating as I wanted the backgrounds to be the star of the show.

"Shine brightly"

"Take chances"

"Collector"

"Free to fly"

"I don't bite"


"Where flowers bloom"


Wednesday, May 10, 2023

ALCOHOL INKS ON GELLI PLATE

 This is a technique I've been wanting to try for quite a while. The only thing putting me off was knowing that my Gelli plate was going to end up with a yellowish tinge to it as certain colours of alcohol inks end up staining the Gelli plate. It certainly doesn't affect the use of it in any way, it will only make the colours that you put down not seem quite right compared to using a normal white Gelli plate. But then I figured, why have a Gelli plate if I only want to keep it pristine (not a good thing in the Gelli plate world anyway!). So I went ahead and had a play with my Ranger alcohol inks, a couple of brayers and some acrylic paints. I used 2 brayers, one I kept for the alcohol inks and the other for the acrylic paint. I must say, to do some of the print pulls,  I used my Iridescent Medium paint and it was spectacular! It just adds a little shimmer to the background without making it look too shiny like gold or silver acrylic paints do.  I started out by just brayering some alcohol inks on, letting them dry, then using acrylic paint for the pull, and then decided to start to use some stencils as well for extra texture. I love how both of the styles of background turned out. 

"Worthwhile"

"Breakdance"
(stencil used)

"Insect puns"


"I'll drink to that!"


"Sarcasm"
    

"See beauty all around"
(stencil used)


Wednesday, July 6, 2022

ALCOHOL INK LANDSCAPE SCRAPE

 Alcohol Inks are always good for a book cover class and we are up to Book #28. For this technique we'll be taking advantage of how beautifully alcohol inks react when scraped across the substrate. I'm using the Kirkland Photo Paper for this technique but Yupo or Grafix would work equally well. I do like using my metal angled palette knife rather than something like a credit card as it's much easier to see where the ink is going if it's not covered up by the size of a credit card while doing the scraping. I stumbled across a happy accident too that created the most gorgeous swipes by using gel pens. All stamping was done using Ranger Archival Black Ink and even though it was left to dry for a long time, I still found it would smudge a bit so to save any mishaps, I clear embossed the stamping. For the drawing, I used my .01 Uni Pin Fine Black Pen and clear embossed the drawn images as well. 

I haven't done my cover yet as we've had a new addition to the family, a new granddaughter for hubby and me. We welcome Mila Grey to our family and this brings us to 3 grandchildren. The life of a grandparent is surely a wondrous thing.  I love them all so very much and really look forward to some more years of baby and toddler antics. 

"Strange noise"


"Peace within"


"Distant and dying"


"State of mind"


"Organically grown

"Focus on the good"


Little Mila Grey is 24hrs old in this picture. 💟

Tuesday, November 23, 2021

ALCOHOL INKED VELLUM

 Blogger has changed and I am no longer able to update my ATC Techniques List so I have created a separate page for it.  You will now find it at the top of my page directly under my banner,  "ATC Technique List - Current & Previous". 

I have used alcohol ink markers on Vellum (though you can use tracing paper) with isopropyl alcohol to create these soft backgrounds. You can use alcohol inks as well but I found the markers better as they don't put as much liquid down, therefore keeping the vellum from warping. I have used Black Soot Distress Archival ink pad for all of my stamping, but then immediately clear embossed with super fine clear embossing powder. Just take care and use the heat gun in very short bursts so you don't warp the vellum. I like that you can use either side of the alcohol inked vellum, so you can choose to have it even more muted if you use the reverse side. Attach the vellum to white card to really make your stamped design and alcohol ink colours pop.

"Choose to shine"


"Brave wings"

"Sea water"

"Unfortunate ending"
(It wasn't until I finished this card that I realised
that it could be part 2 of the "Sea water" atc
above as the skeleton is a mermaid skeleton. 😏)

"Life is short"

"Life"
(The vellum section is only the centre part of this
atc. It was a scrap that wasn't quite wide enough
to cover the white backing card but I liked the
colours so decided to just go with it and stencil
the exposed edges of the white card.)

Tuesday, September 14, 2021

ALCOHOL INKS & ACETATE EMBOSS

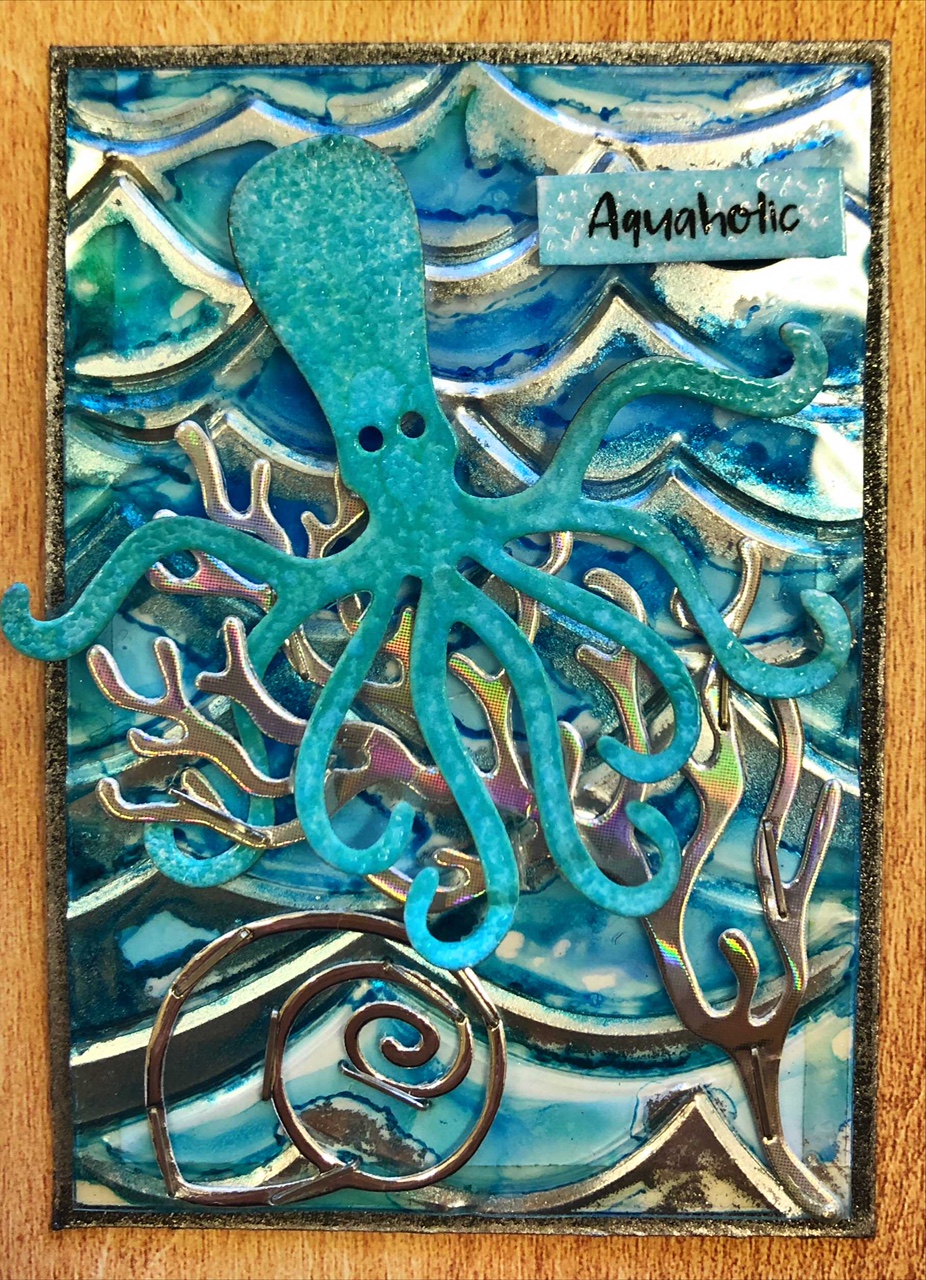
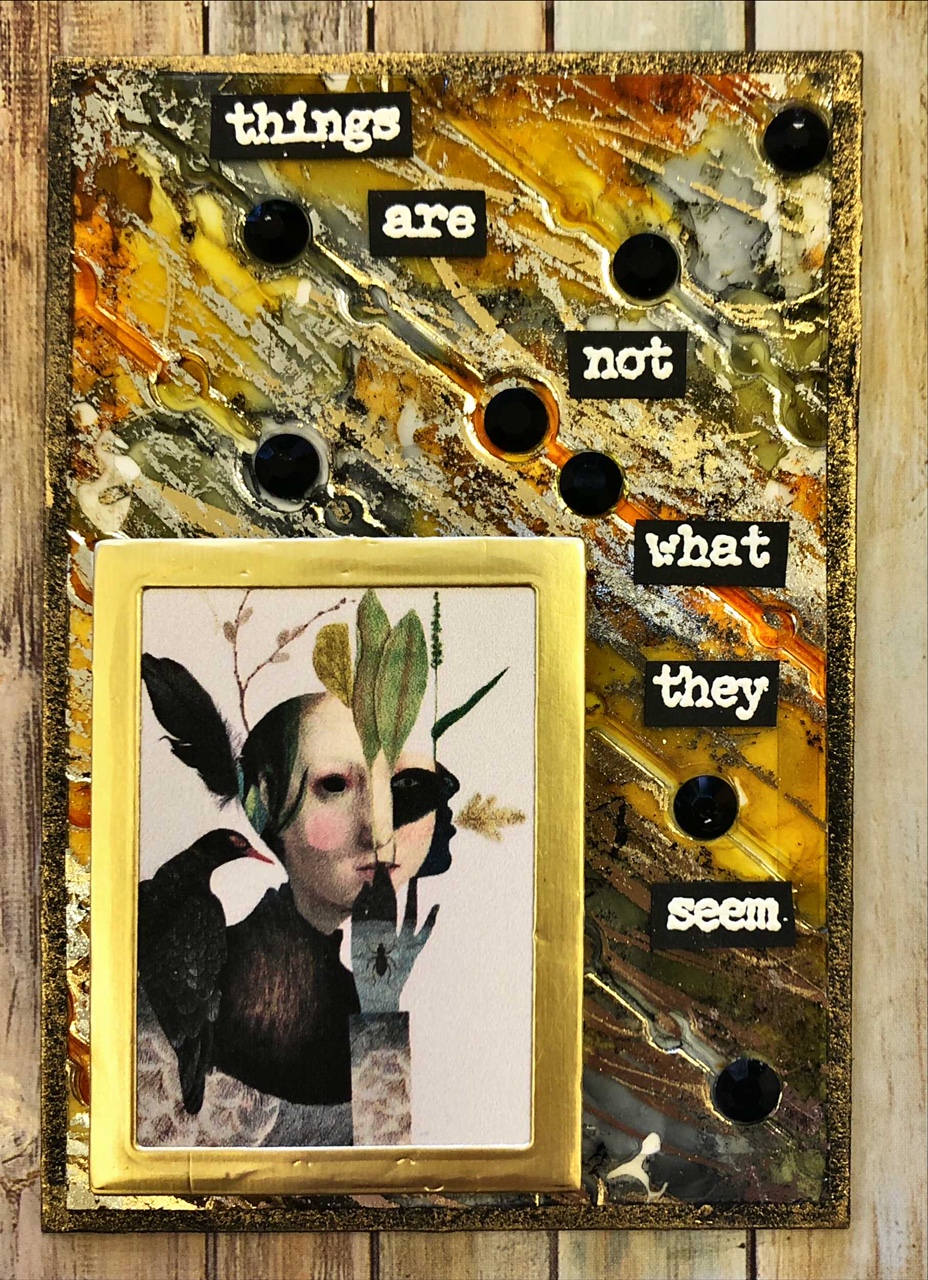
I wanted to stay with acetate this fortnight as it was such a joy to work with at the last class so I combined a few favourites to make our backgrounds for this class  -  alcohol inks, acetate, embossing folders and a little coloured foil.  I didn't use the embossing folders on all of the backgrounds as I think you can get a great look just using the alcohol inks on un-embossed acetate.  You have to decide which side you'll stick down to your white card (this shows off the alcohol inks to their best advantage) as some of the alcohol inks in thicker areas stay sticky.   I just used the old trick of pressing some coloured foil onto the sticky bits and this transfers the foil and stops the stickiness.  I used either double-sided adhesive paper all over the back of the acetate piece to attach it to the white card, or just used skinny red-liner tape as this is the most transparent tape.  By the time you add all your bits & pieces to the top, you really don't notice the tape anyway.  Yes, I used the same wording on two of the atc's as the colouring and wording suited both.  😏

 "Potential side effects (#1)"


"Aquaholic"


"Use your wings"


"Potential Side Effects (#2)"
(no embossing folder used)


"Not what they seem"


"Foreboding"
(no embossing folder used)

Tuesday, February 16, 2021

GLITTER & METALLIC ALCOHOL INK DIE-CUTS

Several alcohol ink companies have been bringing out various glitter/metallic alcohol inks and though they work beautifully with normal alcohol inks on non-porous surfaces (Yupo etc), they also are absolutely gorgeous when used on black gloss card.  I also found whilst playing around with this technique that silver mirror card also works well with the glitter and metallic alcohol inks, though the glitter colours show up much more on black gloss card than the silver.  It's still worth a play on silver.  The die-cut shapes in the samples below have had either metallic alcohol ink or glitter alcohol ink dropped on them.

"Tiny miracles"
(This bee has a silver base)

"Seas the day"
(All 3 shapes are cut from black gloss card)


"People"
(Dragonfly cut from black gloss card)


"Nocturnal"
(Owl cut from black gloss card)


"Insect puns"
(Bee cut from black gloss card)


"Doing nothing"
(Beetle cut from black gloss card & 
metallic inks only)

Tuesday, September 15, 2020

ALCOHOL INK FLOWERS

Alcohol Inks are such an amazing product and I am continually amazed at how many different styles of art you can do with them.  This technique is using the alcohol inks to create floral effects, yes I'm doing flowers.  Those who know me realise it's a stretch for me to do flowers but these are just so simple to do and look so wonderful, how could I resist?  These are way easier to do on a larger format, say the size of a card (4" x 6") or even an A4 piece.  On an ATC, a single drop of alcohol ink is all you need to create one of these flowers (ATC size is 2½" x 3½").  Using a rubber puffer and a little 91/99% alcohol is how you get the whispy effects.  The metallics are Pinata Brass and Ranger Alloy Foundry.  Black acrylic ink and a white water-based Sharpie marker create all those other little finishing touches.  I have used Kirkland Photo Paper (the back matte side) for my substrate but this works just as well on Yupo.

"Decompose"

"Enchant"

"Ornamental"

"Exotic"


"Cultivate"

"Embracing life"

"Germinate Grow"

"Fragile"