Showing posts with label Brusho's. Show all posts

Tuesday, July 14, 2026

CRAYON BRUSHO RESIST

 Brushos and other similar powders are a great way to add colour to watercolour paper or, as I've used here, photo paper. There are quite a few different brands of these highly pigmented powders available, and I have used the following for my samples: Brushos, Nuvo Shimmer Powder, Lindy's Magical Shakers and Cosmic Shimmer Pixie Powder. They are all dry pigment powders made up of several different colours that create the final colour when mixed together, but the amazing effect you get if you don't mix them is wonderful! You end up with little bursts of several colours all in the one powder mix.

I've used a white crayon for the resist technique portion of this technique. That's all of the white marks that you can see on the photo paper. 

"Don't judge"

"Probably bad"


"Someone's perfect"

"Run"

"Mr businessman"


"Steampunk"


Tuesday, July 19, 2022

LAYERED GEL PLATE BACKGROUNDS

 There are so many ways to use a gel plate; for this class, pigment powders are the base for this layered background technique. Stamping, stencils, acrylic paint, and dies are all used to add further interest to the gorgeous coloured backgrounds. I used Nuvo Shimmer Powders, Lindy's Magical Shakers, Cosmic Shimmer Pixie Powders and even my Ken Oliver Liquid Metals on the gel plate to create my samples. Then it's multiple layers of all the other products that are added to finish them off.


"Live your story"


"I'm so goth"


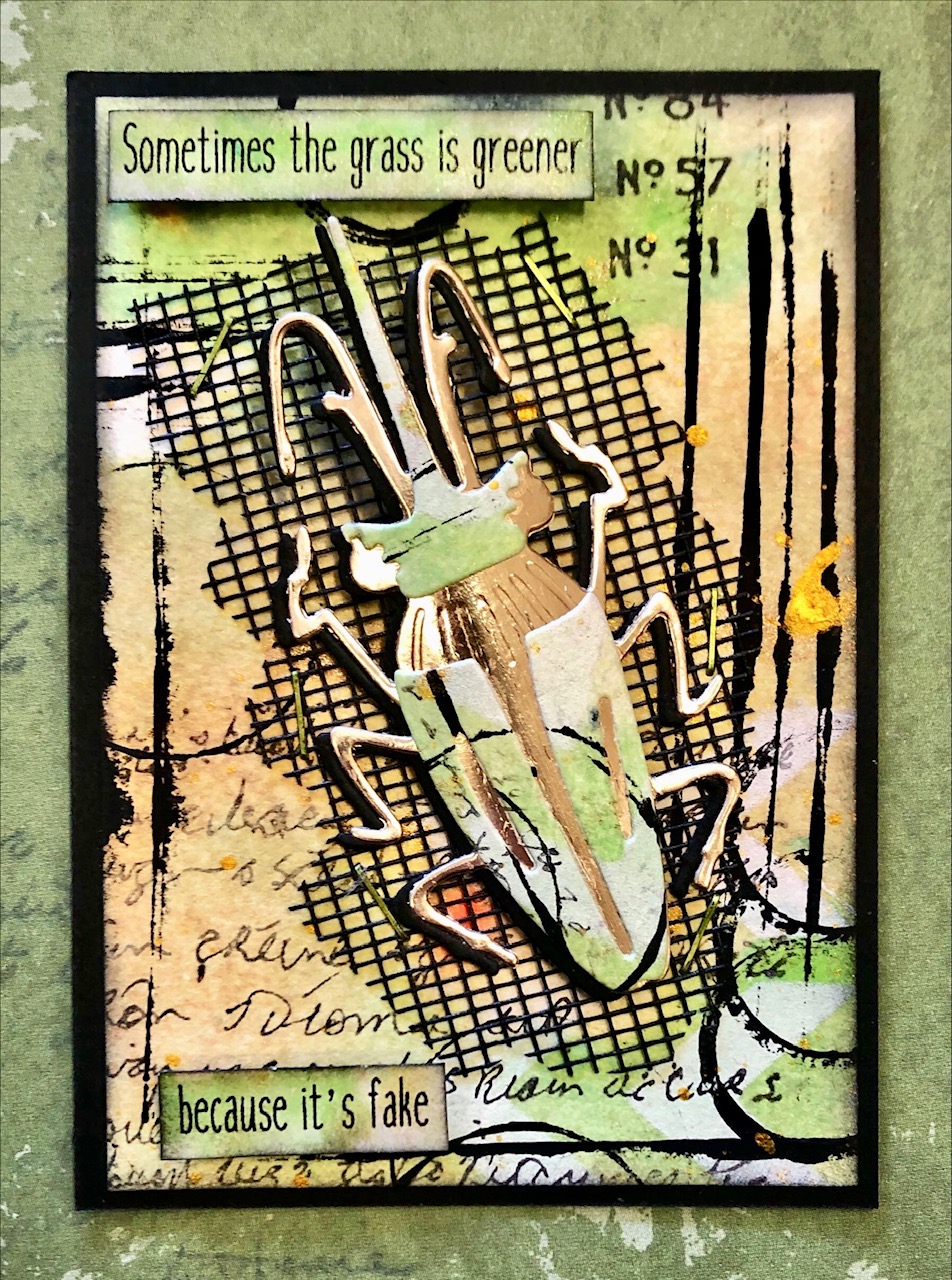
"Fake"


"Ringtone"


"Go+See+Explore"


"Digging in the ground"


Tuesday, September 28, 2021

BRUSHOS & OTHER POWDERS

 Highly pigmented powders like Brushos, Cosmic Pixie Powders, Nuvo Shimmer Powders, Lindy's Magical Shakers etc have been around for a few years now and they are always a quick and easy way to create a background.  You can use them as they are, just a few gentle shakes, spritz with water and you get wonderful explosions of colour, or you can spritz your watercolour card first with water and then add. You can also just mix a single colour by itself on a piece of acetate to create one colour and use that for painting your background or your stamped designs. I've used a few different ways to create these backgrounds, including bleaching out a stamped image and then re-colouring with the pigment powders!

"Soul food"
(background & leaf shape coloured with Brusho
& Lindy's Magical Shaker powder)


"Soar"
(background created with Lindy's Magical
Shakers, trees stamped and Twinklets Diamond Dust
under the trees for extra sparkle)


"What the flock?"
(background using black Brushos only, then
bleached the stamped birds and re-coloured
with Nuvo Shimmer Powders)


"Curiosities"
(background with Nuvo Shimmer Powders and
Cosmic Pixie Powders, stamped skulls bleached
and re-coloured with Nuvo Shimmer Powders)


"If lost"
(background with Lindy's Magical Shakers &
Cosmic Pixie Powders, octopus stamped, embossed
and bleached)


"Wild side"
(background with Brushos and finger-painted
to blend, then Amsterdam Bronze paint applied
roughly on the bottom, overstamped with rocks
stamp and Amsterdam Pewter paint added. Tree
is JAC paper die-cut with brown foil applied)


"Let's party"
My granddaughter (7) wanted to do one herself
so this is her version of my What the flock?  She used
my stamp positioner so stamping was easy, I did the
bleaching for her and showed her how to colour
the birds with the Nuvo Shimmer Powders. She's
going to gift it to a friend at a holiday park we
are going to next week. 🥰


Tuesday, May 26, 2020

FOCAL STAMPING ON BRUSHO BACKGROUND

It's back to class we go!  I'm so glad we can start our classes again as I've really missed the companionship of the girls in my ATC group.  I'll be easing them back into a creative mindset with a simple style of ATC's - choosing a focal stamp that is embossed onto a Brusho background.  I've been using my Versafine Clair ink pad in Nocturn (black) as it is a very dense, rich black pigment pad that works wonderfully with just a coat of clear embossing powder over the top to help the stamped focal image stand out on the bright backgrounds of the Brusho's.  I also used other powders besides Brusho's, these were Tonic Shimmer Powders, Cosmic Pixie Powders and Lindy's Stamp Gang Magical Shakers.  Any powdered pigment will work for these backgrounds.  Simply spray your watercolour card first with water, then sprinkle the colours on (very little is needed as they are very pigment-rich).  Add some more water if you have chunky bits and I just use my finger to blend areas together.  Dry with a low blow heat gun, then it's ready for stamping.
Don't forget, wash your hands and keep your physical distance.  😊

"Barrenness"

"Eraser"

"Fabulous called"
(my grand-daughter Zoe created this background
and also chose the stamps to use, as well as
the hat & glasses)

"Namast'ay"

"Rollercoaster"

Friday, May 17, 2019

BRUSHO RESIST

Resist techniques are always a favourite and can be used with almost any product that you can add colour with.  For these samples I used my white embossing powder to create the background, then used Brusho's, Cosmic Pixie Powder and Tonic Shimmer Powders to create the colour over the embossed images.  You can add the powder directly to the embossed images on white card, then spritz with water, or spritz with water first and then add the colour.  Alternatively, you can spritz some water on a scrap of acetate (or your craft mat), tap on some of the Brusho's (or similar), then place your embossed white paper into the Brusho's to get a more blended look with the colours.

"Furry"...

"Monday"...

"Drama"...

"Perfect"...

"Shhh"...

Tuesday, February 5, 2019

BAKED TEXTURE EMBOSSING & BRUSHO'S

I've always loved embossing powders and ever since Seth Apter's Baked Texture Embossing Powders hit the market I've really enjoyed the beautiful colours and texture these embossing powders give.  For this technique, I've combined tissue paper crinkled background with Brusho's (& Cosmic Pixie Powders and Tonic Shimmer Powders as you can never have enough shimmer in your life), plus the addition of a swipe of a clear embossing ink pad to hit the high spots of the tissue paper, then the addition of the Baked Texture Embossing Powders.  These products combined create an amazing background that you just know,  just by looking at it, it's going to feel lumpy, bumpy but also kind of smooth (that's the embossing powder part).

"Carrion"...

Here's a side shot so you can see the depth in this one.

"Sparkle"...

"Fragility"...
(More of a mixed media feel to this one, chipboard heart painted to look rusty,
metal dragonfly that's coated in a couple of colours of embossing powders, then
clear coated with UTEE - Ultra Thick Embossing Enamel, book paper lightly painted
with Ken Oliver's Copper Liquid Metals which was also dripped down a couple
of the sides.  The dragonfly is attached using copper coloured thread.  Lastly a couple
of gunmetal coloured stud embellishments on the book paper.  The colour of the
Embossing Powder on the aqua background is the Emerald Creek Fractured Ice.  
Beautiful embossing powder that one!  Check it out.

 "Hashtags"...
(The little weird guy is an Octopode stamp on shrink plastic, coloured and
shrunk.  The heart has a real shimmer to it as it's chipboard, painted black,
then Angelina Film glued on, trimmed around the edges and heated which
gives it the multi-toned coppery effect.)

Tuesday, July 24, 2018

Brusho Stencil Take 2

We have used Brusho's and stencils before in a class a few years ago but I wanted to revisit the technique as I recently bought some of the Tonic Shimmer Powders and the Cosmic Pixie Powders.  They all work so beautifully with the Brusho's with the added bonus of some gorgeous shimmer that the Brusho's don't have.  When you use Brusho's on top of stencils, then spritz with water, you also have the stencil coated with Brusho's (or other powders if you're using them) that you can flip over onto a clean piece of card and get a negative image using the reverse side.  You can do these onto plain white cardstock or, as I have in the "Transform" sample below, colour your cardstock first.  I used Tea Dye Distress Ink spritzed with a little Perfect Pearl mixed with water for some shimmer.  Then placed the stencil over the top, dropped on some Storm Cloud Tonic Shimmer, spritzed with water then immediately lifted the stencil off.  The stencil can then be flipped over onto another piece of cardstock to get a negative image that has only the Brusho colours on it.  Easy!

"Vegetarians"...
(I have coloured some of the white blank spaces in with my 
Wink of  Stella pens in blue and light green)

"Blood"...

"Bags & Shoes"...

"Transform"...

"Fragility"...

Finally, this is another sample from the last class where we used Alcohol Inks on Silver Mirror Card.
"Fresh Life"...

Tuesday, March 6, 2018

SHIMMERING BRUSHO'S

I thought it was about time to revisit Brusho's, those little crystals that just explode with colour when you spritz water on to them.  For a twist, I also added a little Perfect Pearls for some extra shimmer and then to finish it all off, you have the option of clear embossing the whole card to really make it shine!  One of the samples below has no embossing powder on it and I've included down at the bottom of this post, the pieces of card that show the difference when you add the clear embossing powder to some of them.

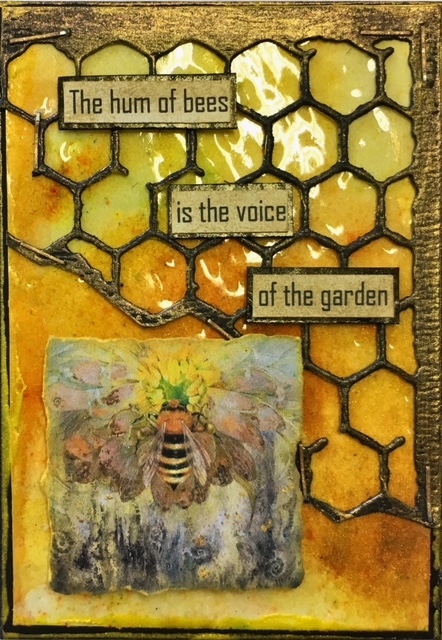
"Hum of bees"...

"2 Minutes"...

"Human"...

"Art of drawing"...

"Aspire to inspire"...


This one has no clear embossing on it but you
can still see the gold Perfect Pearls, very shimmery
if you see it in real life.

The card on the right has the clear embossing and the one
on the left is just left plain.  This was done as one size (as above -
2-1/2" x 5") and cut in half to make two atc sized cards.

On the right has clear embossing.

Once again, the right side has clear embossing.  This is Grey Brusho 
and Moss Green Brusho... love this colour combination.

Wednesday, July 26, 2017

BRUSHO'S & METALLICS

I thought it was time we dug out the Brusho's and had another play with them, this time incorporating metallic colours with them.  I have used both the Ken Oliver Color Burst Liquid Metals (Heavy Metals set) as well as my Schmincke Gold & Silver powder.  The Liquid Metals are already a liquid but the powder must be activated with water first and they both behave quite differently.  For the samples with the faces I've used Jane Davenport's gorgeous face stamp sets which just give you the basic facial features and you add the rest.  I've also tried to leave some white open space on most of my samples as I love the colour contrast between the brightness of the highly pigmented Brusho powders and the white space.  I've also used a fine black Sharpie to add details to the hair on the two face ones.  The green ocean one was simply to use up extra of the Schmincke powder that I had made up and I blended it with a couple of colours of Brusho powders in green shades.  

"A little sparkle"...
(The lighter area in her hair is the Platinum Heavy Metals)

"Inside the box"...
(Copper Heavy Metals in the sky and Platinum Heavy
Metals for the moon)

"Love the sound"...
(Pewter Heavy Metals over Brusho's)

"Broken crayons"...
(this one is using the Schmincke gold over Grey Brusho)

"Salt water"...
(Schmincke gold splattered over a Brusho
& Schmincke gold background)

Lastly, these final two are both the covers, neither are finished but I wanted to show the different ways of using the Brusho's and how effective the white space can be.  These are 20cm x 16cm (or 8" x 6").


Really lastly, these two are the final samples from the previous class, Translucent Alcohol Inks.

 "Limited Edition"...

"Auto correct"...