Showing posts with label mica flakes. Show all posts

Thursday, February 4, 2021

MICA FLAKES & SHEETS

I love the effect of Mica Sheets and Mica Flakes and the different looks you can create by using them in various ways.  The first two pics below are the cover of my Technique Book and the mica on that one is on the atc on the front cover where I've attached it on the top right and bottom left so it looks like a shattered window.  The mica flake generally comes in a whitish colour but can easily be coloured by putting a little into a snap-lock bag, add a few drops of alcohol ink in your chosen colour, smoosh it around and it is ready to use.  I attach mine with a clear-drying glue (Art Glitter Glue).  When I attach mica sheets over an image, I always use Glossy Accents as this dries crystal clear so you can't see it.  You can also attach the mica sheets with brads or staples!  I have also used a circle die with some mica sheet to create the circular shape on "tendril" below.
 
"Technique Book #25 cover"
(20cm x 15cm)

Close up of the atc on the front cover.

"Shiitake"
(Mica sheet over the words and coloured flake at 
the bottom of the mushrooms)


"Study Observe"
(clear mica flake on parts of branches
and on the grass at the bottom)

"Tendril"
(mica sheet, circle die-cut from centre and
attached with staples)


"Vulnerable"
(shaker card with mica flake trapped under acetate front)


"Dearly departed"
(coffin shape is also a shaker with mica sheet
over wording at the bottom right)

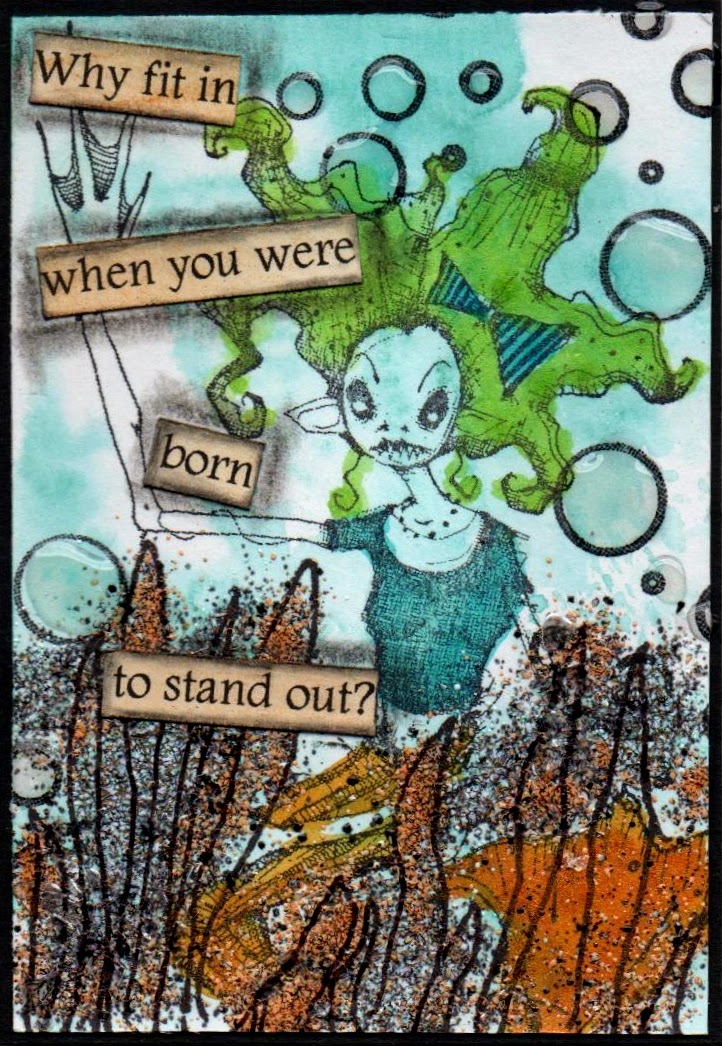
"Escape the ordinary"
(mica sheet glued down over image)


 "Collection"
(thin piece of torn mica stapled over the mushrooms)


Tuesday, May 5, 2015

MICA EMBOSSING MAGIC

This fortnight's class is called Mica Embossing Magic and we'll be using Mica Flake.  Mica is a natural rock product that generally is known to come in sheets that you can separate into thinner layers and add over images etc or it can be used in jewellery making to enclose items (flat items only) and then use those in wired jewellery.  Mica flake is simply the mica that has been broken down into smaller pieces.  The best way to adhere Mica, both flake and sheets is with a clear glue like Glossy Accents or Dimensional Magic as these both dry crystal clear and don't hide the sheerness or shimmer that Mica has.  
 
In this class we'll also be mixing some Mica Flake with embossing powders as the embossing powder will act like a glue to hold some Mica Flake in place.  Of course you can't use too much Mica Flake or it just comes off and you generally have to heat from underneath to melt the embossing powder without the Mica Flake blowing all over the place.  A low blow heat gun works best for this technique.  As Mica is very flat and scanners don't show shimmer or shine very well at all, you'll struggle to see the Mica Flake in the below samples... trust me, it's there and you can try it for yourself!  If you don't want to mix it with embossing powder, simply do some scribbly lines (or coat a chipboard piece) with Glossy Accents and sprinkle on the Mica Flake, press down gently and shake off the excess and allow to dry.... gorgeous shimmer!
 
"Why fit in"...
(mica flake mixed with some multi-coloured
embossing powders to create the
coloured areas down the bottom.  I then
drew in some seaweed shapes with
a black sharpie pen)

"Jewel"... 
(this one is a few clumps of embossing powders
- Frantage ones by Stapendous - heaped on with
some mica flake sprinkled over the top and heated
from underneath.  Very hard to see on the computer but
it looks gorgeous in the flesh!)

"Embrace imperfection"...
(This one has a frame that has a couple
of colours of different embossing powders colouring the frame, then
after it was heated and cooled down, some Glossy Accents was
dabbed on and mica flake was sprinkled on and allowed to dry.)
 
"Shimmering"...
(This has Mica Flake pressed onto Glossy Accents
around the edge of this atc as well as in the bubble circles.  The silver
patches are a mixture of white/silver/mica flake embossing powder
that has been scattered and heated from underneath.)

Monday, August 11, 2008

More Inchies!!! (plus some atc's)

As promised, I took my camera to work and took some photo's of the large canvas that Audrey put together after being in a swap. Not this many actually got swapped, Audrey just wanted to do it large scale so made up the rest herself to complete this huge size! It looks awesome and everyone that comes into the store comments on how wonderful it is!

This is what it looks like sitting on our counter...
Here are a couple of close-up shots...


These next inchies are ones that I've made just yesterday. Addictive little buggers these things! You think, "oh, I'll just make a few", and before you know it, you've done more than a dozen!


My Saturday atc class just gone was on using the fabulous transfer medium, Sheer Heaven. It is a paper-like product that you run through your inkjet printer - and yes, any inkjet will work! Print your images (I can get about 14 for atc's onto one sheet), cut them out, spritz image with rubbing alcohol (NOT the 92% one, think it's around 70%???). After spritzing, lay down onto your absorbent receiving surface - watercolour paper, card stock, book page, scrapbook paper etc, burnish all over in circular motions with the back of a spoon for around 10 seconds, peel off and voila! A beautiful transfer! I usually use watercolour crayons to scribble around the edges in co-ordinating colours to complete this. This is available at Scraptivate.

So this first atc is using a Sheer Heaven transfer for the image on the right hand side. We also have new in at the store, mica flakes! This stuff is just beautiful....drizzle on some diamond glaze or glossy accents, sprinkle on the mica, shake off excess and let dry for a magical, subtle, sparkly effect!


Another new product we have in is Ranger Antiquities Frosted Crystal embossing powder. It looks like it's clear, but after it's been heat embossed it looks like frosted glass! It's what I've used all over the background of this stamped image below as well as on the little image up the top. That's the light reflecting on it that makes the little image glow so much. Also added a little mica flakes for her tears.