The last time I taught the Bleach Technique was nearly four years ago and some of my newer students have asked to have a replay of it. I like to also add a little extra for my girls who've been doing classes with me for several years so have introduced Faux Bleach to this class as well. Not all card stock is created equal! Meaning, not all brands will bleach with household bleach. I like to work with a black background and I've found the Black Bazzill works the best for this technique with bleach. I do have other black that just doesn't change colour at all, so to get around this, after stamping and embossing your image with clear embossing ink & clear powder, paint over the areas you wish to re-colour using a watered down acrylic paint, or even Picket Fence Distress Stain.
I then add colour (after the paint or bleach is dry), using Twinkling H2O's. These little pots of watercolour paint add lots of dimension and shimmer and even work over the solid black areas that you don't add bleach to.
An open style stamp with areas to colour works better than a stamp with lots of solid areas. If you want to see my earlier bleach atc's, click here.
"Damaged"... (using real bleach)

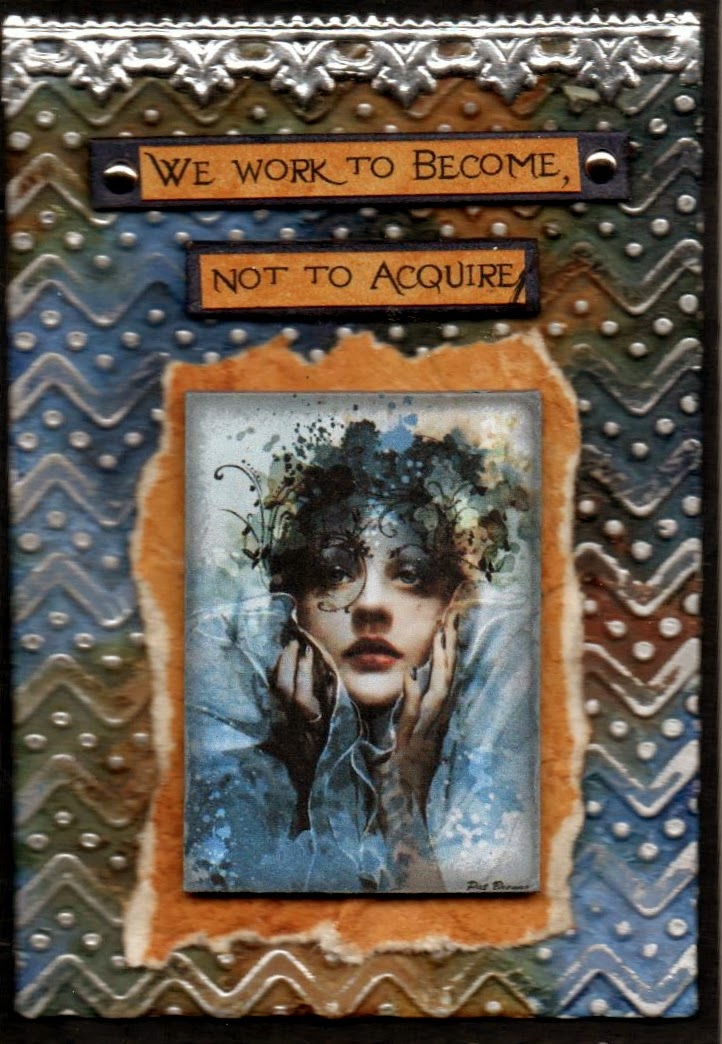
"Romantic"... (Faux bleach - acrylic paint)

"Simple moment"... (real bleach)

"Ill-fated Voyage"... (Faux bleach - acrylic paint)

"Ill-fated passage"... (Faux bleach - Distress Stain Picket Fence)

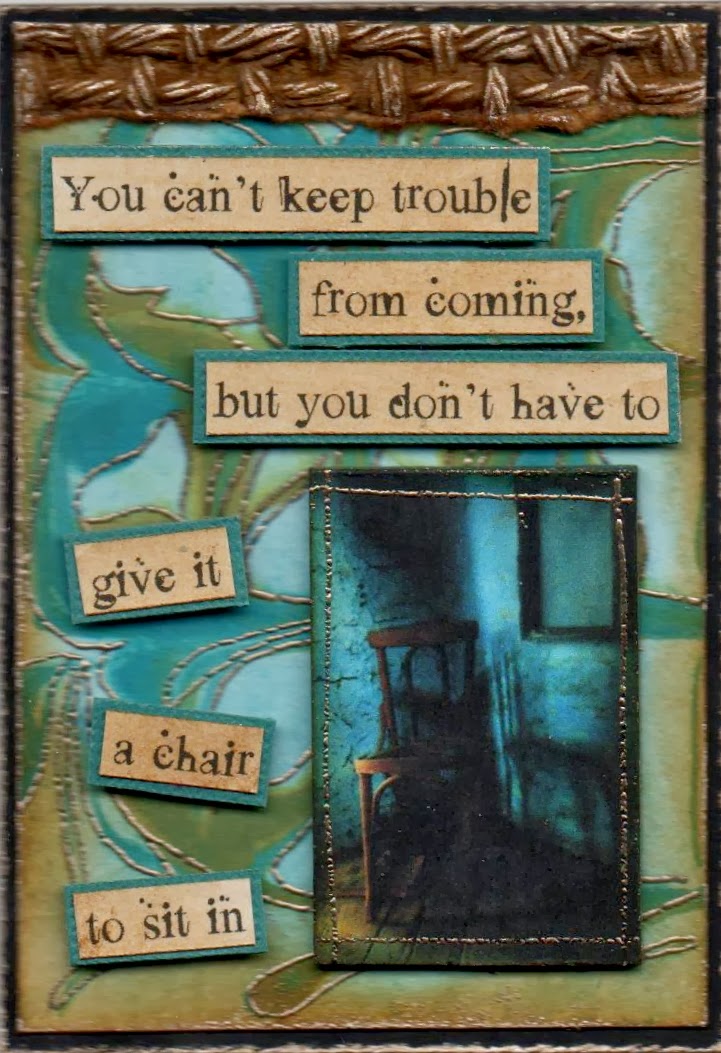
"Finding yourself"... (real bleach)

Finally, here's the last couple of Marble Emboss atc's from the previous class.
"End of the Ocean"...

"Dig two graves"...