This is a background technique that I'm teaching at the atc techniques classes I teach at Scraptivate. It's the final technique for this year and the current technique book, Number Four. In January we start Technique Book Number Five!
I work onto plain white card stock and use babywipes for the painting instead of paintbrushes. It gives a very soft look to the paints and a different look to the normal painting of acrylics on cardstock.
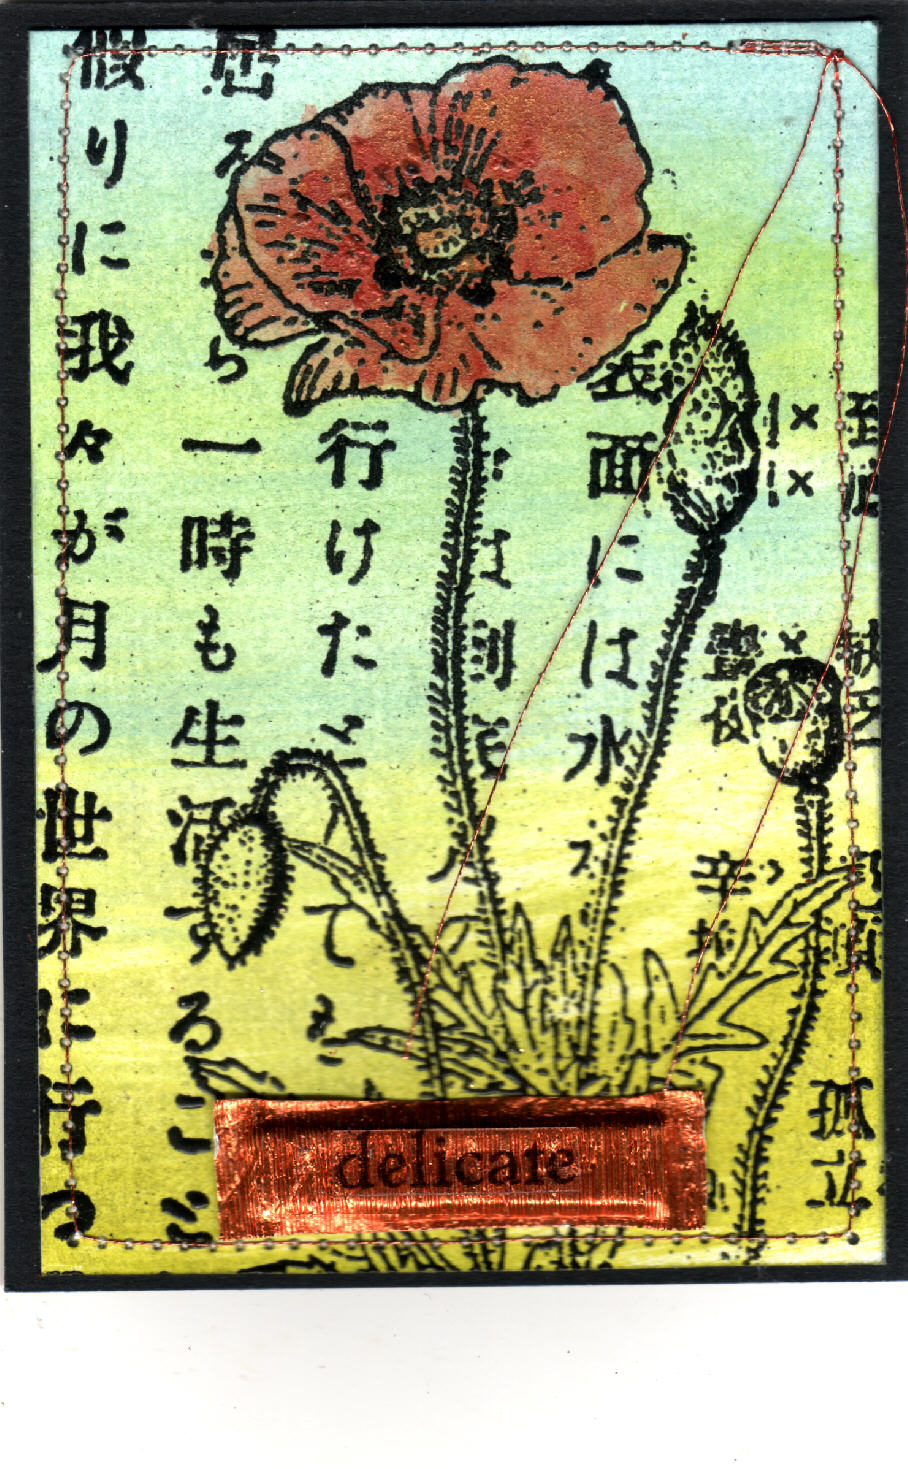
"Delicate"...
 "Discover"...
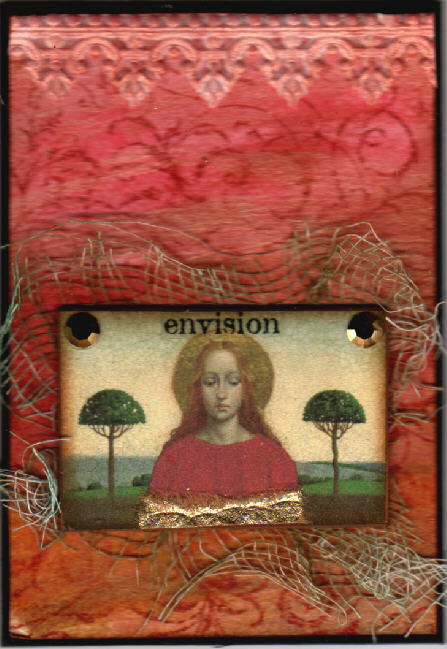
"Envision"...
"What you are"...
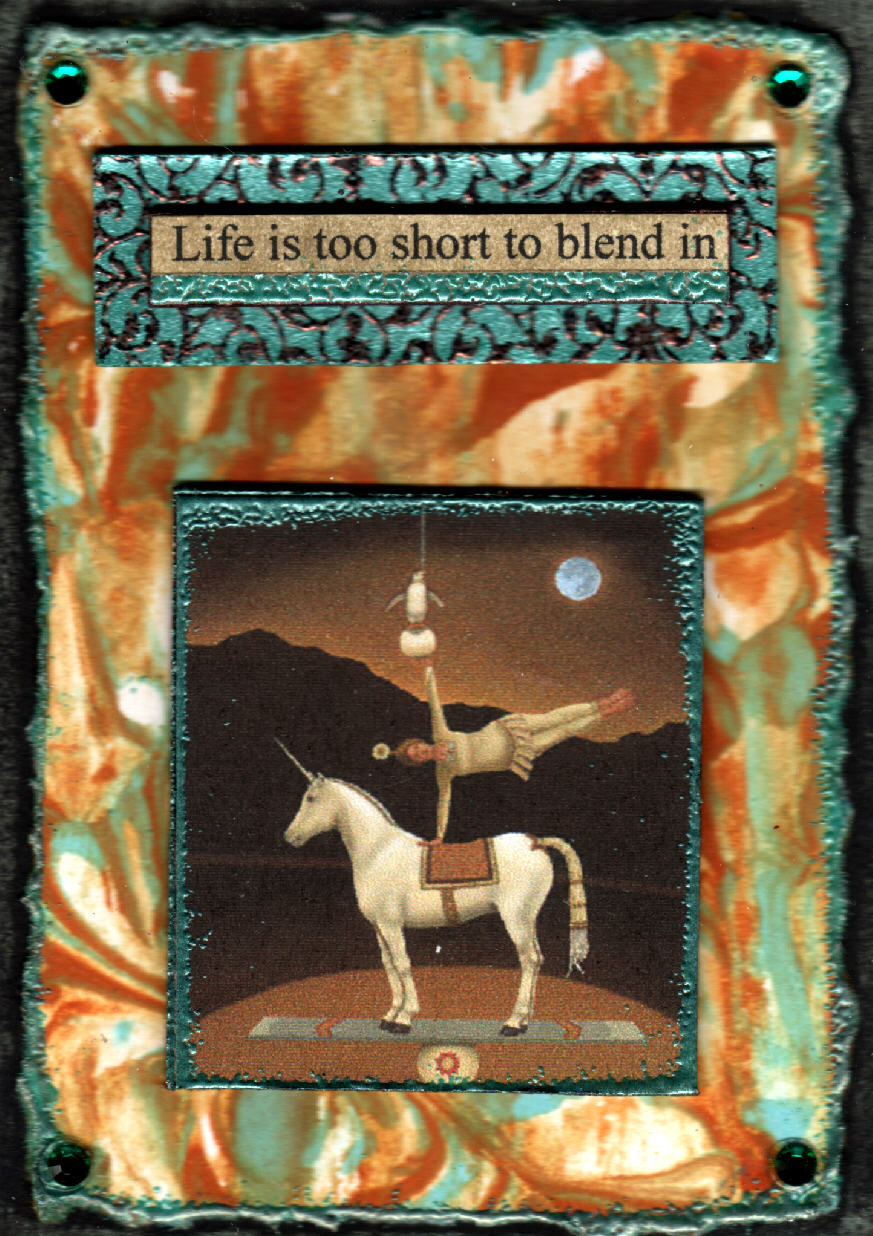
"Voyage"...

"Voyage"...

On another note, I have an atc techniques article being published in the next issue of the Aussie Magazine "Cardmaking, Stamping & Papercraft", Volume 16, Number 10. There should be around 8 or so techniques with pictures. Hopefully the instructions will be detailed enough for you to have a try at some of them.