Showing posts with label Stencils. Show all posts

Tuesday, February 10, 2026

STENCIL RESIST

 Die-cut machines are useful for more than just cutting die shapes or using embossing folders; they also work great with stencils. You just need to get the correct sandwich layers to make an impression on your card as you run it through your machine, and your stencil needs to be no wider than your machine opening. This technique utilises stencils and pre-inked cards to create a resist technique that makes wonderful backgrounds for images or other die-cuts. I used Bristol smooth cardstock for the base of these and Distress Inks to add the colour, not Oxide inks; the Distress Inks worked better.

Shit just got surreal


If you want to fly

Thriving

Starfish

Maybe swearing will help

Curated version of life
(ain't that the truth!!!)


This one below is from my previous class last fortnight, Abstract Gel Print Landscapes.
I love the colours in this, and it turned out better than I thought it would.
Box of crayons


Tuesday, June 3, 2025

EMBOSSING GLAZE STENCILS

 This is more of a mixed-media style of technique than I've created in quite a while. It combines gesso, heat embossing, stencils with texture paste, Ranger Distress Glaze embossing powders, ink colours and die-cuts as the focal point. You can leave out certain parts or add other elements to change up the look, but I love the multi-layered effect when you combine everything together. The Distress embossing glazes have also been used to colour the layered insect dies. This works so well because of the translucent nature of the glazes, which means you can layer as well as be more precise if you want specific colours in a certain area. 

"Tiny perhaps"


"Passion"

"From the soul"

"Exist to be happy"

"Curious"

"Brave wings"
(the wording has been stamped on acetate
and then heated slightly to warp it, yes,
it's supposed to look like that. 😏 )


Finally, a 5.5"x 4.5" card I made using the same technique
for the front panel but this time using black texture paste
instead of the white one I've used in the above samples.

Tuesday, December 3, 2024

STENCIL LIFT-OFF WITH WATERCOLOURS

 One of the reasons I love watercolours so much is that with most of the colours, you can lift off some paint to create lighter areas. This works particularly well with stencils as the following samples show. The beauty of this technique is you don't need to do anything special with laying down your watercolour background, it's just that, a background so slap that colour down. It can be a single colour, some granulating colours or multiple colours. They are all tied together when you use the stencil to remove some of the paint and then add your die-cuts or imagery on top. Gel pens and sparkly paint can also help to elevate these to the next level. I've tried to keep these fairly simple to not detract from the beautiful watercolour paints, particularly some of the granulating or mica shift paints.

"Let's play a game"
(I've wanted to use this hangman charm
for quite a while and I thought it suited
this atc perfectly.)

"Use your wings"
(I kept the watercolour paint more contained
on this background. The paint is a Mica
Supervision granulating paint and splits
into blue and gold. I made the feathers
and the bird from washi tape.)


"Champagne"


"We live but for a moment"
(Only 2 colours of granulating paint were
used for this one with a little metallic gel
pen for the details in the water and weeds.)


"Seas the day"
(The jellyfish are cut from vellum. It's very
difficult to see the shimmer paints used on
this one, trust me, it's very sparkly!)


"Let life surprise you"
(You don't have to cover the whole of the
background with the stencil, just partially
taking away some of the paint works well too.)

Monday, October 21, 2024

MARBLED STENCILS

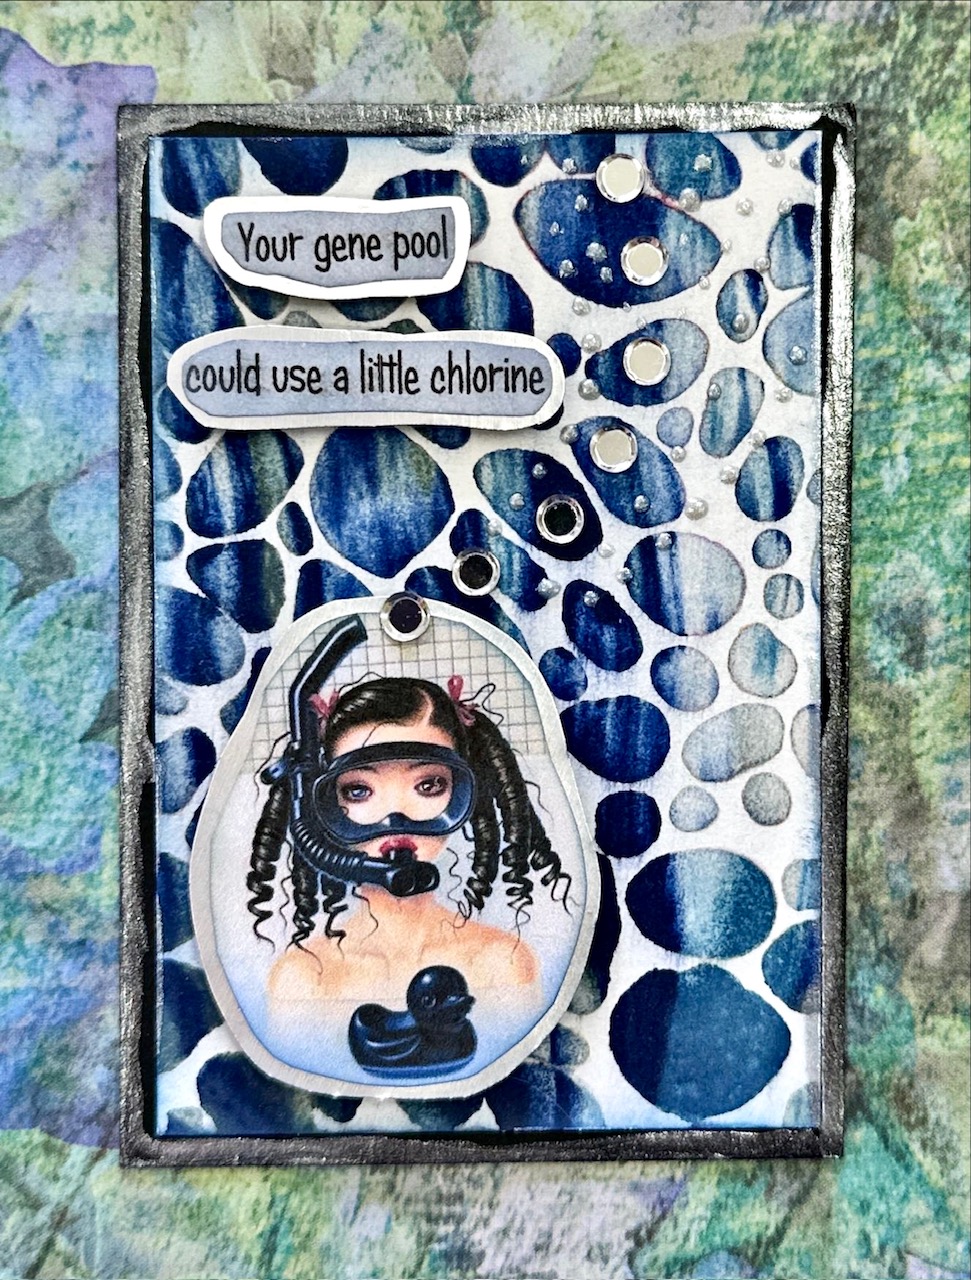
 The last time we did marbling with re-inkers and shaving foam was back in 2010. It's such an easy technique and this variation is just as effective! Previously we dipped the card into the shaving foam that the Distress re-inkers were dropped onto and then marbled with a skewer onto the foam to create the marble look. This time we'll be applying it through a stencil to give a different spin on it. With 72 colours of Distress re-inkers, there will be plenty of colour combinations that can be created. I'll be using Bristol Smooth cardstock but any white/ivory/cream cardstock will work with this technique. 
To see these atcs in more detail, click on the first one and scroll through.

"Unique"


"Halloween butterflies"


"Full bloom"


"Dead leaves drop"


"Chlorine"


"Otherwise"

Tuesday, August 13, 2024

WATERCOLOUR QUIRKY BIRDS & STENCILS

 I've been seeing an abundance of gorgeous whimsical and quirky watercolour birds appearing all over Pinterest and Google and I love the imperfect and naive style of this type of watercolouring. Virtually anything goes with these funny little birds and you can add their wings, beaks, legs & plumage however you want. I thought I'd step it up a bit by adding some stencilling in the background. Covering the birds with a mask made from paper towels protects them from the inking when stencilling. Of course, I had to do a mini-sheet of quotes to go with these birds for the girls as well as a page of some ideas for various birds and how to draw/decorate them too. I hope they all have fun painting these, I sure did!

"Eat local"


"Foraging"

"No worm"


"Shenanigan enthusiast"


"Fuster cluck"


"Winging it"

Tuesday, March 12, 2024

STAMPING FOAM & STENCILS

 Many years ago when I worked at a scrapbook store, a new product came out that was another way to use your inks to create a different background depending on what you used it with. It was a stamping block that when heated, could be pressed onto a surface which left an impression in the block which could then be inked up and stamped onto paper or cardstock. Simon Hurley has re-released this product so a new group of crafters have been exposed to this magic find. You can press the heated foam into so many things to create a pattern to be stamped and in this class, I used only stencils to create my impressions. Embossing folders also work really well as does lace, a pile of rubber bands, mesh from a produce bag, a small pocket section on a child's pair of jeans, virtually anything that will give texture will work.

"Do what you love"


"Fake people"

"A little weird"


"Live gently"


"I need to unwind"


"Shine your light"

Tuesday, November 7, 2023

DRY EMBOSSED STENCILS

 Stencils are an easy way to add something extra to a background and it can be as complex or as simple as you like. But did you know you can use your stencils to get a dry embossed look to your plain cardstock? The cheaper, thicker type of stencil works particularly well for this technique and you can buy a rubber embossing mat that is specially made for this purpose. I have a couple of rubber embossing mats but one of them was old and brittle so I was going to purchase another one, however I found that the silicone pet feeding or training mat from Kmart here in Australia was a perfect substitute. In fact, it's slightly thicker than the embossing mat so it works well. Two caveats, never run your embossing sandwich through twice, that is backwards and forwards, as the rubber stretches and you'll end up with a double impression and secondly, don't force the sandwich through your machine. You may need to shim to get just the right combination of cutting pads, rubber/silicone mat, stencil, platform. If it goes through too easily, you won't get a good impression on your card. I used Bristol Smooth for the card as it is reasonably heavyweight and the blending of the Oxide Ink pads on this card works beautifully. 

"Keep moving forward"
(I used a Uni-Ball Signo DX 0.28 black gel
pen to draw around the edges of this stencil
after adding the colour to make the petals
stand out.)


"Plant Parenthood"
(A grey brush marker was used on two edges of
this stencil design to give a shadow effect.)

"Live gently"


"CTRL + Z"


"Free to fly"


"No rain"

Tuesday, October 10, 2023

DIY SHIMMER PASTES

 Modelling pastes and similar products have been around for a while and since Lunar Pastes were introduced, they've seen a resurgence in popularity. I personally have a few Lunar Pastes but have also seen others making their own shimmer pastes by using a gloss heavy body gel medium and adding mica powder for that extra shimmer. You can also add a tiny amount of Distress Re-inker to colour your gel medium and then add the mica powder for the shine. You need to use gloss gel medium as this will allow the mica powder to shine. If you use matte gel medium, you can still colour this with the distress re-inkers but I wouldn't use the mica powders as the matte gel medium won't allow the mica to shimmer. For this same reason, I wouldn't use Distress Oxide re-inkers with the gloss gel medium as they have a more matte appearance than the straight Distress re-inkers. There are so many videos around of how you can use the pastes and if you make your own, you only need to mix up as much as you need for your one specific project. I have a great set of 24 different colours of mica powder so that gives me many different options to choose from.
Note: A couple of my samples have also been made by mixing glass bead gel (gloss gel medium mixed with clear reflective glass beads) with the mica powder. Another great combination of products!

"Focus"
(The sunflower was stencilled using black and 
gold DIY shimmer pastes. A little orange mica
spray was splattered over when dry. The
dragonfly is from the transparent wings set
from Idea-ology, Tim Holtz.)


"Gears"
(3 colours - gold, silver & orange, of Lunar Pastes
were scraped over a piece of plain black card
to create a quick-drying background which was
then embossed with an embossing folder.)


"Enjoy the flight"
(Black mica powder mixed with glass bead gel
to create the rocky foreground.)


"Fake people"
(DIY shimmer pastes through a stencil and
when dry, gold metallic wax was rubbed
over portions to give extra shine.)

"Adventure awaits"
(The mountain was created with the black mica
powder mixed with glass bead gel so it not only
has gorgeous shimmer, it is also very textured
with the little glass beads feeling very bumpy
when you run your fingers over it.)

"Wander"
(3 colours of DIY shimmer pastes through
a stencil for the background.)


This is a card that I made using mica powder mixed with
glass bead gel to create the base of the leaf stem as well
as the little dots on the end of the spikes. This card
really shimmers as the leaves have been painted with
the gorgeous Lisilinka paints.