Showing posts with label Acrylic Ink. Show all posts

Tuesday, July 15, 2025

MARBLE PAINTING WITH ACRYLIC INKS

The last time we used a marble with inks for a background was in 2014, so I thought it was time to revisit it. It's an easy technique and lends itself to the bigger size as well as ATC size, so it's a good opportunity to create a cover using this technique. I used black acrylic ink for the marble rolling as this ink is permanent when dry, so when you do your watercolours over the top, it's not going to smudge or move. You can pick out individual shapes to colour or, as I've done on a couple of mine and the cover, colour the whole background in a few colours blended together.

"Fa-Cologne"

"Toot toot"


"Not a big fan"


"Dear Future"


"Art"


"Trust"


This is my cover for Technique Book #34. The size is 20cm x 15cm (or 8" x 6").
I've used a white gel pen to make dotted marks within some of the black lines.


Tuesday, May 6, 2025

ACRYLIC INK TECHNIQUES

 I have a sizeable collection of acrylic inks and have done a few techniques with them, but there are so many different ways to use them so thought I'd try out a few more. These ATCs are all very different from each other which shows just how versatile a product that acrylic inks can be. My favourite thing about them is the fact they are permanent when dry so you can easily do an underpainting, let it dry, then use other acrylic inks or watercolours or acrylic markers over the top and the bottom colours won't shift.

"The roots are memory"


"Thoughts you can see"

"The wrong day"


"Nature"
(I've used some granulating medium with
the brown ink in this one, this shows up as little
speckles in the top right area of the ink on
this atc.)

"Live your dream"

"Bloom with grace"

Wednesday, August 28, 2024

ACRYLIC INKS/DISTRESS RE-INKERS ON PHOTO PAPER

I have used acrylic inks before on photo paper and had forgotten just how vibrant these fluid inks can be on the shiny side of the photo paper. The contrast between the beautiful magenta one at the top and the next one with the black bird die-cuts shows you can also create a more subtle background. The one with the black birds is Winsor & Newton Silver Acrylic Ink and Liquitex Burnt Sienna, a gorgeous combination and silver in real life is stunning! 
Down the bottom of this post is an image of the backgrounds I made using my Distress Re-inkers. These work just as well but take a bit more time to dry. No heat gun was used to dry any of these as the photo paper will blister so you just need some patience and let them sit while you create more gorgeous backgrounds. Black Stazon is your best stamping ink if you want to stamp. Rub-ons also work perfectly on these backgrounds. I used rub-ons on both of the samples with the magenta.

"State of mind"


"Scenic route"


"Fearless"


"Field notes"


"Make today count"


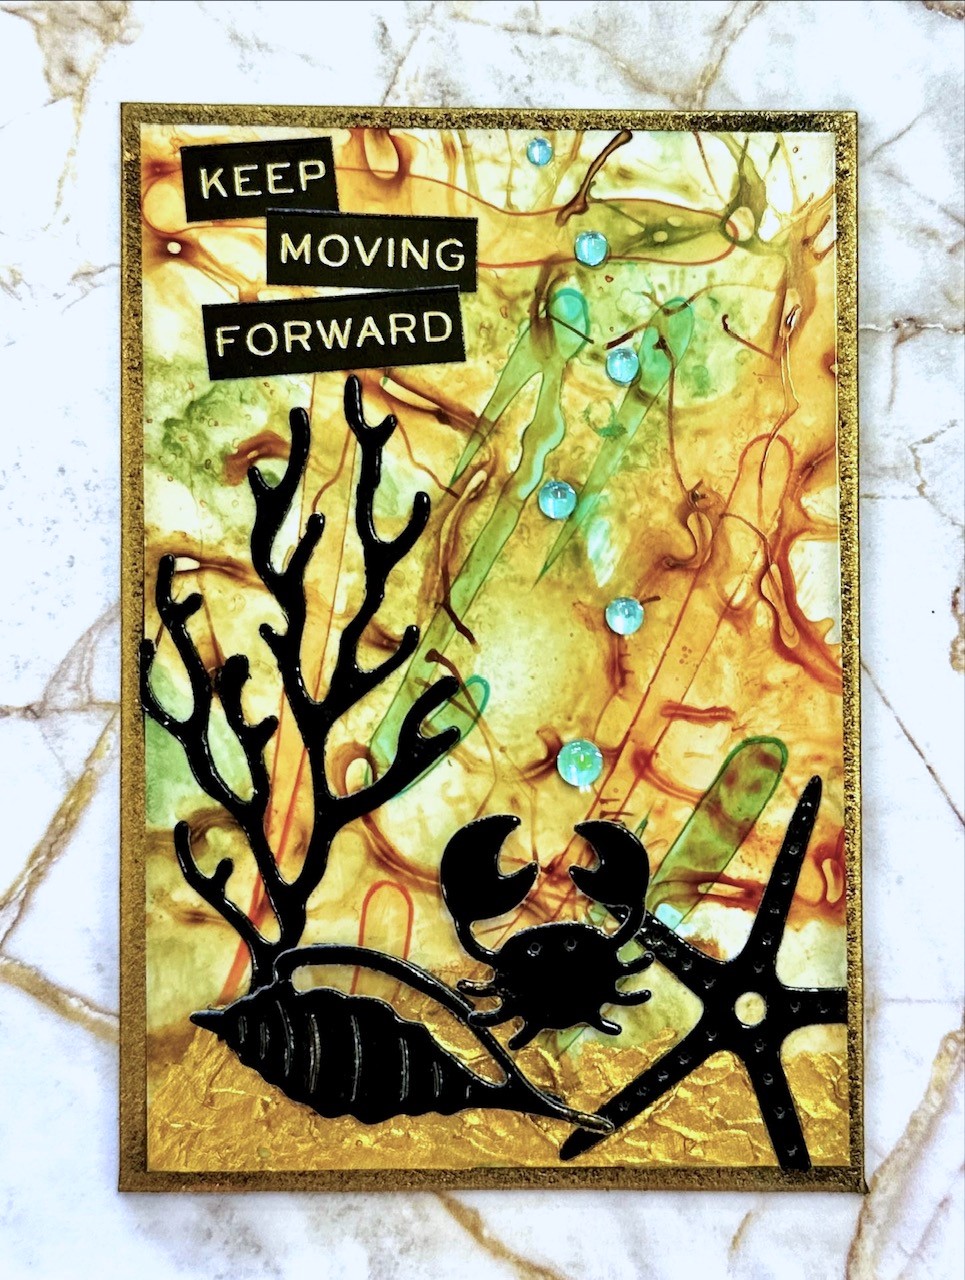
"Keep moving forward"


These backgrounds were made in the same way as the ones above 
but they were created with Distress Re-inkers instead of Acrylic
Inks. They took longer to dry but they still are very cool backgrounds.

Wednesday, March 30, 2022

ACRYLIC INKS ON PHOTO PAPER

 This is another use for the amazing Acrylic Inks that are made by various companies. For my samples, I used the Liquitex ones exclusively this time. I found the metallics didn't spread as well as the normal inks but are ok when used as an accent. For the substrate, I used Kirkland Photo Paper and yes, I used both sides because they give very different results! I think I love the black ones the best and don't ask me how I got the 2 moons in the first example below, I have no idea as it was one of those happy accidents that you just run with.

"Not what they seem"


"No angel"


"No possible escape"
(You can see the metallic copper on this one doesn't spread
like the other normal colours do, but it's ok as a secondary
accent colour)


"Aquaholic"
(I loved how this one looked like water splashing up!)


"Just another insect"
(This is the back side of the photo paper, it gives
a very different look to the glossy front of the photo paper)


"Mood: nah"
(Another one where I used the back of the photo paper)


"Today is the tomorrow"


"Life looks better"


Finally, a card that I made using one of the atc
samples from this technique to use on a card instead
of an atc.  In each class, I try to make a card to
build up my card stash using one of my atc's 
from every technique.

Tuesday, February 15, 2022

INKED LANDSCAPES (ZOMBIES)

  You'll find my updated ATC Techniques List on a separate page at the top of my page directly under my banner, "ATC Technique List - Current & Previous".

I love any excuse to be able to use my liquid acrylic inks and the combination of acrylic inks and bleach gives wonderful effects. I have created a different effect using salt with fluid acrylic paint and rock salt but the bleach just takes it to the next level. Credit must go to Lydia from Splitcoaststampers for the specific acrylic ink/bleach technique. I must also blame her for my obsessive search for some Zombie stamps. So very glad I found them as they suit this style so well. 
Mainly black was used for this technique but as you can see from Kraken below, coloured acrylic inks will still work. However, you can't beat black for the moodiness that suits the zombie stamps perfectly! The Vegan Zombie background colour is a combination of Carbon Black and Prussian Blue (both Liquitex Acrylic Inks). The addition of gel pens creates easy highlights where needed. The shark fin was made by cutting a small fin shape from craft foam and attaching it to a piece of acetate and used as a stamp. What's the saying about necessity being the mother of invention? 😉

"Vegan Zombie"


"Kraken"


"Middle of the night"


"Thrilled to meat you"


"Dead people"


"Grab a bite"


Tuesday, October 12, 2021

GELLI PLATE & ACRYLIC INK

Acrylic Inks are one of my new favourite products.  There are so many things you can do with them and in this class, we'll be using them on a Gelli Plate.  You can get two different looks depending on whether you use just the acrylic inks on the Gelli Plate or if you add something to help the inks spread easily, and not bead up so much.  Both give great effects!  Plus, you don't have to wait for the inks to dry as you're not using paint to do your pulls.

"Fungi"


"IDGAF"


"Good for your soul"


"Moth to a flame"


"Choose to shine"


"Shine"
 

Tuesday, August 17, 2021

ACRYLIC INK SPIN BACKGROUNDS

 This is a class I've been wanting to do for a long time.  I did get some strange looks at IKEA purchasing 17 salad spinners for the girls that didn't have them!  The IKEA salad spinners work great for this technique.  I know some have used alcohol inks with this technique but I found the fumes from the alcohol inks and the isopropyl alcohol (or blending solution) when you opened the spinner to check your work just about knocked me out.  So acrylic inks to the rescue!  They are fluid like alcohol inks, lots of colours to choose from like alcohol inks, and they work with just a spritz of water to get the movement so no smell.  I found it worked best with a blob of blu-tack pressed into the basket to hold the piece of card in place (about half a walnut-size will do) and depending on how fast or slow you spin, your design is different every time!  The metallic acrylic inks are thicker so may need a little more water to help disburse them.  I worked on the dull side of photo paper for this technique as if you use an absorbent card like watercolour or other normal cardstock, the inks just absorb straight away and don't spin.  Try it out, it's such a fun technique and not too messy as the excess ink is contained in the spinner (just remember to empty it out when you've finished, then it will have to live in your craft space).

"See the World"


"Perspective"


"Fly"


"Never leave you"


"Simplicity


"Bugs"