EDITED - 14TH JANUARY 2014
(more atc samples added)
So another year begins, which means a brand new Technique Book as well! It takes 6 months for the girls to complete a Technique Book and this book is number 11.... that's a lot of techniques!!!
This cover is a theme rather than a technique though we will be using an old technique for the base, Julie van Oosten's (Collections chipboard products) "Industria". From there it's a matter of carrying through the Steampunk style of Victorian/metal/industrialised theme.... so think cogs, watch parts, arrows, light fuses, wire, brads, pen nibs, hearts & wings, metal numbers, chain, in fact... almost anything metal will work. The two round items on my cover page (which is 15cm x 20cm) that are at the top left-ish and bottom right are long-life milk lids. These are plastic but take paint quite well and are relatively flat so will work on things that are quite 3d without being too large.
Steampunk cover...
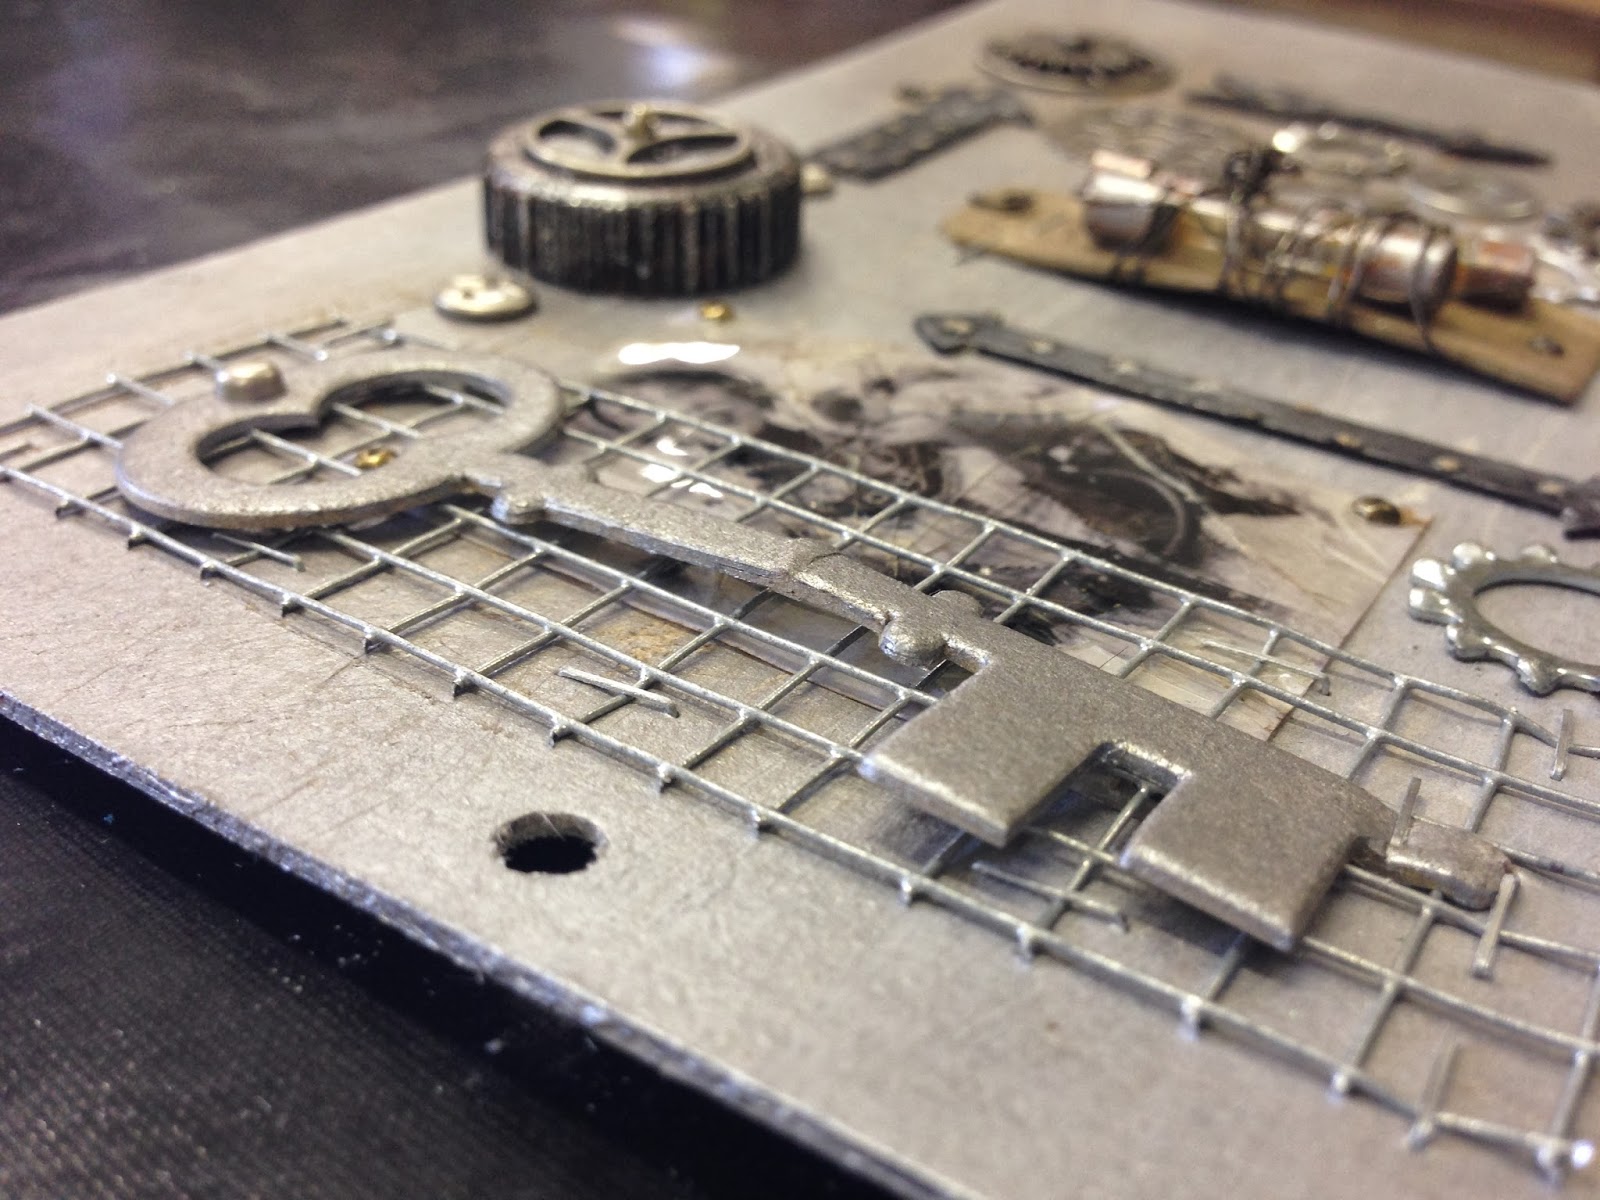
Steampunk cover close-up... (note the milk lid!)
another close-up... (image is made using the Cracked Glass technique)
and another close-up... (note that I've attached the lettering with the Tiny Attacher! Works great)
"Steampunk"... (this is an older steampunk style atc that I made a while ago
using the Tissue Paper background)
"Steampunk"... (this is from a recent class using a Microbead Technique)
"Un-named"... (this isn't complete yet but you can see the metal elements
that I've used on this one. The Mexican Milagro arms and
legs worked really well with this as did the
heart and wings for a face. Notice the clock hands??? lol)
Because Perth has been sweltering with a severe heat-wave over the last few days I haven't had the inclination to spend time in my studio creating more Steampunk atc's. Our weather is going to cool down a bit over the next few days so I'll get back into it and get some more made before the classes start next Saturday. For the US girls who have been shivering in their own cold snap, we've been cooking with 44 (111 degrees F) degree temps here yesterday and by 9.40 this morning, it was already 41(105 degrees F)! Thank goodness for the sea-breeze that arrived today. I will have more steampunk atc's to post shortly, there's another 3 that are underway....
Added 14th January 2014...
Below are the new Steampunk atc's for this class as well as a completed "Metal Head" from above.
"Metal Head"...
"Dr. E"...
"Stay Calm"...
"Stay Calm"... (showing the 3d effect of the cut cardstock)
"Love"... (not sure if this one is finished, might
add some more bits to it yet)