Our ATC class technique for this fortnight is a background technique that can be treated in a couple of different ways to create a different finished effect. I used Plaid Folkart Metallic Paints scraped on with a credit card to plain card stock to begin with. It dries very quickly as you're only applying a thin layer of paint. Now comes the decision as to what to do.... you can either stamp straight onto the dry painted background using either Ranger Archival Ink or Black Stazon Ink to get the stamped finish or you can skip the stamping and emboss the background so you can add an image to the background instead of the stamping. Now there is a further step in here that you won't be able to see on the computer screen, but when the girls come to my class, they'll see the difference!
If you have chosen to stamp your images, after the stamping has dried (mere seconds), cover the entire surface with clear embossing ink and then clear embossing powder, melt the clear embossing powder and you'll have a very smooth, glass-like finish. To do the embossed style - "Choose Wisely" (through an embossing machine with an embossing folder), after the paint has dried simply do the clear embossing steps then when it has cooled, run it through the embossing folder. This makes a very shiny glass-like surface with the added texture of the embossing folder.
Now to further confuse the issue, I also did a little embossing with some coloured embossing powder. After the clear embossing has dried, re-heat a little section where you want the coloured embossing powder to go, then tip on a little coloured embossing powder (I used copper in this first one below, "exact change"). Make sure you have some clear embossing ink on your chosen embellishment stamp and then re-heat the coloured embossing and when it's melted, quickly press your stamp into the melted embossing powder, allow to cool and lift off your stamp and you should have a nice impression of the stamped image. Of course, this only works with the red rubber stamps, don't go using your clear polymer stamps, I couldn't guarantee they won't be affected by the high heat of the melted embossing powder!!!
"Exact Change"...

"Not a thing"...

"Journey"...

"Visage"...

"Choose wisely"...

"Mesmerize"...
.jpg)
Finally, here are the remaining samples of the previous technique, Bubble Wrap Stamp.
"Perfection"...

"Irresistible"...

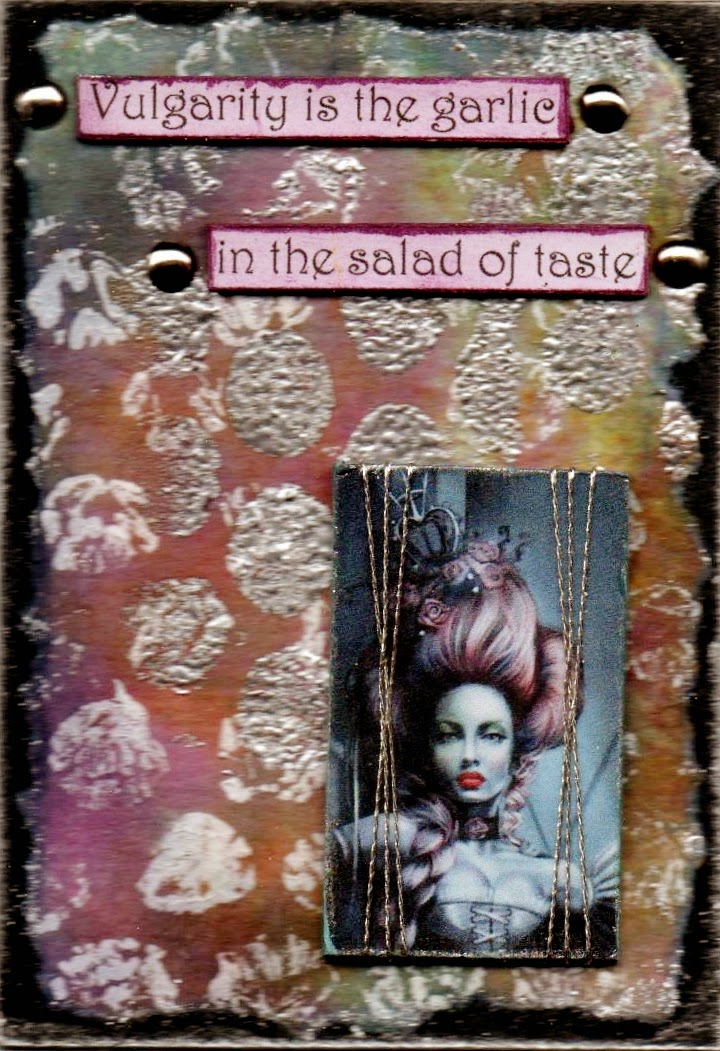
"Vulgarity"...