Saturday, October 30, 2010

Metallic Crackle Background

The technique this fortnight that I'll be teaching at Scraptivate is Metallic Crackle Background using either Lumiere paints or Plaid Metallic Paints (both available at Scraptivate of course!). The Lumiere's work absolutely beautifully on the dark background and it's surprising the difference between the Halo colours (Halo Violet Gold, Halo Blue Gold and Halo Pink Gold) when used on black card stock compared to the white card stock.

"Renewal"... (This is Halo Violet Gold on white card stock)


"Passageway"... (Halo Violet Gold on black card stock)

"Miracles"...


"What you are"...


"Miracles"...


"Essence"...


"Charm"...


I'm not very talkative this morning....gotta get going.....classes await!

Wednesday, October 13, 2010

Angelina Film/Fusible Film/Fantasy Film

Yes, this particular product has a few different terms. They all mean the same thing, a sheer and shimmery product that produces an awesome effect when you glue it to either black or white card stock, chipboard, whatever....then heat it with a heat gun and watch the colours change! Comes in an array of colours and the effect will alter depending on whether you use a light or dark background. This is the upcoming class for the ATC Technique Book #4 I'm teaching over the next fortnight at Scraptivate.

Remember, this is a product that must be seen in real life to be appreciated. Sometimes it's a bit glitzy for my dark and sombre tastes but you can either use less of it (as in the frame style below - "voluptuous"), or you can give it a light dry-brush with paint (as in "chaos").

"Well behaved women"...


"Voluptuous"...

"Chaos"...

"See, speak, hear"...
"Untitled"...


The last class I taught was Stamping & Beading on Fabric. We used both hand-stitched beading as well as microbeads. Here's the last few samples from that particular class.

"Relic"... (microbeads)


"Life's Blood"... (hand beading)


Scraptivate now stocks the beautiful Smooch Inks. I'll be using these in an upcoming class and below is a sample of what can be done with them. The Smooch is the colouring on the background and the fluid embellishment around the edge is from the Faux Wax class previously taught.

"Destructionist"...

Friday, October 1, 2010

Stamping & Beading on Fabric Class

The next technique that's coming up in the ATC Technique Book #4 is Stamping & Beading on Fabric. We'll be stamping (obviously!) onto calico, then colouring using Twinkling H2O's and Lyra Watercolour Crayons AND some beautiful highlights using the delightful Smooch Inks (all available at Scraptivate of course!), then doing some hand-beading. Some of the girls find the hand-beading a little daunting as they are new to it, so I've relented this time and we'll also be using some of the wonderful Martha Stewart Microbeads as well!

Some samples....

"Fly"... (microbeads and the oft-used Dragonfly stamp from Stampers Anonymous)


"Collector"... (microbeads)

"Pose"... (microbeads and a Stampotique Stamp)


"Dark Night"... (hand-beading, swarovski crystals and smooch ink as the accents on her wings - Angel stamp from Stampotique....so glad Natalie got this range of stamps at Scraptivate, love 'em!!!)

"Glamour-puss"... (hand beading and another Stampotique girl - Prom Queen!)


Tomorrow is the final day for the Art Doll that I'm teaching at Scraptivate. Last class we did the beading and I'm hoping the girls got their homework done in the last two weeks. Tomorrow we're working on the organza burning for the flowers (yep, I said it without a shudder this time....I'm making progress...lol), they will be shabby though. Nothing like a little flame and scorching heat to sort flowers out I say! I'll take my camera so I can show in an upcoming post some of the various ones the girls have made. I'm sure they'll be wonderful!

Thursday, September 16, 2010

Marbling Technique ATC's

Coming up on Saturday is the Marbling background technique for the girls in my atc technique book class. This is the marbling that's done with shaving cream and re-inkers. Another old-style technique that's been around forever but depending on what colours you use, it can be vibrant or subtle. Here's the samples...

"What is nature"...


"Portray"... (the chunky looking flourish at the top is new Martha Stewart micro beads in a chocolate colour that we've just got in store at Scraptivate. These come in just beautiful colours and for only $7.95 for a huge jar that will last forever! I used Glossy Accents to go over a flourish stamp and just tipped the micro beads on, flattened them to adhere to the Glossy Accents, tipped off the excess and just let them dry...gorgeous!)
"Big Bad Wolf"... (yeah, had to get some sort of a vampire thing happening...lol)

"Sensation"...


"Temptation"...


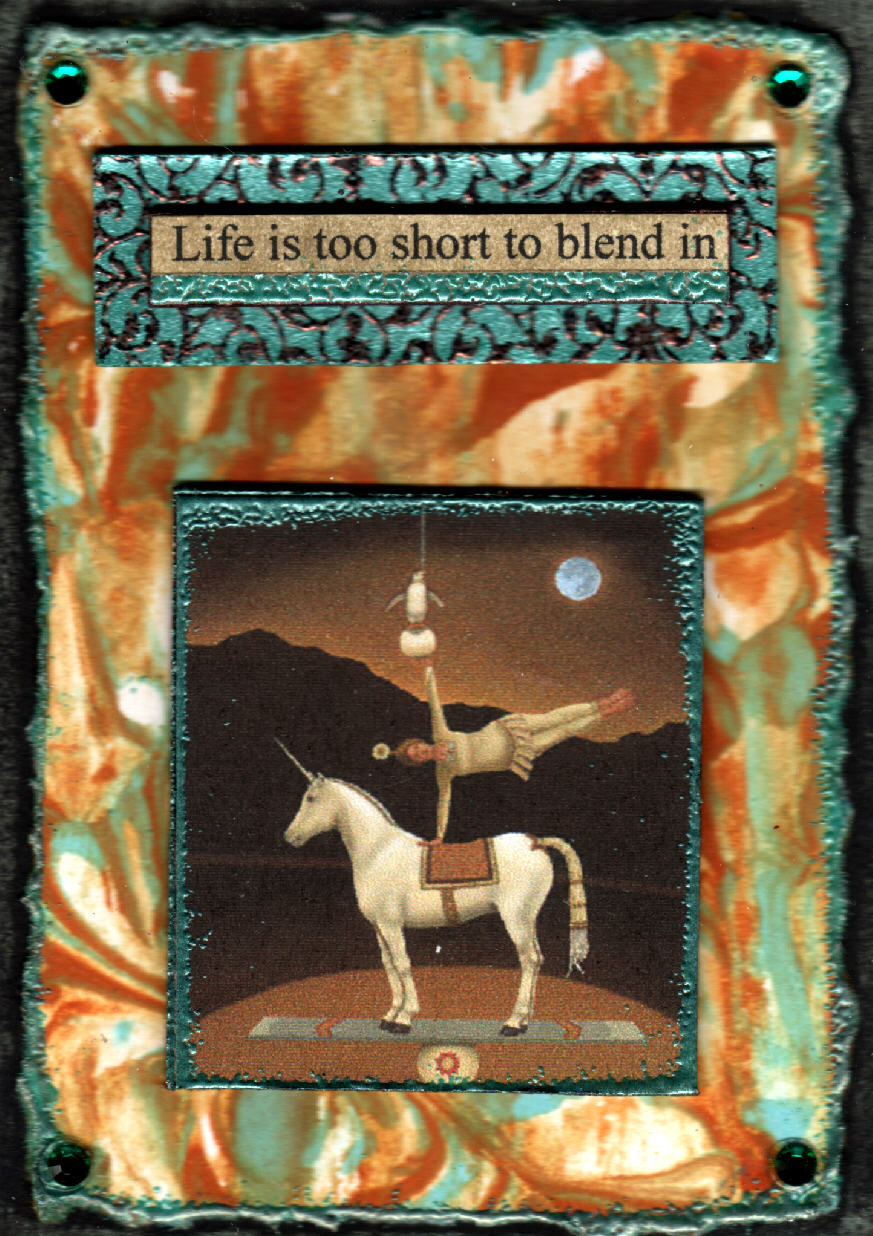
"Life is too short"...
"Nothing risque"...


In my next post I'll put up some pics of the marbling atc blanks without any pictures on them so you can see how cool they look before you even to anything to them. It'd also make great card backgrounds too!


Part 2 of the Art Doll Class is on tomorrow afternoon after the atc class in the morning. Tomorrow the girls are going to learn a few different ways of beading, picot, fringing and a freestyle beading technique that I know is going to test their patience but they'll love the final effect. I'm thinking of making some mini-art dolls so stay tuned....might even give some kits away!

Friday, September 3, 2010

Art Doll Class & Soot technique

Yay, I'm back online and it sure makes you realise how much you rely on the internet to keep you in touch with everyone! So I now have my art doll finished and the pics are ready to be shown......
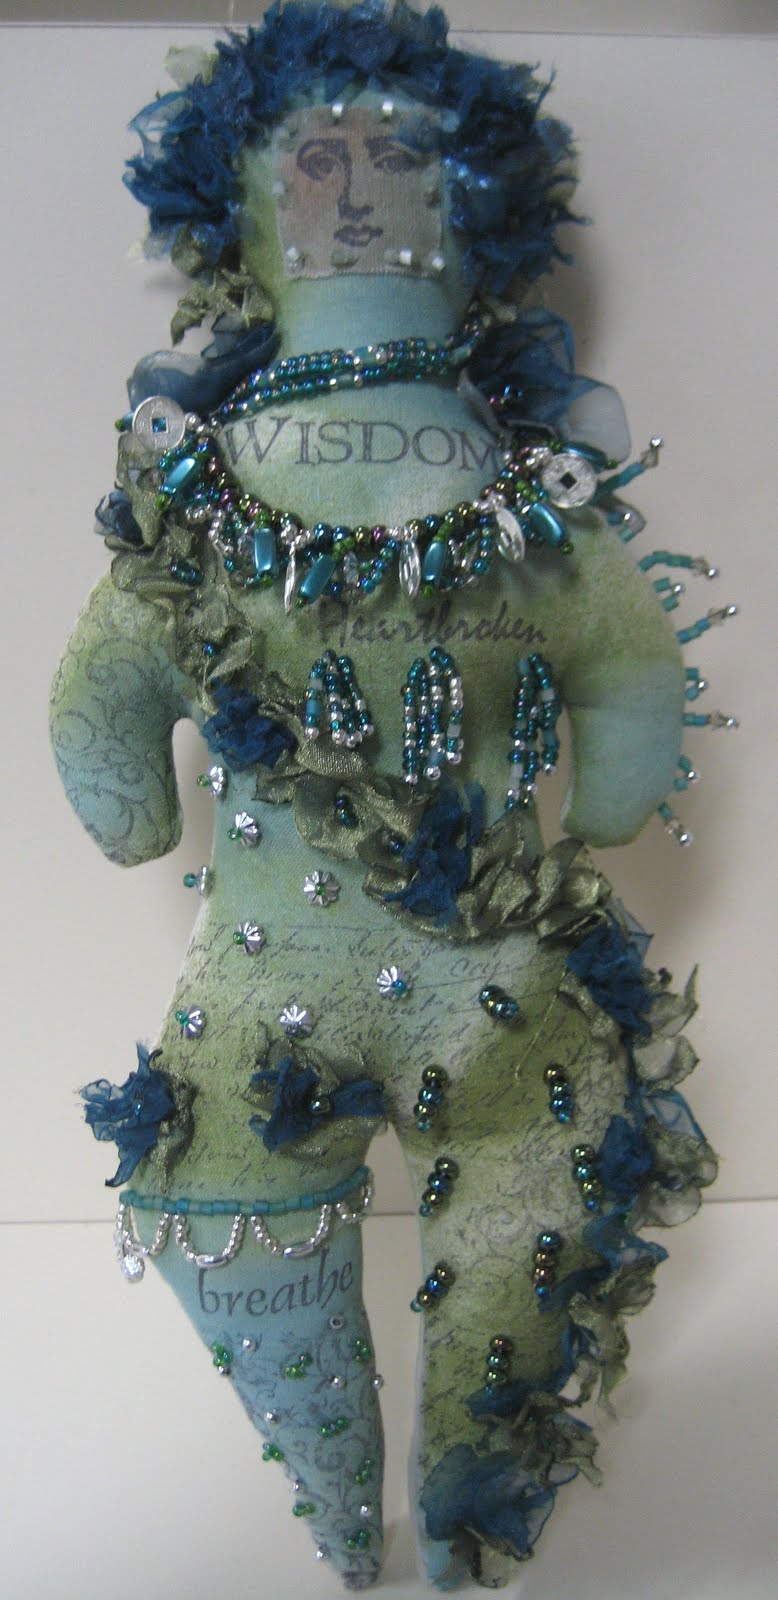
I'm teaching this art doll at Scraptivate and I'll probably be repeating this class another couple of times - once during the day over 3 sessions and another weekend series of classes. This doll is made over 3 classes of 2-1/2 hours each. The girls will be doing everything from scratch, from tracing the pattern to freezer paper, ironing it to the fabric, stitching the body, turning, stamping, colouring then stuffing - all this on the first day! The 2nd class is beading and the third class is all about the organza decoration.


This is the back view of the "hair"...


I'm also teaching the soot technique again tomorrow morning at the ATC Technique Book class. Another of those old techniques that have been around forever but is just simply spectacular and oh so simple!

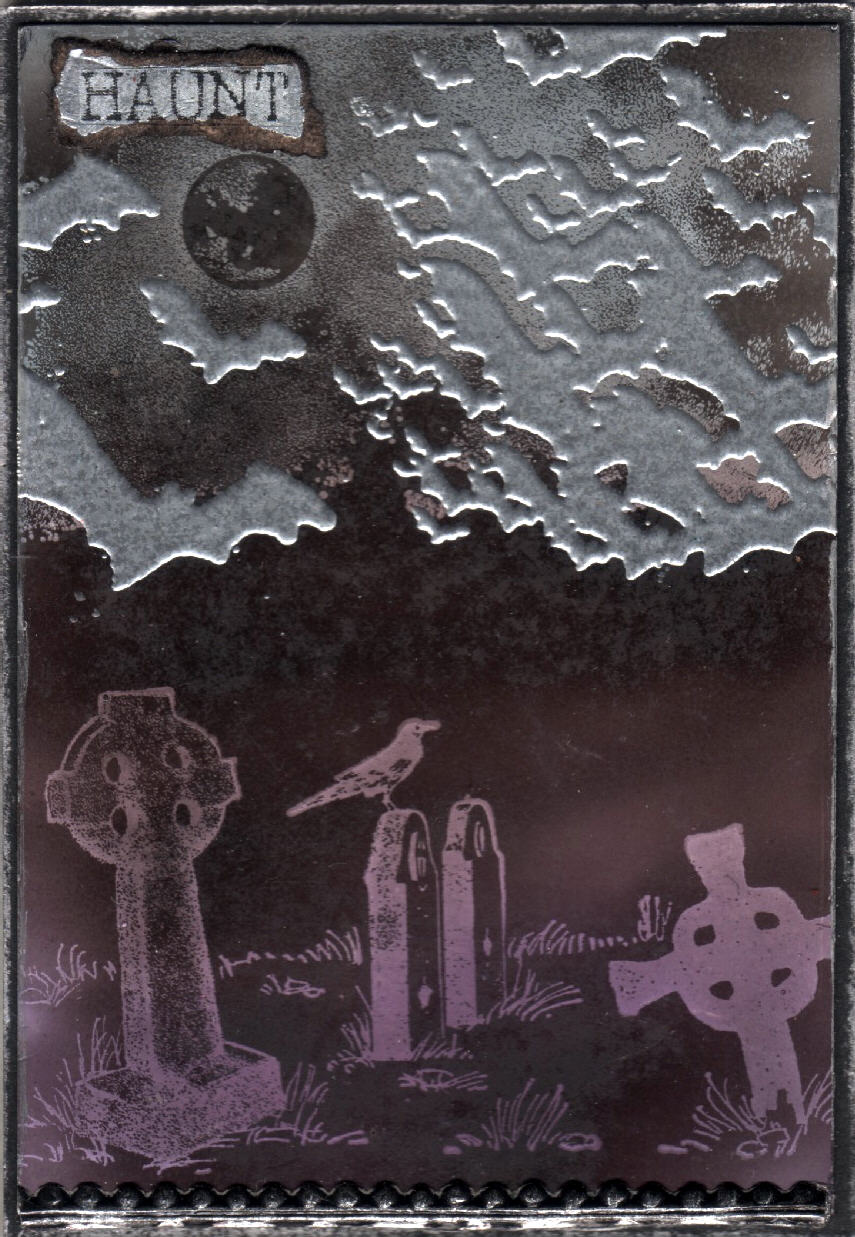
"Haunt"...


"Gaze"...

"Blossom"...

"Fragile"...
Hope the girls bring a good dose of patience with them for the art doll class tomorrow as well as their sense of humour....which I shouldn't worry about as we usually have a pretty fine time with lots of frivolity and a little naughty humour. ;-)

Thursday, September 2, 2010

A quick update...the art doll

Just a quick update....the art doll class starts on Saturday (4th Sept) and I have loads of photo's on my camera but unfortunately, my internet connection is down and I can't upload them. Hopefully it'll get sorted tomorrow (Friday 3/9) and I'll be able to put the pics up before the class. I also have the soot atc class in the morning so will be posting the pics of those too! But it was the art doll that I was most excited about.....stupid internet..... ;-( I'll probably be running the art doll class possibly another 2 times - one again on a Saturday afternoon for 3 Saturday's and then again on a Tuesday morning for 3 in a row. Some girls just can't DO weekend classes because of family/sport etc commitments so we have to try and accommodate them when we can.

Back soon....hopefully!

p.s. I'm accessing my blog from work...thanks Natalie. ;-)

Friday, August 20, 2010

Shrink Plastic Revisited & Faux Wax & a cake!!!

Addition.....scroll right down the bottom for a 5 minute microwave cake recipe.....

I'm revisiting Shrink Plastic for my class tomorrow. I have had a bit more of a play with it since I last taught this class back in early 2009 because I like to do something fresh for the girls who've done previous classes with me. It's also nice to introduce the newer girls who've not been amazed by some of the older products and techniques that have been around for a while.


For this first one I've combined 2 different new techniques that I haven't shown before....I coloured a piece of white shrink with one of the Tattered Angels Glimmer Chalks - of course it won't dry as shrink is a plastic surface but by the time you've heated it, all is good and it dries wonderfully. The second thing I did with this particular piece was no stamping beforehand, just spray with the glimmer chalk, shrink it down and then while it's still hot and soft, stamp into it with a stamp with black stazon. Gives a wonderful textural element as well as a soft matte finish.


"Post-script"...


"Enter"... (this is a terrible scan, it's because there's the shrink plastic door on top of foil tape on chipboard, on top of flyscreen, on top of the background....too much height for the scanner to cope with, sorry)


"Vision"...

"Doors"... (the stamped words are Stazon silver metallic ink on black shrink - you can actually read the wording irl but because of the silver ink, it's throwing the scan off)


...

....

.....

......

.......

WARNING!!!! Naked male backside coming up.....if you don't want to look, scroll and close your eyes....
...
....
.....

"Work in progress"...


Below are the last few Faux Wax atc's from the last class.

"Kiss"... (the background of this one is from the Metallic Cardstock class, technique described in the previous posting)


"Dance"... (the gold sparkles on the background is Jo Sonja Gold Dust. I've described this product before but this is the first photo where you can actually see it!)

"Bloom"...


Dreams"... (this background is from the upcoming Soot class)


"Weird Desire"... (another soot background)


I've also been working on my fabric art doll. This will run over 3 classes of 2-1/2 hours each at Scraptivate and the girls will be making it from scratch - from tracing the pattern, stitching (on a machine) around the body, turning, stamping, colouring, stuffing, beading and embellishing. It will certainly be an exercise in patience for them. The head alone has about 90 small burnt organza flowers on it....yes, FLOWERS (though they are shabby ones). I'm about half done with the embellishing and when it's complete I'll post pictures. The class is in 2 weeks time (4th September is the first class) and I may run it a second time if the numbers warrant it. This is certainly something out of the norm for most of these girls and I hope they enjoy it as much as I think they will.
I may even have one of these for a give-away on my blog....all things going to plan!
5 MINUTE CHOCOLATE MUG CAKE
4 tablespoons S R flour
4 tablespoons sugar
2 tablespoons cocoa
1 egg
3 tablespoons milk
3 tablespoons oil
3 tablespoons chocolate chips (optional)
A small splash of vanilla extract
1 large coffee mug (MicroSafe)
Add dry ingredients to mug, and mix well. Add the egg and mix thoroughly. Pour in the milk and oil and mix well. Add the chocolate chips (if using) and vanilla extract, and mix again. Put your mug in the microwave and cook for 3 minutes at 1000 watts. The cake will rise over the top of the mug, but don't be alarmed! Allow to cool a little, and tip out onto a plate if desired. EAT ! (this can serve 2 if you want to feel slightly more virtuous).