Tuesday, June 18, 2013

Microscope Slide Spotlight & others...

My class this fortnight is called Microscope Slide Spotlight.  I figured that as we used Microscope Slides not that long ago, everyone would still have some left over and this is another way to utilise them with your stamped images.  
 
 I'm sure everyone has done Spotlight Technique before, if not, you can scroll down about halfway down this page and click on the "search this blog" section, enter the word spotlight, then my previous posts will come up so you can see what this technique looks like.   As I said, using the microscope slides is just another form of it.   I used Twinkling H2O's as well as my Lyra Watercolour Crayons.  Both work equally well.   I also used both my little "X" Xyron machine to adhere the slides or alternatively, you can use Glossy Accents (or Dimensional Magic).   The good thing about the Xyron machine is your microscope slide will go straight through the machine and not break as it's a
straight-through feed.  Quick and clever that little machine is!!!
 
 
"Live Life in Colour"...

 
"Fragment"...
 

"Twist and Twirl"...


"Shimmer"... (the shimmery paper down the bottom is
actually wrapping paper!  I always keep my eyes
open for different papers/wraps that can be
used on my atc's)


These next few are from the previous class - Acrylic Paint & Distress Re-inkers.   Would you believe this is the first time I've used my Washi Tape?   I only have about 6 rolls, yes I'm deprived I know (or is that depraved???), but it worked perfectly on this atc and I wanted to try a couple of ways of using it so the girls can see you don't have to just stick it down flat.
 
 
"An Australian"...


"A True Story"... (yep, love this little picture)...


"Transform"... 

 
"Celestial"...


Now some from previous classes... first up from the Sheer Heaven Class.
 
"Virtuous"...
 
 
These next 3 are from the Patina Foil Class.
 
"Indescribable"...

 
"Art colour life"...


"Avante-garde"...
 
 
More atc's to come...

Wednesday, June 5, 2013

Sheer Heaven Transfers & Acrylic Paint & Re-inkers Class

I'm going to start this post with the next up-coming class which is Acrylic Paint & Re-inkers.  I've used white acrylic paint and the Distress re-inkers to create these backgrounds.  I love the way the acrylic paint reacts with the inks and as I've used watercolour paper, it stands up to the water that you need to add to blend everything together.  The first four pictures are my samples so far and the last picture is the backgrounds before I've added anything to them.  Just wanted to give you an idea of how this actually looks without any adornment.  Love this background!!!
 
"Romantic"...


"Sisters"...
(notice how well the white gel pen works in their eyes, then just a dab of
 black sharpie for the pupil and voila.... zombie sisters!)
 
 
"Kindred Spirit"...


"Possible"...


atc sized backgrounds using this technique...


As I mentioned in my last post, I was going away for a holiday.   I've spent four weeks having a wonderful time in the USA visiting family as well as exploring with my husband, son and daughter-in-law.  Hubby and I had been to the US before a couple of times (well, okay... me 4 times and him 3 times) but this was the youngsters first trip.  It was exciting to view things through their eyes and the four weeks both flew by but I couldn't believe by looking at the photo's (870 of them!), how much we crammed into that time away.  Consequently, when I got back I knew I'd be suffering from a slight case of jet-lag and "oh no, we're home again", so wanted to do an easy class for the first one back.... what's easier than SHEER HEAVEN TRANSFERS!!!!!!   The new girls loved it, the old girls (meant in a nice way of course), enjoyed re-visiting it and confirming that yes, this is the easiest transfer you'll ever do.  Here are some samples from previous classes as I only managed to do one when I got back!
 
Okay, have had a look and there are really too many images to load here so if you want to see Sheer Heaven transfers on both fabric and paper... click here and this link will take you to the posts with Sheer Heaven...
 
This is the only new one... "cardiac"...
 
 
More Acrylic & Re-inkers to come.....


Tuesday, April 9, 2013

Patina Foil

This fortnight's technique is called Patina Foil.  We'll be using the metallic foil tape (which I love to use in case you haven't noticed!), alcohol inks and the Snow Cap Metallic Mixative in the alcohol ink range.  Now I know a lot of people bought this Snow Cap (white) alcohol ink when it first came out and very dutifully placed it amongst their other alcohol inks, and there it sat..... not sure what to do with it?   I've found the lighter colours of alcohol inks don't really take to the foil tape really well, no problem with those darker or brighter colours but the lights just don't seem to cut it.   Enter Snow Cap, if you place Snow Cap as well as your other colours on your piece of felt and apply it as you normally would.  The Snow Cap sort of acts like a base and allows the other colours to grab onto the foil tape so you can actually see them, it's quite opaque so I guess this is why this works.   I don't use blending solution but you can if you want to  -  I just don't find I need it unless the colour is too dark, then I use it to lighten the overall effect. 
 
"Whisper"...


"Culture"...


"Pitchfork"...
(yes, I know, it has pink...)


"To become"...


Some more samples from the previous class, Faux Hammered Metal.
 
"Clicking my heels"...


"Precipitation"...


"Enthrall"...


Finally one more from the class before Faux Hammered Metal, Permanent Marker Wash".
 
"Devilish"...


This will be my last post for a while as I'm off on holidays for a month to the USA in a fortnight's time..  Can you say "woo-hoo"..... I can, and am looking forward to a wonderful time.  Going to both coasts to catch up with friends and family.  I'll be doing Sheer Heaven transfers when I get back. 


Tuesday, March 26, 2013

Faux Hammered Metal Background

The technique for this fortnight is Faux Hammered Metal.  It gives a realistic metal look to black cardstock using clear utee and metallic paints.  It's all in how long you heat the utee for.  Generally utee is heated to the point of a glass-like finish.   Removing the heat before that point gives a more bumpy, textured look which is what's required for this technique.
 
"Mesmerize"...


"Dramatic"...


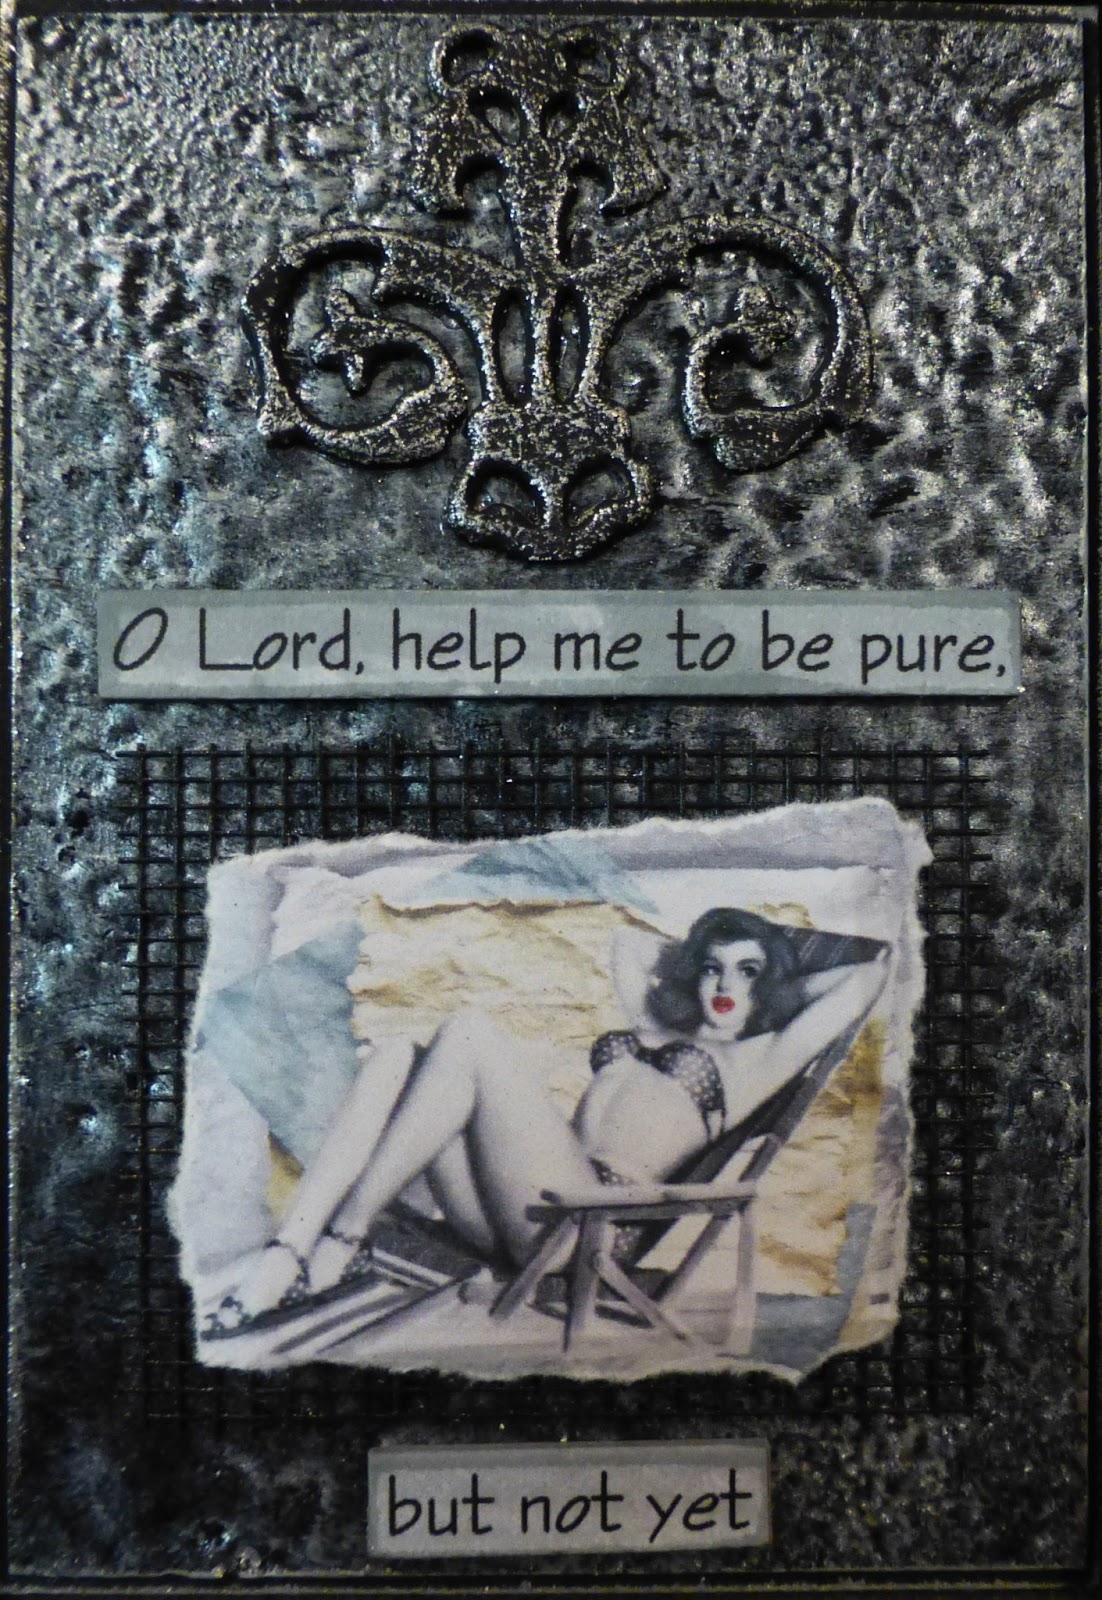
"Pure"...


"Nurture"...


These atc's below are from the previous class, Permanent Marker Wash.
 
"no accounting for taste"...


"Impression"...
(the girls say "thanks Gail for the little mirrors!")


"washed by tears"...


"psychedelic hallucination"...


My favourite is "Mesmerize"... what's yours?   More to follow.

Monday, March 11, 2013

Permanent Marker Wash

I've used and loved my Sharpie and Bic Mark-it Pens for years now.   Before the Distress Stains came out I used to use them for eding around my pictures in a co-ordinating colour and also to colour in shrink plastic and blending it with rubbing alcohol to get a similar look to alcohol inks....  Now I've found another way to use them to create gorgeous backgrounds on gloss card.   So very quick and easy but like a lot of techniques, you never know what you'll end up with and if you try to recreate something you really like.... well, good luck with that!!!    So here are four samples from my upcoming Permanent Marker Wash class.
 
"Simplify life"...


"Silence"...


"Disguise"...


"Dream"...


These ones below are from the previous class, Goosebumps Texture.  Love this new "Weed" stamp I got...no, it's not flowers, they're weeds.  I don't DO flowers remember!   lol
 
"Fragile"...


"Discover"...


"Solitude"...


More to follow.....

Tuesday, February 26, 2013

Goosebumps Texture Spray

Goosebumps Texture Spray is a little bottle of clear texture that also acts as a resist.  It dries quite quickly but can also be dried with a heat gun and works wonderfully when used in conjunction with the Ranger Distress Inks and sponges for application.  In the first atc below, Germinate, I stamped first with Ranger Archival Black Ink and then spritzed with the Goosebumps, then applied some Glimmer Mist in Turquoise.  I then used a damp paper towel to wipe off the Glimmer Mist from the sprayed area of the Goosebumps.  Love the effect!!!  The others were done using the Distress Inks and sponges after stamping and spraying with Goosebumps.  I'm going to have a bit more of a play and see what else this little bottle of magic can do!

"Germinate"...
 
 
"Wringing good out of evil"...
 
 
"Conservative"...
 
 
"Life's moment"...
 
 
Below are some more samples from the last class - Antique Paper.
"Lifetime memoires"...
 
 
"Every second"...
 
 
"Writer"...


Finally, a couple more from the Faux Dominoes technique that was the class before Ancient Paper.
 
"Party Girl"...
 
 
"Oddity"...