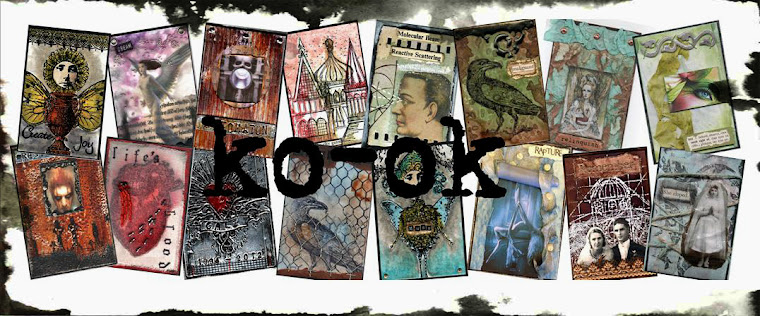
I'm revisiting Shrink Plastic for my class tomorrow. I have had a bit more of a play with it since I last taught this class back in early 2009 because I like to do something fresh for the girls who've done previous classes with me. It's also nice to introduce the newer girls who've not been amazed by some of the older products and techniques that have been around for a while.
For this first one I've combined 2 different new techniques that I haven't shown before....I coloured a piece of white shrink with one of the Tattered Angels Glimmer Chalks - of course it won't dry as shrink is a plastic surface but by the time you've heated it, all is good and it dries wonderfully. The second thing I did with this particular piece was no stamping beforehand, just spray with the glimmer chalk, shrink it down and then while it's still hot and soft, stamp into it with a stamp with black stazon. Gives a wonderful textural element as well as a soft matte finish.
"Post-script"...

"Enter"... (this is a terrible scan, it's because there's the shrink plastic door on top of foil tape on chipboard, on top of flyscreen, on top of the background....too much height for the scanner to cope with, sorry)

"Vision"...

"Doors"... (the stamped words are Stazon silver metallic ink on black shrink - you can actually read the wording irl but because of the silver ink, it's throwing the scan off)

...
....
.....
......
.......
WARNING!!!! Naked male backside coming up.....if you don't want to look, scroll and close your eyes....
...
....
.....
"Work in progress"...

Below are the last few Faux Wax atc's from the last class.
"Kiss"... (the background of this one is from the Metallic Cardstock class, technique described in the previous posting)

"Dance"... (the gold sparkles on the background is Jo Sonja Gold Dust. I've described this product before but this is the first photo where you can actually see it!)

"Bloom"...

Dreams"... (this background is from the upcoming Soot class)

"Weird Desire"... (another soot background)

I've also been working on my fabric art doll. This will run over 3 classes of 2-1/2 hours each at Scraptivate and the girls will be making it from scratch - from tracing the pattern, stitching (on a machine) around the body, turning, stamping, colouring, stuffing, beading and embellishing. It will certainly be an exercise in patience for them. The head alone has about 90 small burnt organza flowers on it....yes, FLOWERS (though they are shabby ones). I'm about half done with the embellishing and when it's complete I'll post pictures. The class is in 2 weeks time (4th September is the first class) and I may run it a second time if the numbers warrant it. This is certainly something out of the norm for most of these girls and I hope they enjoy it as much as I think they will.
I may even have one of these for a give-away on my blog....all things going to plan!
5 MINUTE CHOCOLATE MUG CAKE
4 tablespoons S R flour
4 tablespoons sugar
2 tablespoons cocoa
1 egg
3 tablespoons milk
3 tablespoons oil
3 tablespoons chocolate chips (optional)
A small splash of vanilla extract
1 large coffee mug (MicroSafe)
Add dry ingredients to mug, and mix well. Add the egg and mix thoroughly. Pour in the milk and oil and mix well. Add the chocolate chips (if using) and vanilla extract, and mix again. Put your mug in the microwave and cook for 3 minutes at 1000 watts. The cake will rise over the top of the mug, but don't be alarmed! Allow to cool a little, and tip out onto a plate if desired. EAT ! (this can serve 2 if you want to feel slightly more virtuous).
