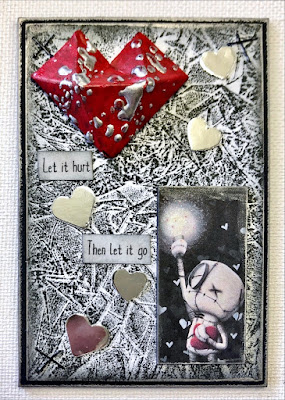
"Planet B"
Tuesday, June 22, 2021
EVERYTHING WATERCOLOUR
"Planet B"
Tuesday, June 8, 2021
WATERLESS WRINKLE BACKGROUND
Wrinkle techniques are a simple way to create a quick background that can be used just as a backing piece, or used to die-cut a shape from. Normally with wrinkle backgrounds, you would scrunch a piece of plastic wrap (like Glad Wrap) onto a very wet surface that has inks, watercolours or alcohol inks onto it and then letting it sit until the underneath substrate totally dries. This technique however is very quick and mess-free as it uses no water whatsoever. We'll still be using the plastic wrap but we will also be using a Gelli Plate as well. You can do this with just one colour of ink (I used Distress Oxide Ink Pads), or a couple of colours. I even sprayed one of my pieces with the Distress Mica Spray first before doing the wrinkle technique (Grim outside) so it has a gorgeous bronze-coloured shimmer to the background.
"Organically grown"

"Pray prey"
(I cut the trees from a piece of the wrinkle
background and placed over a Gelli Printed
background from a previous class.)


