Masking with masking fluid is something I've been meaning to try for a long time. I read up a fair bit before deciding to do this class and have opted to use Liquid Latex instead of masking fluid. It works just as well though it is a little thicker than a lot of the masking fluids that are available on the market. You can thin it down with a little distilled or bottled water but never shake masking fluid (or liquid latex) as it will cause bubbles, stir only. For all of my samples below I used the liquid latex on 300gsm watercolour paper, waited for the latex to dry (about 5-10 minutes), and then smooshed it into Distress Oxide Inks on a craft sheet to add the colour. Once again, wait for it to dry, then the big reveal.... rub off the liquid latex to show your white areas that you can colour or leave white. It's actually a lot of fun to do this technique but you need to have an idea of what you want to do and what will be left white before putting the latex down. Hope the girls like doing it!
"Ghost"
(my favourite!)
Tuesday, February 28, 2023
LIQUID LATEX MASKING
Tuesday, February 14, 2023
WATERCOLOUR SHAPES
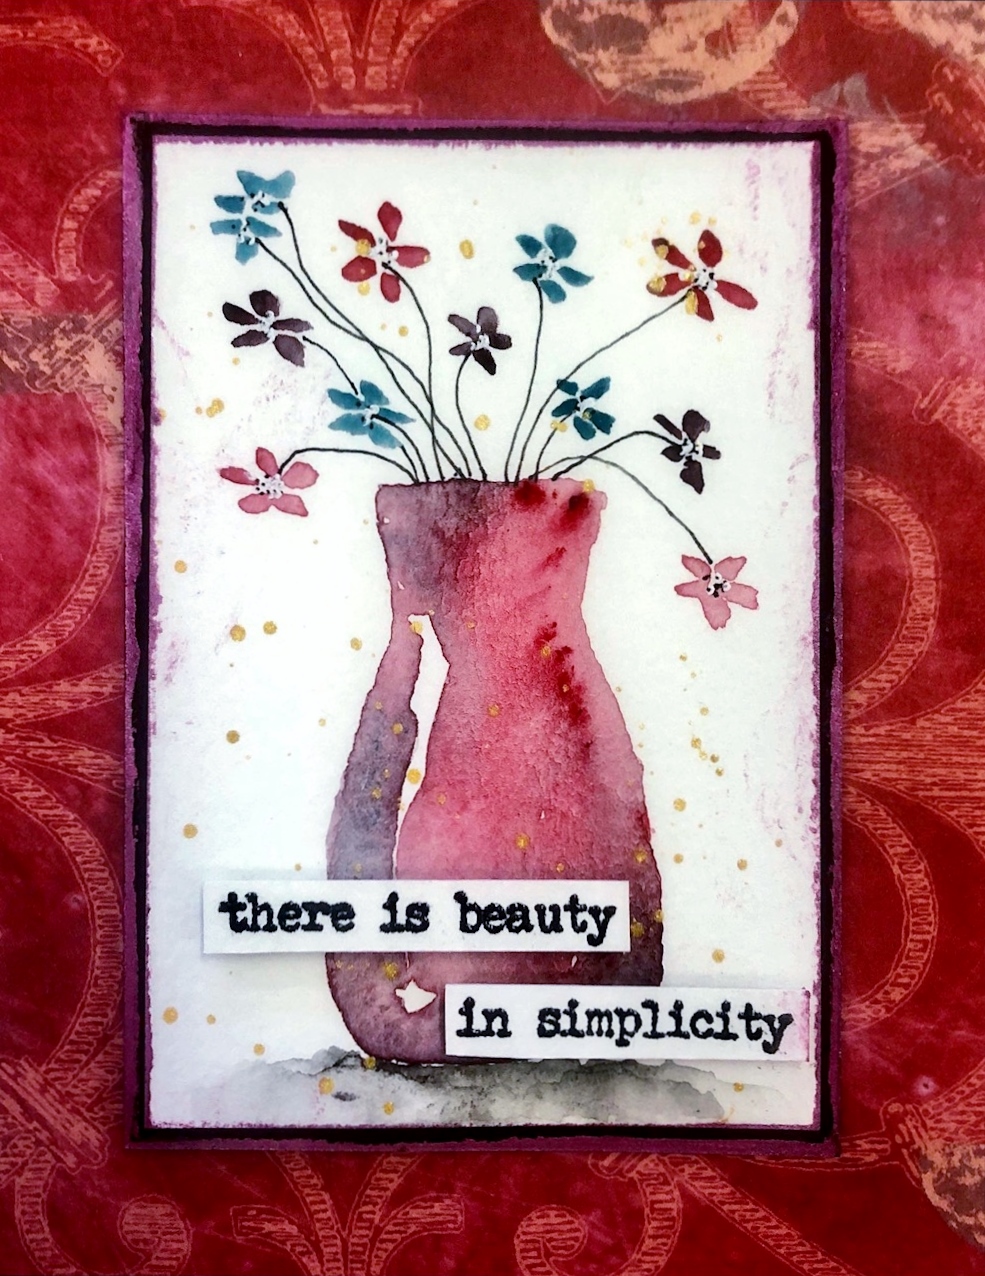
This particular technique uses basic shapes to create an outline which you then colour in with a watercolour brush and some water. I used a combination of watercolour paints as well as my Distress Oxide Sprays and normal Distress Sprays to create my samples. I found using simple shapes like bottle cap lids and similar circular shapes to be easy to create the outline but I found myself wanting to try some other shapes. So I looked through some of my metal dies and found some square, hexagon and even a vase die that were all open shapes that I thought would work with this technique. They worked perfectly! I did have to use my magnetic pick-up tool to hold the die while dipping it into the watercolour but that worked just fine. Such a fun thing to do with watercolours and there are a myriad of ways you can further embellish these simple watercolour shapes. I hope the girls enjoy doing these.
"Vanishing story"
(The shapes in this background were made
using the Hexagon Die by Sizzix)

"Simplicity"
(This one I used an open vase die shape to create
the vase outline, which I then coloured with plain
water to fill in the centre. The flowers were
painted with the tip of my paint brush.)

"Peculiar"
(Simple circle shapes created with a small lid.)

"No rain no flowers"
(Another one where I used a small square die shape
to create the square outlines, then filled in with a
paint brush & water. A mask was made using the
same die and I used the waste to mask off the
outside of each square and stamped the inside with
various floral stamps. It takes time but looks effective.)

"Find joy"
(Another one created in a similar fashion to the one
above but just using a couple of bottle cap lids in 2
different sizes.)

Saturday, February 4, 2023
TEA BAG ART
For over a year I have been collecting used tea bags to use for an atc class and today we'll finally get to use them. This will be the first class back for this year so it's #1, Book 29. Tea bag art has been around for quite a long time and there are so many different things you can do with them. I chose to use them in two different ways, 1: open them up, tip out the tea bag leaves and then glue down the bag onto watercolour paper and hand-draw on them (or stamp) and colour with watercolour pencils. The second way was to once again open the bag, tip out the leaves but then re-close it and attach it to the background so it still looks like a tea bag. I chose to hand draw on most of my samples, except for the stamped one and my cover and card that I made are stamped, not hand-drawn. Hope you give it a go, it makes a great vintage background.
"Own your dreams"
"Sweet dreams"
(Notice the music notes,
so did you sing it?)

A short video of the above atc showing the fantastic
shimmering properties of the Lisilinka metallic
watercolour paints.
"Life is art"

This one is my book cover and measures 8" x 6",
or 20cm x 15cm. I used 3 opened tea bags
for the background in this one.

This one is the card I made using a tea bag
for the background. It was coloured with
Distress Crayons. I hand-wrote the sentiment.

Tuesday, December 6, 2022
CHRISTMAS EASY FOIL
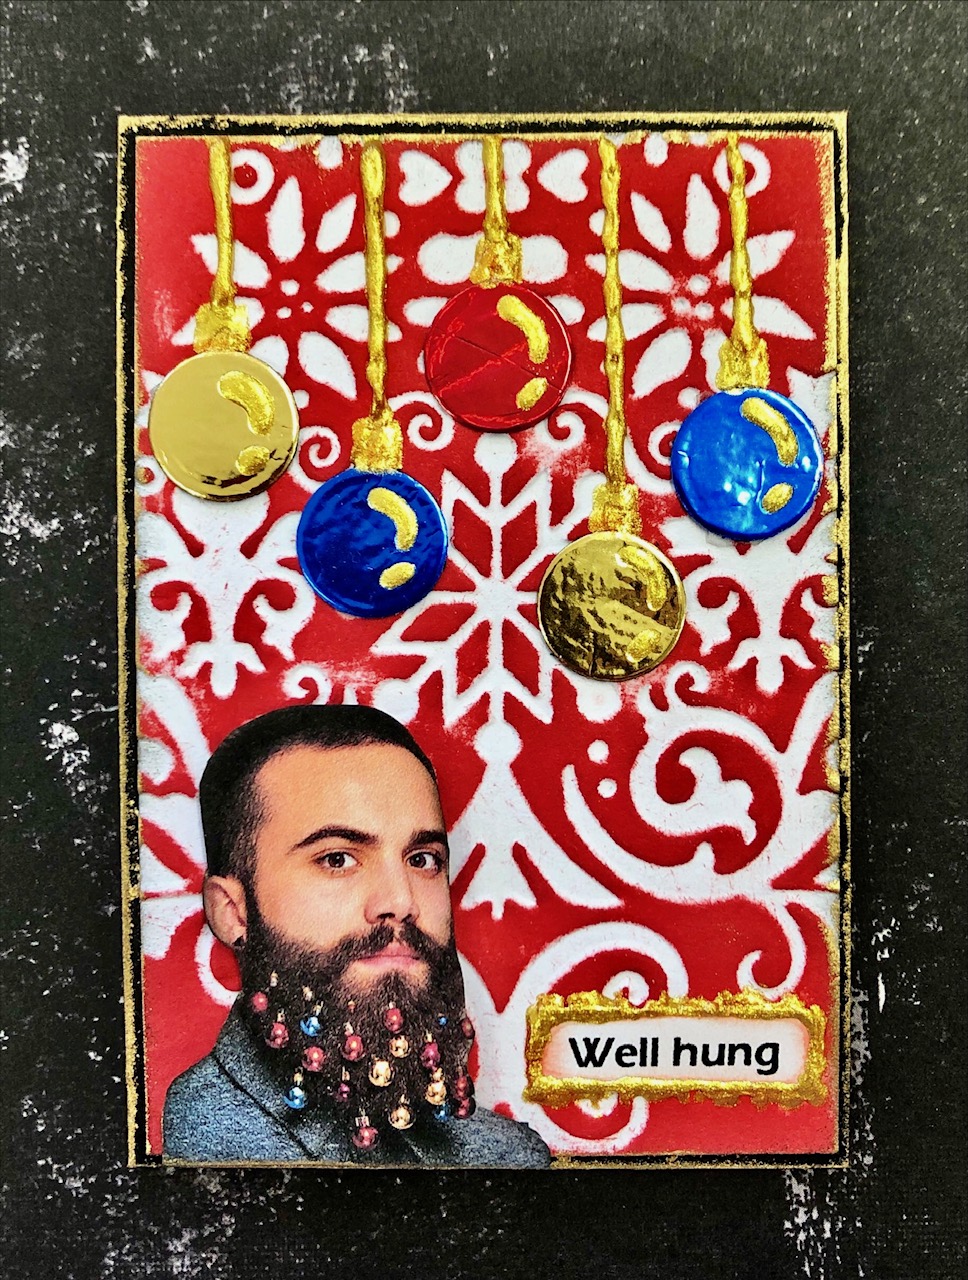
Each year my final class of the year is a Christmas theme. Of course, the girls in the class don't have to do this, it's just that I like to challenge myself to see if I can keep to my style while still keeping it in the Christmas style (relatively). I used foil on my die-cuts for this class as I like to make sure that we use what we have and everyone has lots of gorgeous colours of foil.
I usually go quiet on my blog over the Festive Season but I'll be kicking off again in the new year. Seasons greetings and a safe and happy New Year to everyone. 💖
"Festively wrapped package"
"Well hung"
(I didn't have any ornament dies so I used
the smallest circle die I had and then decorated
them with Liquid Pearls.)
"Dismember"
"Gold and myrrh"
(Hubby took a bit of time to understand
this one. 😉)
"Sparkly"
"Happy Horrordays"
Tuesday, November 22, 2022
BLEEDING BORDERS
This class is another use for re-inkers. I have all of the Distress re-inkers but only about 25 or so of the Distress re-inkers. I figured I'd work out which colours I need to top up as I use my Distress Oxide ink pads (which I actually use way more than my normal Distress Pads now!). I think it's probably the oxidation process that makes the Oxide re-inkers so versatile in this technique. The trick is to only wet them a tiny bit rather than flood the watercolour paper with them, though that's a nice look too! These are all created on 300gsm watercolour paper to help prevent warping.
On another note, I missed my class last fortnight because the dreaded Covid caught up with me. I managed to avoid it for the last few years and have all of my jabs up to date so hopefully, it won't get me again. Pretty lousy few days but it was mostly over in about 7 days. One of the lucky ones I suspect.
"Condemned"
(Frayed Burlap Oxide Re-inker, just gorgeous!)
"Gucci"
"Annoyed"
(Now this is a reality show I'd go on!)
"The life of insects"
"Mummies"
(The proper collective noun for a group of
mummies is a Tanna of mummies. Apparently,
Tanna leaves can control them. A stumble refers
to a group of zombies. Personally, I should've
gone with my own idea for a group of mummies,
a wrap of mummies.)
"Sparkle"
(Slight Twilight reference there.) 😉
Close-up so you can see the sparkle.
Tuesday, October 25, 2022
FLORAL ARRANGEMENTS
"Be authentic"
Tuesday, October 11, 2022
FOUNDRY WAX
I've used it in various ways as shown in my samples below, listed in order: on a plastic snake, on the corrugated card and on a black die-cut, on plastic spiders and smooshed onto a background, dabbed onto a coloured die-cut and added to a piece of string, wiped over a dry-embossed white background and finally wiped onto the raised areas of a black dry-embossed background.
If you click on the pictures, they will come up much clearer and with more detail.
|