
Layering several die-cuts over the top of each other in a pleasing composition can be fraught with problems, until the discovery of Press'n Seal. Fortunately, this is now available in Australia at Costco as none of the other grocery stores here carry it. I have found it is also perfect for placing down fiddly and intricate die-cuts, especially if you have cut it out of thin paper, like metallic paper. Especially if you have added your double-sided sheet to the back because when you peel off that release paper, the die-cut just wants to fold up on itself and stick together. By placing a piece of Press'n Seal over the top before pulling off the release paper, you have much greater control over placement on your background. You'll see I have a bit of a floral theme going on here. The main dies I have that can be layered are the floral/weed/leaf dies but luckily these work perfectly. This technique however will work with whatever die-cuts you choose to use.
"Cultivate"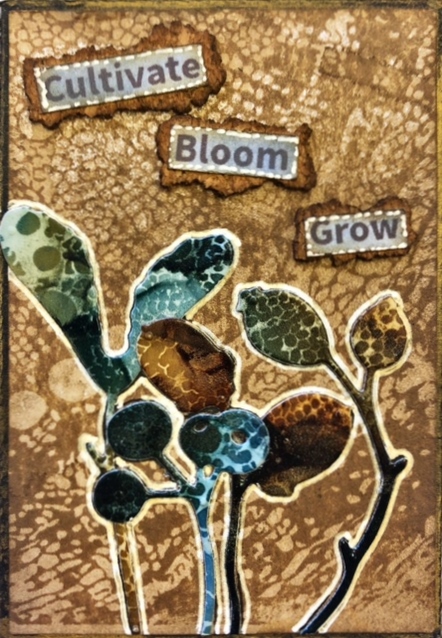
"Bloom"
"Specimen"
(The last atc (Season) has the inner
removed pieces of this die-cut used
in a plain shimmer background. This
will work with any die that has pieces
that can be removed and still create a
recognisable shape.)
"Beautiful things"
"Golden Soul"
"Season"
(The inner part of this leaf is from the
Beautiful things atc above. By cutting
the leaf shape from both an alcohol ink
piece and a gold metallic piece, you can
interchange them to create two separate pieces.)


