Showing posts with label distress re-inkers. Show all posts

Wednesday, August 28, 2024

ACRYLIC INKS/DISTRESS RE-INKERS ON PHOTO PAPER

I have used acrylic inks before on photo paper and had forgotten just how vibrant these fluid inks can be on the shiny side of the photo paper. The contrast between the beautiful magenta one at the top and the next one with the black bird die-cuts shows you can also create a more subtle background. The one with the black birds is Winsor & Newton Silver Acrylic Ink and Liquitex Burnt Sienna, a gorgeous combination and silver in real life is stunning! 
Down the bottom of this post is an image of the backgrounds I made using my Distress Re-inkers. These work just as well but take a bit more time to dry. No heat gun was used to dry any of these as the photo paper will blister so you just need some patience and let them sit while you create more gorgeous backgrounds. Black Stazon is your best stamping ink if you want to stamp. Rub-ons also work perfectly on these backgrounds. I used rub-ons on both of the samples with the magenta.

"State of mind"


"Scenic route"


"Fearless"


"Field notes"


"Make today count"


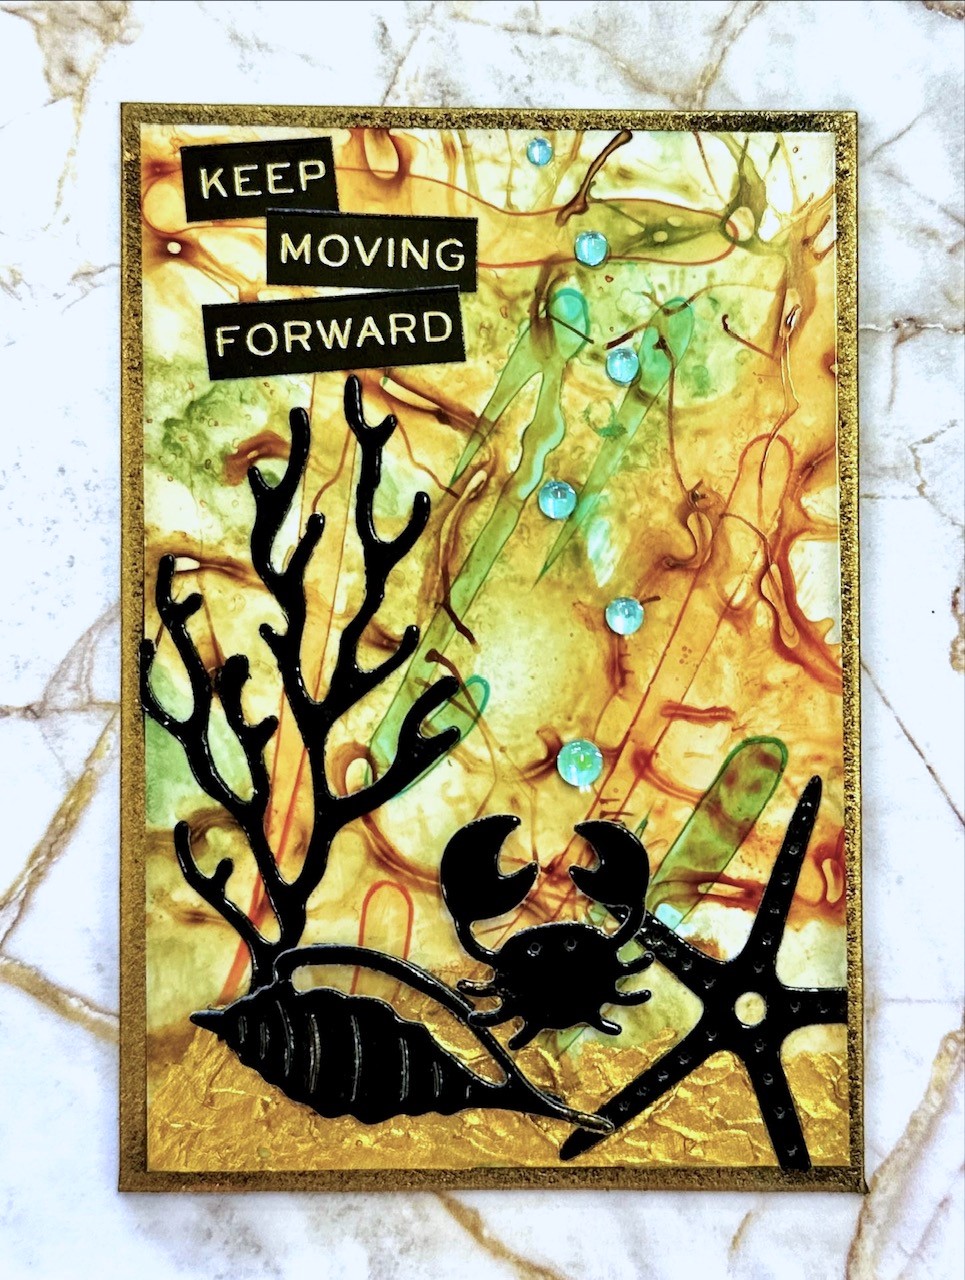
"Keep moving forward"

These backgrounds were made in the same way as the ones above 
but they were created with Distress Re-inkers instead of Acrylic
Inks. They took longer to dry but they still are very cool backgrounds.

Tuesday, November 22, 2022

BLEEDING BORDERS

 This class is another use for re-inkers. I have all of the Distress re-inkers but only about 25 or so of the Distress re-inkers. I figured I'd work out which colours I need to top up as I use my Distress Oxide ink pads (which I actually use way more than my normal Distress Pads now!). I think it's probably the oxidation process that makes the Oxide re-inkers so versatile in this technique. The trick is to only wet them a tiny bit rather than flood the watercolour paper with them, though that's a nice look too! These are all created on 300gsm watercolour paper to help prevent warping. 

On another note, I missed my class last fortnight because the dreaded Covid caught up with me. I managed to avoid it for the last few years and have all of my jabs up to date so hopefully, it won't get me again. Pretty lousy few days but it was mostly over in about 7 days. One of the lucky ones I suspect.

"Condemned"
(Frayed Burlap Oxide Re-inker, just gorgeous!)


"Gucci"


"Annoyed"
(Now this is a reality show I'd go on!)


"The life of insects"


"Mummies"
(The proper collective noun for a group of
mummies is a Tanna of mummies. Apparently,
Tanna leaves can control them. A stumble refers
to a group of zombies. Personally, I should've
gone with my own idea for a group of mummies,
a wrap of mummies.)


"Sparkle"
(Slight Twilight reference there.) 😉


Close-up so you can see the sparkle.


Friday, May 6, 2016

POLISHED STONE

Polished Stone is a technique that has been around for quite a while and while using alcohol inks has made it a really simple technique, not everyone has all the beautiful colours of alcohol inks.  Most people do have some dye re-inkers though and these are what is used for this particular version, along with rubbing alcohol (which is like the Blending Solution that you use with the alcohol inks).

I have used the Ranger Distress Re-inkers because this is what I have most of but you could try out any other dye re-inkers you have on hand.  I always like to start with the lightest colour and generally use two contrasting colours first, like blue, green or yellow and orange and then use a darker third colour to build up interest and intensity.  Depending on what particular stamp or image you use, you place your colours on the card where you like.

One of the obstacles of working on an atc sized piece of card (2-1/2" x 3-1/2") is because the area is so small, you need to not be too heavy handed and totally cover your card with the darker colour as you'll lose the lighter effect of the first application.  You might want to try this technique on a larger greeting card size first to get an idea of how it blends etc before tackling the smaller atc card.  I used a cotton wool ball for application.

"Eternity"... 

"Little key"... 

"Heels"... 

"Pixie Dust"... (the sparkly bits on the wings
are Angelina Fibre cut and added onto 
Glossy Accents while still wet)

Wednesday, May 21, 2014

BUBBLE BACKGROUND

Making bubble backgrounds is another of those techniques that's been around for quite a while and is a favourite of art classes taught to children in schools.  What could be more fun than blowing bubbles and watching them pop and explode into colour onto paper!  It also makes a wonderful background for atc's and cards.  I read up on all the different ways this was done, experimented myself and found that dishwashing liquid in some water and Ranger Distress Re-inkers suited my purposes for this technique, along with a straw of course!   You can use a watered down thick paint and I had even tried using Glimmer Mists but found that the amount of colour you need to use was too much.... hence the re-inkers being the best for my taste.  I've only done one sample atc because I wanted to show how fantastic the background looks before you put the images etc all over it.  These pics are a bit brighter here than they are in real life, more subtle colouring is what you can expect.
 
 
Sample bubble backgrounds...

"A little bird"...
 
Sample bubble backgrounds...
 
Sample bubble backgrounds with two colours used...
 
More atc's will follow when I have made them on these backgrounds.