Using embossing folders and card stock to emboss an image into cardstock through a die-cut/embossing machine is always a great way to create a quick background. The reverse side that is not generally used is a debossed design. For this particular technique, I have used the debossed side created using 3D embossing folders. The 3D folders have much greater depth and detail than a standard 2D folder. The 2D ones will work but I was happier with my samples from the 3D ones. To colour the backgrounds I used my Distress Oxide Inks and foam applicators.
A quick and easy technique that looks so effective in the flesh.
"Sticks & stones"
"Release the Kraken!"
"Digging in the ground"

"Bugs"

"Bugs"

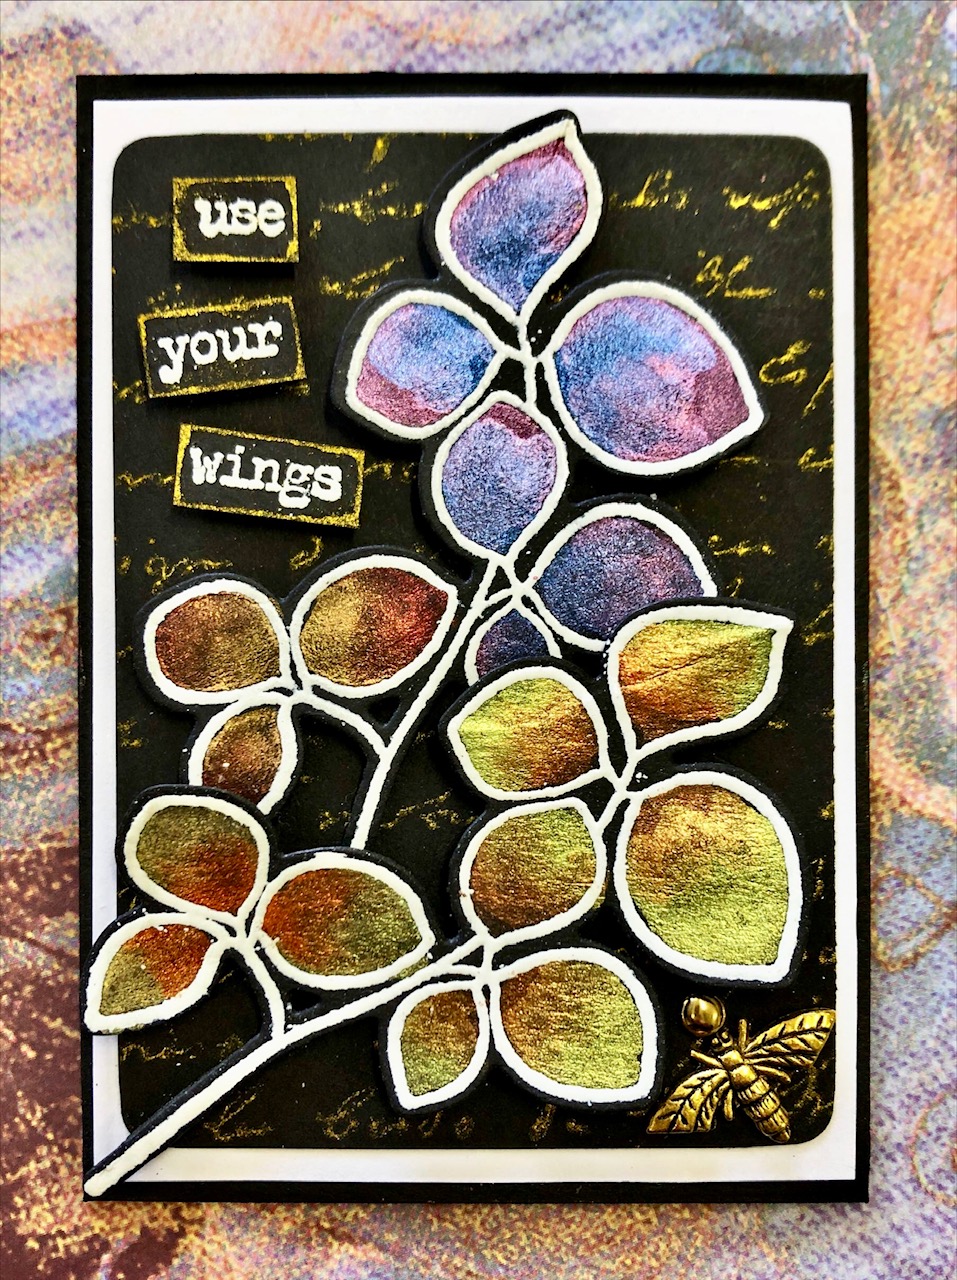
"Use your wings

"Be fearless"

Here are two cards that I made using the new Skull 3D embossing folder from Sizzix.
The first one below is plain white card stock that has been embossed using a piece of black graphite paper against the card as it was run through with the embossing folder. It gives a great black-and-white effect for very little effort.

This one has the same black graphite background but with the addition of some of the brown Distress Oxide Inks rubbed over the top for added colour. I also flicked a little of the Distress Mica Stain colours on the background and then fussy-cut out one of the skulls from another background of the same design to give the layered look. The added cut-out skull has some Ranger Foundry in gold and copper applied for further interest.