Mica is a product that has been around forever. I remember buying some nearly 20 years ago and I still have some of it left. Since then I have used several different types of Mica, from donut shapes to different colours of Mica through to Mica flakes. The Mica I have used for this class is absolutely clear in colour, transparent and also flexible so it doesn't shatter the same way that my other Mica does. Consequently, I used alcohol inks to add colour to it so it would look different from say, a piece of acetate (because that's exactly what it feels like!). However, because this is Mica, it is heat resistant and you can emboss on it. I even tried using the Distress Glaze Embossing Powder on it and it works beautifully as it just changes the colour of the Mica but also gives a nice bumpy sort of texture. There's no sample of that here amongst these ones, I was just trying out all sorts of things to see what would work and what wouldn't. Love that I can staple or brad these pieces on too. I even die-cut a piece (the heart on the 2nd ATC) though that took a bit of hand-cutting too. It made me want to do another class using the other ordinary Mica, though there is nothing ordinary about any Mica! Love it all.
"Plastic melts"

"No refunds"

"Aquaholic"

"Evil"
(Yes, you can even stamp on it with Black
Archival Ink and heat set with a heat gun)

"dos"
(I've been waiting for ages to use
this quote 😉)

"Take the leap"
(The leaf shape in brown is the Mica coloured
and with some clear embossing on it)

Finally, these last two are samples from last week's class, Embossed Waxed Backgrounds.
"Zombies"

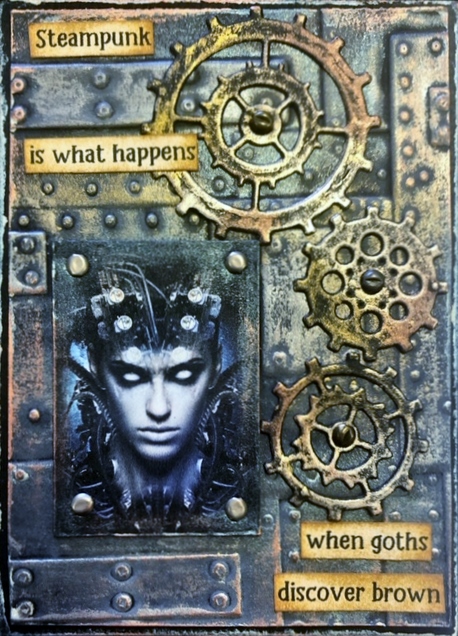
"Steampunk"