Friday, August 26, 2016

FOAM CORE BOARD EMBELLISHMENTS

Foam core board can be bought in all different sizes, from A4 size right through to big sheets that are 100cm x 800cm!  It was this size that I bought so I could cut it down to A4 size for the girls so they could have enough to have a good play with this product.  Not only can you just cut it with scissors, you can also run it through a die-cutting machine (like the Big Shot or Cuttlebug).  The only thing you need to remember is that you need to use the normal size cutting dies to cut with as the thinner sizzlet or wafer thin type ones won't work as they don't cut deep enough.  Any of your older big or thicker dies work perfectly and it surprisingly keeps a decent amount of height to it and doesn't flatten out like you would expect it to!  You can also emboss with them too though you may need to muck around with the sandwich layers to work out what will be the correct combination without trying to force your machine.  It does do a really good impression though with the embossing folders!

Because this product is so soft it's easy to make cuts into it or poke holes in it to push brads through (as shown below) and takes paint and sprays and whatever other colouring method you wish to choose.  I simply stick mine down with double-sided tape as it's not heavy at all, not much weightier than a piece of paper in fact.


"Editing"...
(a long strip of foam core board
that has been cut into blocks)
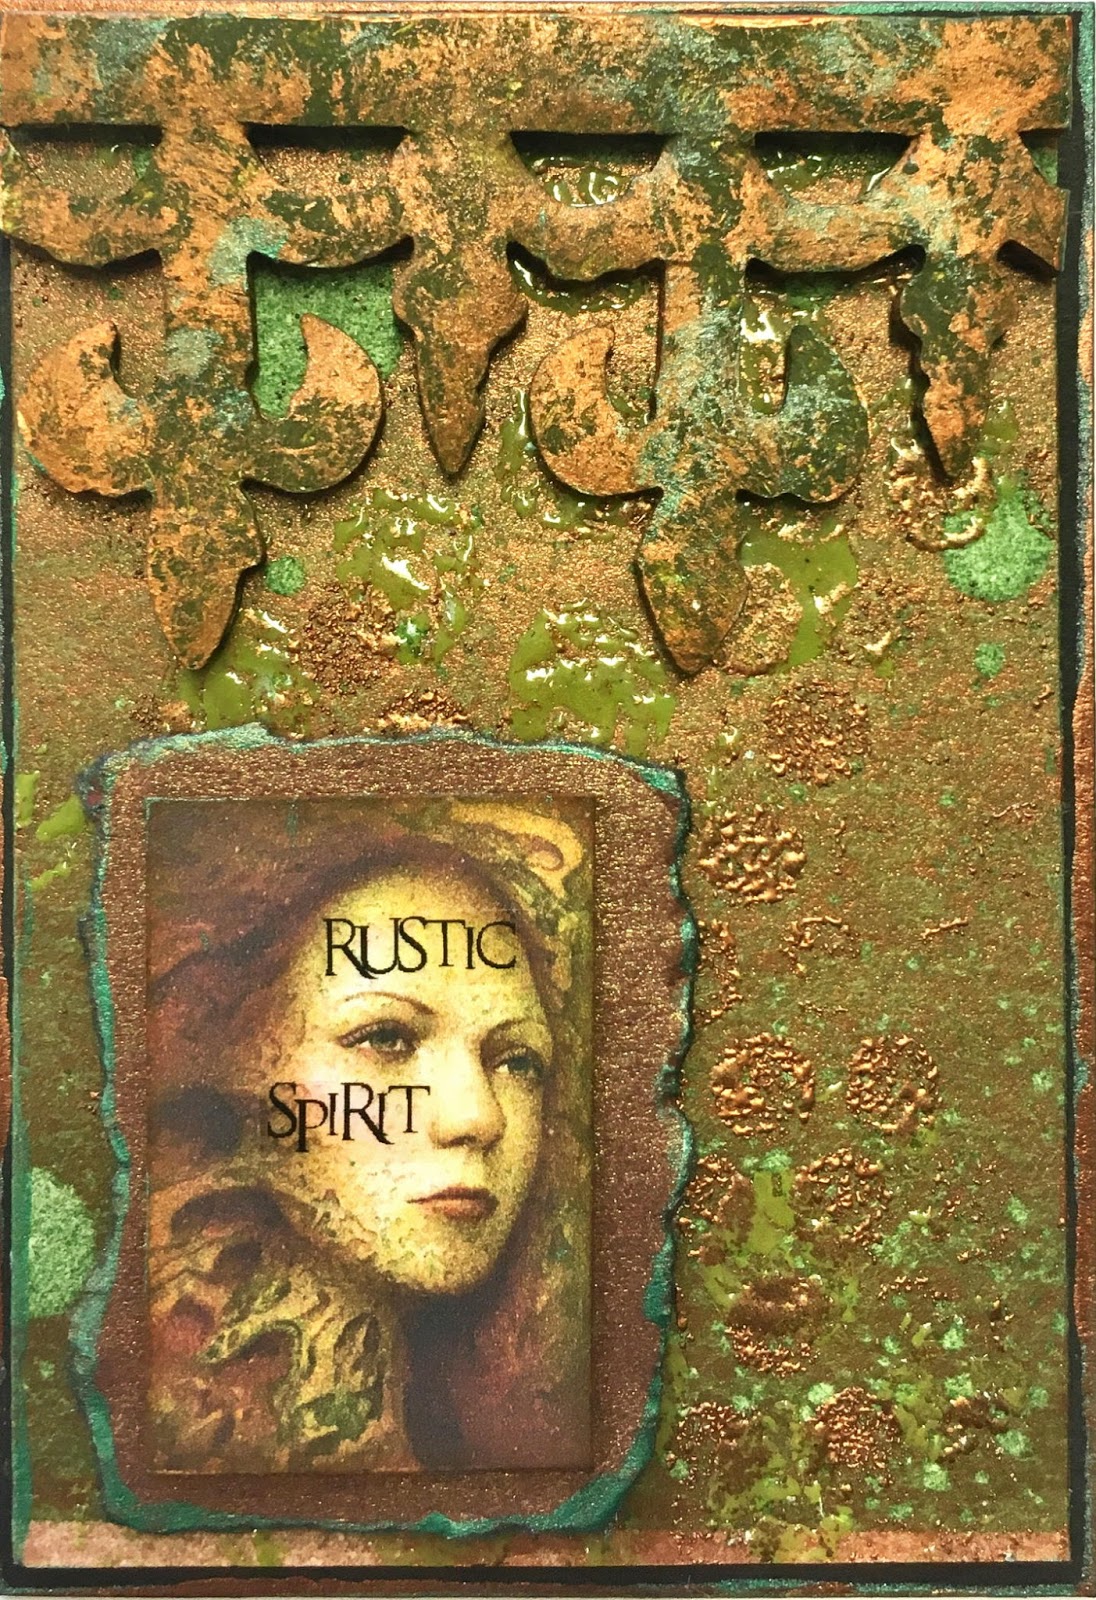
"Rustic Spirit"...
(The ironworks border die run 
through my Big Shot)

"Seduction"...
(A heart that I cut out freehand
and then cut some slashes in so
when it was painted and dry, I
could drop in some gems that were
glued in with glossy accents)

"Sparkle"...
(The daisy  -  or as I call it "the splat" die)

"Broken Crayons"...
(Brick blocks that are quite
dimensional in height)

Tuesday, August 9, 2016

ELEGANT WRITER PEN CLASS

Firstly let me state that I am not an artist as the following pictures will attest!  I googled "simple line drawings" to get some ideas and just drew.  So if you're actually an artist, do try this pen as it's watercolouring possibilities are beautiful!

The Elegant Writer Calligraphy pen has the unique quality that it bleeds beautiful greys, pinks and mauve's when wet with water.  As I work on atc's which are small (2.5" x 3.5" or 6.4cm x 8.9cm), it can be quite a challenge to get much detail happening.  If you google Elegant Writer Drawings you'll see some absolutely amazing artwork that people product and they are all bigger than atc's!  So to work so small you need not much detail and more open areas to do the washes using an aqua brush or fine paint brush dipped in water.  

Some of the ones below I have then added colour after using Twinkling H2O's which are great for adding just a wash of colour to complement the grey etc that the Elegant Writer gives with just water.  If you blot almost immediately with a paper towel when you activate the line of the Elegant Writer pen, you'll get more of a colour change, this is when the pink and mauve colours show up.  Also I have heard that as the pen gets older and more used it is not so black to start with so that also alters the colours that it will bleed.  

I've also included down the bottom a drawing that I've done using just the pen with no water added (Dogs speak) and also some with the pen and just water, no other colours to give you an idea of how subtle the other pinks and mauve's are.

"Trees"... (I used Twinkling H2O's in
a pink and a purple to add
extra colour to this one)

"Falling"... (this one also has Twinkling H2O's, blue 
for the sky, a little gold down the bottom, brown on the 
branch and green on the leaves.)

"Dark side"... (Once again Twinkling H2O's 
in red and pearl for this one.)

"Wear my hair"... (No other colours on
this one at all, just the pen and water.  Like I said,
I'm not artist and this started out as a
girl and morphed into a man!)

"Dogs speak"... (This one has the dog and the speech
bubble drawn in the pen but no water added yet, he also needs
his teeth drawn in when the watercolouring bit has
been done.  You can go back and add details with a
permanent pen after it's dry!)

This is one of Tim's birds from the Ranger stamp set and
I wanted to show the girls you could actually stamp using a
pale grey ink pad, I used the Dove
Grey in Stazon but any pale grey waterproof ink pad would
work.  Then draw over the lines with the Elegant Writer
pen and colour in using the water!

This one also is just water.

Water only.

Water again.  This shows the pinks and mauve's well