Saturday, March 19, 2011

Cuttlebug Embellishments

The Cuttlebug Machine has been around for a few years now and I don't know of anyone who has bought one that hasn't just loved it! For adding embellishments to atc's, it's excellent. Whether you're using the embossing folders to emboss chipboard pieces or shapes, or embossing the background papers for added texture, or using parts of the various die-cut shapes and colouring them with different techniques, it's all quick and easy...my kinda technique!!!

Firstly though, here's the last one from the previous technique - Shimmer Spray Backgrounds. This was made using Broken China Distress Re-inker, water & Turquoise Perfect Pearls. It was sprayed on a black background so you don't actually see the Broken China dye colour, just the gorgeous shimmer of the Turquoise P/P. Love this fish stamp too! (The black diagonal thing on the front is a piece of black bridal tulle that's been heated with a heat gun to melt/distort slightly and stapled on....it's to represent the netting of the fish in the ocean. I know, you just NEEDED to know that didn't you!!! lol)


"Pursuit"...


Onto the Cuttlebug samples.

"Nature Study"... (corner off-cut of "Dandelion" cuttlebug die that's been embossed & painted with Smooch Inks then added a little Milled Lavender Distress Stickles)

"Despair"... (piece of "Peacock" coloured Ten Second Studio Metal cuttlebug embellishment up the top)

"Architect/ure"... (off-cut of "Ironworks" cuttlebug die scroll that's been embossed with Verdigris embossing powder)

"Vintage Dreams"... (background Shimmer Spray that's been embossed, up the top is a piece of Ten Second Studio Metal embossed and an off-cut of a Cuttlebug circle die that's also been embossed)


"Spiritual"... (section of "Ironworks" Cuttlebug scroll die painted with acrylic metal paint)


There is no atc class in a fortnight's time as I'm going to Rotto (Rottnest Island) for a 10 day break with hubby & brother-in-law & his wife. 10 days spent relaxing, reading and just generally chilling. The next atc technique class will be on Saturday 19th of April and we'll be doing watercolour backgrounds, using watercolour crayons and Twinkling H2O's!

Friday, March 4, 2011

Shimmer Spray Backgrounds

This is one of those techniques where you just can't see the effect on the computer. A similar effect to Glimmer Mists but you have the advantage of using the 36 colour range of the Distress Re-inkers and the whole range of Perfect Pearls to mix and match to your heart's content. I sprayed mine onto ivory, buff and black card stock and the colours are amazing! Love having multiple uses for products, re-inkers and perfect pearls can be used several ways and it makes having all the colours that much more necessary......well okay, in my little world anyway. ;-)

"Stylish"... (Broken China re-inker & Turquoise Perfect Pearls). Another twist to this one is to use white embossing powder first before doing the spray thing as the embossing will act as a resist.


"Forbidden"... (Brushed Corduroy re-inker & Perfect Gold Perfect Pearls)


"Melancholy"... (Weathered Wood re-inker & Pewter Perfect Pearls)


"Falsetto"... (Brushed Corduroy re-inker & Perfect Gold Perfect Pearls)


More of these samples to come.

Here's the last couple of Distressed Coloured Gloss Card atc's from the last class.

"Menopausal"...

"Something Wicked"...

Friday, February 18, 2011

Distressed Coloured Gloss Card Class

The technique for this fortnight's set of classes at Scraptivate is Distressed Coloured Gloss Card. Now I know that everyone just loves the Ranger Distress Inks so much, especially since there are 36 gorgeous colours. I have 35, the only colour I just can't get into is Dried Marigold...think it has something to do with a bridesmaid dress I had to wear when I was 15 and it was just hideous!

So to add colour your gloss card with the Distress Inks is simple, take a piece of the Ranger Cut'n'dry Foam (4cm x 3cm is perfect!) and load it up with the distress ink and apply to a piece of gloss card in a circular motion. This way you can just buy white gloss card and you can alter the colour to any of the wonderful distress inks that are available! I go a step further in this class....water! It creates a blotchy distressed looking background that works just beautifully with the Black Stazon Ink Pad and your favourite stamps.


"Skeleton"...

"Passageway"...

"Formal Attire"...


"Exhibitionism"...


WARNING......naked male butt coming up!!!...... Here's the last sample from the previous class - Ten Second Studio Metal run through the cuttlebug and then alcohol inked. This is the background, and how could I possibly resist putting this particular picture on it. I ask you, how could I possibly resist!!! ;-)


More samples of the Distressed Coloured Gloss Card class to come.

Sunday, February 6, 2011

Metal Embossing Name Tags, Art Doll & CD Book Cover

My computer is finally fixed and after many hours re-installing programs I'm ready to go again. Somebody should shoot those stupid people who write viruses that lurk in the atmosphere just waiting to pounce on unsuspecting people like me!!! (Yes, I have a good anti-virus but unfortunately I'm not the only one to use my computer and I KNOW not to click on any of those little annoying pop-ups that promise faster computer speeds, only to infect you with something that you have to pay to have removed.)

So the first Metal Embossing Name Tag & ATC Class went really well on Saturday. Two more times to go - Tuesday night and Thursday morning and I'm sure those girls will love their little name badges as much as the others on Saturday did. One of the best things about my classes is how much pleasure I actually get from seeing the fantastic things the girls come up with when they stretch their creative wings....loved Robin's "Peacock" (an amazing aqua colour) Ten Second Studio Metal & Espresso alcohol inked, Tree embossed and owl charm name badge...awesome!

Here are the couple of name badges I made as samples.

Badge #1 (Cuttlebug Clockworks embossing folder and some watch pieces)...


Badge #2 (Cuttlebug Tiny Mosaic Texture, skeletons (from Scraptivate) and a fuse!)


ATC Sample...
"Serenity"... (Cuttlebug Moroccan Screen with Ginger & Pearl Alcohol Ink)


More of these ATC samples of this technique to come.


This particular technique is the second one in my ATC Technique Book Classes at Scraptivate, the first technique and book cover was the Stamping/Colouring on CD's. This is the cover of my book...

"Cover"...

Some close-ups...

"CD with Tattered Angels Glimmer Glaze in "Waterfall", stamped with Ophelia stamp (using Stazon)"...


"CD with alcohol inks (Rust & Stonewash & a little Denim)"...


"CD with a light coat of pale blue acrylic paint, wiped off in areas to reveal the holographic effect of the cd, with a bit of copper paint for contrast"...


On another note, I'll be teaching my Art Doll Class again starting this Saturday, 3 classes of 2-1/2 hours each. The first time I taught this I made a full-size doll along with the girls in the class and I had already made a fully completed sample before that class. So the last time I taught it I thought my version would be a little smaller. Less beading to do that way and they still get to see what effect you can get with beading, stamping, colouring and burnt organza/tulle. I kind of like the little version, she's only around 6" in length (15cm) so I think I'll be doing that one again! Here's the smaller version...

A stamped face attached with beads...


I teach the girls a freestyle beading technique that can become VERY addictive! How many beads can YOU add to the one strand??? lol


This is the back view with the wings made from the burnt organza and tulle...


So there you have picture overload for a while, more of the Ten Second Studio Metal Embossing atc's to come. ;-)

Friday, February 4, 2011

Metal Embossing...

Just a quick update to say I have no update at the moment! My stupid computer picked up a virus and it's currently residing at the computer hospital so my pics of the next ATC Technique Class - Metal Embossing - is going to have to wait until I have said computer back. I can tell you that the Metal Embossed Name Badges I've made and the Metal Embossed atc's look great and I'm sure the girls in tomorrow's (Saturday) class are going to love how easy they are. Check back in a few days and hopefully all will be well again. I really HATE having computer issues, it makes you realise how much you take it for granted when it just works.

Saturday, January 22, 2011

Stamping & Colouring on CD's

...and so begins another year! This first class that I'll be teaching at Scraptivate is the cover of ATC Technique Book #5 - Stamping & Colouring on CD's. I can't show you the cover yet as it has beads on it and needs to be photographed as opposed to scanned. Below are the first 3 samples of this particular technique.

"Kiss"... (alcohol inks in eggplant and pesto to colour the cd)


"Reflection"... (Glimmer Glaze in Cowboy to colour the cd)


"Eternal melancholy"... (Glimmer Glaze in Waterfall to colour the cd)


You need to heat the cd before you try and cut it otherwise it will either shatter or you'll lost the silvery reflective coating that gives it the holographic look that you want. I applied colour in three different ways - ordinary acrylic paint, alcohol inks and also the Tattered Angels Glimmer Glaze. All available at Scraptivate of course! The glimmer glaze works on acetate and metal too!
When I post a picture of the front cover you will see the 3 different methods that I have used for colouring the cd's. You colour the side of the cd where the cd is actually written on.....that is, not the side that has images and other information of a purchased recorded cd. Hope that makes sense? Questions???....ask away. ;-)

Saturday, December 11, 2010

Painting with Babywipes

This is a background technique that I'm teaching at the atc techniques classes I teach at Scraptivate. It's the final technique for this year and the current technique book, Number Four. In January we start Technique Book Number Five!

I work onto plain white card stock and use babywipes for the painting instead of paintbrushes. It gives a very soft look to the paints and a different look to the normal painting of acrylics on cardstock.

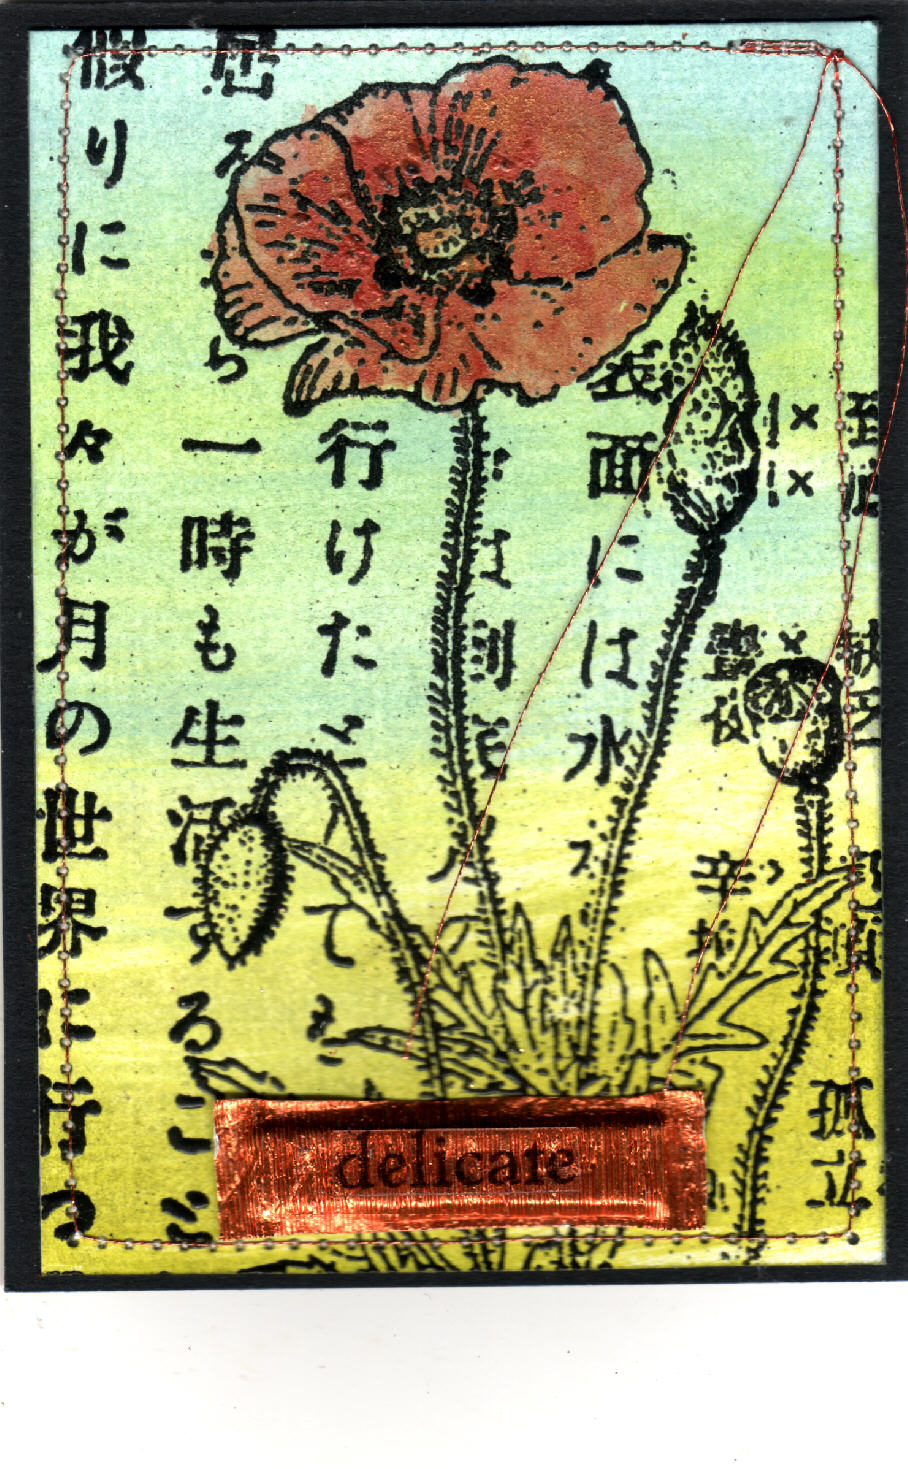
"Delicate"...

"Discover"...

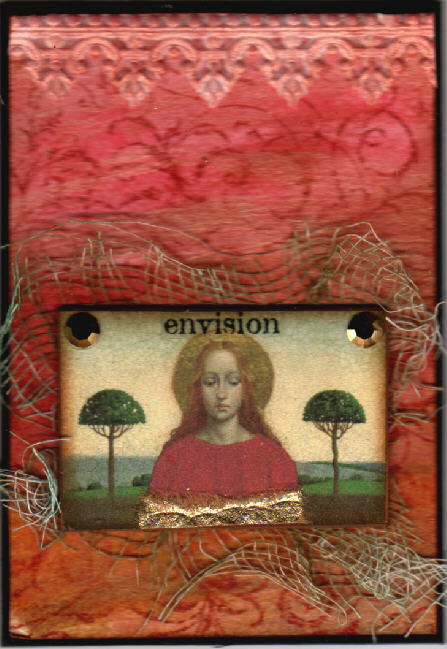
"Envision"...


"What you are"...
"Voyage"...


On another note, I have an atc techniques article being published in the next issue of the Aussie Magazine "Cardmaking, Stamping & Papercraft", Volume 16, Number 10. There should be around 8 or so techniques with pictures. Hopefully the instructions will be detailed enough for you to have a try at some of them.