Tuesday, March 1, 2022

ALCOHOL INK PEARL EMBOSSING


With the release of the new colours of Alcohol Ink Pearls, I thought it was time we did a class just using the Pearls.  This technique, using embossing folders, works beautifully with the pearl backgrounds. By using a sanding block and gently sanding down the raised design, it really brings out the embossing folder design and the subtle shimmer of the Alcohol Ink Pearls really adds to these making gorgeous backgrounds.  Of course, in the flesh, these look so much better as the flat screens just don't do the Alcohol Ink Pearls justice.

"The way you carry it"


"Heard a strange noise"
(To create the black & silver on the embossed tree branches,
I used some Tombow Multi Glue, allowed it to dry to the tacky
stage then pressed some Black & Silver Decofoil onto the
tacky areas.)


"When the owl sings"


"Use your wings"


"Be a cactus"

"Life is short"

Tuesday, February 15, 2022

INKED LANDSCAPES (ZOMBIES)

  You'll find my updated ATC Techniques List on a separate page at the top of my page directly under my banner, "ATC Technique List - Current & Previous".

I love any excuse to be able to use my liquid acrylic inks and the combination of acrylic inks and bleach gives wonderful effects. I have created a different effect using salt with fluid acrylic paint and rock salt but the bleach just takes it to the next level. Credit must go to Lydia from Splitcoaststampers for the specific acrylic ink/bleach technique. I must also blame her for my obsessive search for some Zombie stamps. So very glad I found them as they suit this style so well. 
Mainly black was used for this technique but as you can see from Kraken below, coloured acrylic inks will still work. However, you can't beat black for the moodiness that suits the zombie stamps perfectly! The Vegan Zombie background colour is a combination of Carbon Black and Prussian Blue (both Liquitex Acrylic Inks). The addition of gel pens creates easy highlights where needed. The shark fin was made by cutting a small fin shape from craft foam and attaching it to a piece of acetate and used as a stamp. What's the saying about necessity being the mother of invention? 😉

"Vegan Zombie"


"Kraken"


"Middle of the night"


"Thrilled to meat you"


"Dead people"


"Grab a bite"


Wednesday, February 2, 2022

FAUX WATERCOLOUR DIP

 You'll find my updated ATC Techniques List on a separate page at the top of my page directly under my banner, "ATC Technique List - Current & Previous".

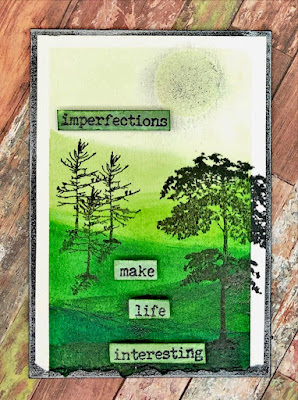
So begins another year of techniques for my atc classes. Over the holiday break, I've been dabbling with watercolours. I bought a few new watercolour paint sets and wanted to try out some different styles to see what would translate well onto the small size that is an atc (2½"x3½", or 63mm x 89mm). Sometimes I'll try out new techniques on card size backgrounds first to see if they will be able to be done on the smaller size, sometimes it works and sometimes it doesn't. 

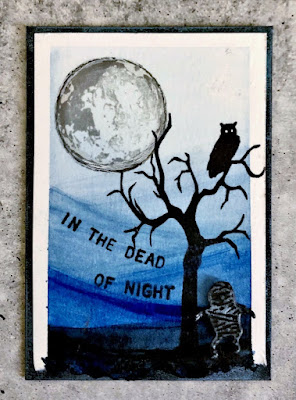
This particular technique works quite well as it is basically a wash across the watercolour card getting darker as you go down. It's very hard to see in these pictures but the bottom edge is torn so it really soaks up the darker colour and creates a great contrast with the backing. Of course, like most of this type of work, it looks better in the flesh than on a flat screen. If you do nothing else this year, I encourage you to try out a new technique or style. You'll probably surprise yourself at how well you do! 


"Pause button"

"Imperfections"


"Not what they seem"


"Scenic Route"


"Jump in"


"Dead of night"

Book 27 cover
(20cm x 15cm, 8" x 6")


Tuesday, December 7, 2021

STENCILLED OXIDES

You'll find my updated ATC Techniques List on a separate page at the top of my page
directly under my banner, "ATC Technique List - Current & Previous".


I have a lot of stencils and I decided they are a very underutilised resource, at least as far as I'm concerned.  So I decided to remedy that in the final class for the year, which is always a Christmas theme.  I used various stencils and Distress Oxide Inks with a blending brush (like the make-up style ones) and I found the colour went on very smoothly and easily on my Neenah white card stock. Cleaning the stencils is a breeze with a little spritz of water and dabbing off with a paper towel, which led to the amazing background that is on the first atc, Poe Ho Ho. I need to be mindful of my time limit in a class situation so I didn't use any pastes, gels or paints in this class, though it is also a great way to get even more out of your stencil collection.  Who has only 1 or 2 stencils?  No-one, that's who.  

"Poe Ho Ho"

"Santa came"


"Zombie Claus"


"Happy Horrordays"


"Dashing"


"Christmas Lights"


When I teach, I always demo the technique during
the class so I decided to make some cards from the samples
from the previous class, Alcohol Inked Vellum. The 
"Seniorita" card was what inspired me to do the stencil
backgrounds for this current class.

"Seniorita"


"Happiness"


Tuesday, November 23, 2021

ALCOHOL INKED VELLUM

 Blogger has changed and I am no longer able to update my ATC Techniques List so I have created a separate page for it.  You will now find it at the top of my page directly under my banner,  "ATC Technique List - Current & Previous". 

I have used alcohol ink markers on Vellum (though you can use tracing paper) with isopropyl alcohol to create these soft backgrounds. You can use alcohol inks as well but I found the markers better as they don't put as much liquid down, therefore keeping the vellum from warping. I have used Black Soot Distress Archival ink pad for all of my stamping, but then immediately clear embossed with super fine clear embossing powder. Just take care and use the heat gun in very short bursts so you don't warp the vellum. I like that you can use either side of the alcohol inked vellum, so you can choose to have it even more muted if you use the reverse side. Attach the vellum to white card to really make your stamped design and alcohol ink colours pop.

"Choose to shine"


"Brave wings"

"Sea water"

"Unfortunate ending"
(It wasn't until I finished this card that I realised
that it could be part 2 of the "Sea water" atc
above as the skeleton is a mermaid skeleton. 😏)

"Life is short"

"Life"
(The vellum section is only the centre part of this
atc. It was a scrap that wasn't quite wide enough
to cover the white backing card but I liked the
colours so decided to just go with it and stencil
the exposed edges of the white card.)

Tuesday, November 9, 2021

FAUX WATERCOLOURING

Watercolouring with stamps can be done in several different ways and this is just another variation that you won't need a stamping platform for as perfect placement isn't necessary.  Previously, I have coloured directly onto stamps with watercolour crayons, spritzed the stamp with water, then stamped.  This technique has a few more layers than that and I love how you can get a washed out looking background with the combination of the inks and water spray.  I have used both Ranger Distress Ink Pads and also the Distress Oxide Ink Pads to create these samples as well as some other smaller areas of stamping, embossing and a few different embellishments.  The trick with this technique is to embrace the white space for adding your other elements and allow the stamped focal image to take centre stage by making it the first thing your eye sees when looking at the atc.  I also used stencils to add a little more interest on Sleeping and I Don't Care.

"Sleeping" 


"Imperfections"


"Shine your light"


"Take the leap"


"I don't care"


"Easily distracted"


Tuesday, October 26, 2021

EMBOSSING FOLDER PAPER CASTING

The last time I did Paper Casting in class was back in 2012 and it had been around for years before that, albeit in a different way by doing the paper cast process over a red rubber stamp. Since embossing folders have been around, this is a much easier and quicker technique to do using the folders and a die-cut machine. I used toilet paper last time but found some great little serviettes at IKEA and tried them out, and they worked perfectly.  Previously I had used Tattered Angels Glimmer Mist to colour my backgrounds but this time around, nothing quite beats Ranger Distress Stain Sprays, the Mica Stain Sprays can also add a gorgeous bit of shimmer to the coloured background.

"Strange"


"Dark and gloomy"


"Bend"


"One life"


"Plant parenthood"


"Seas the day"


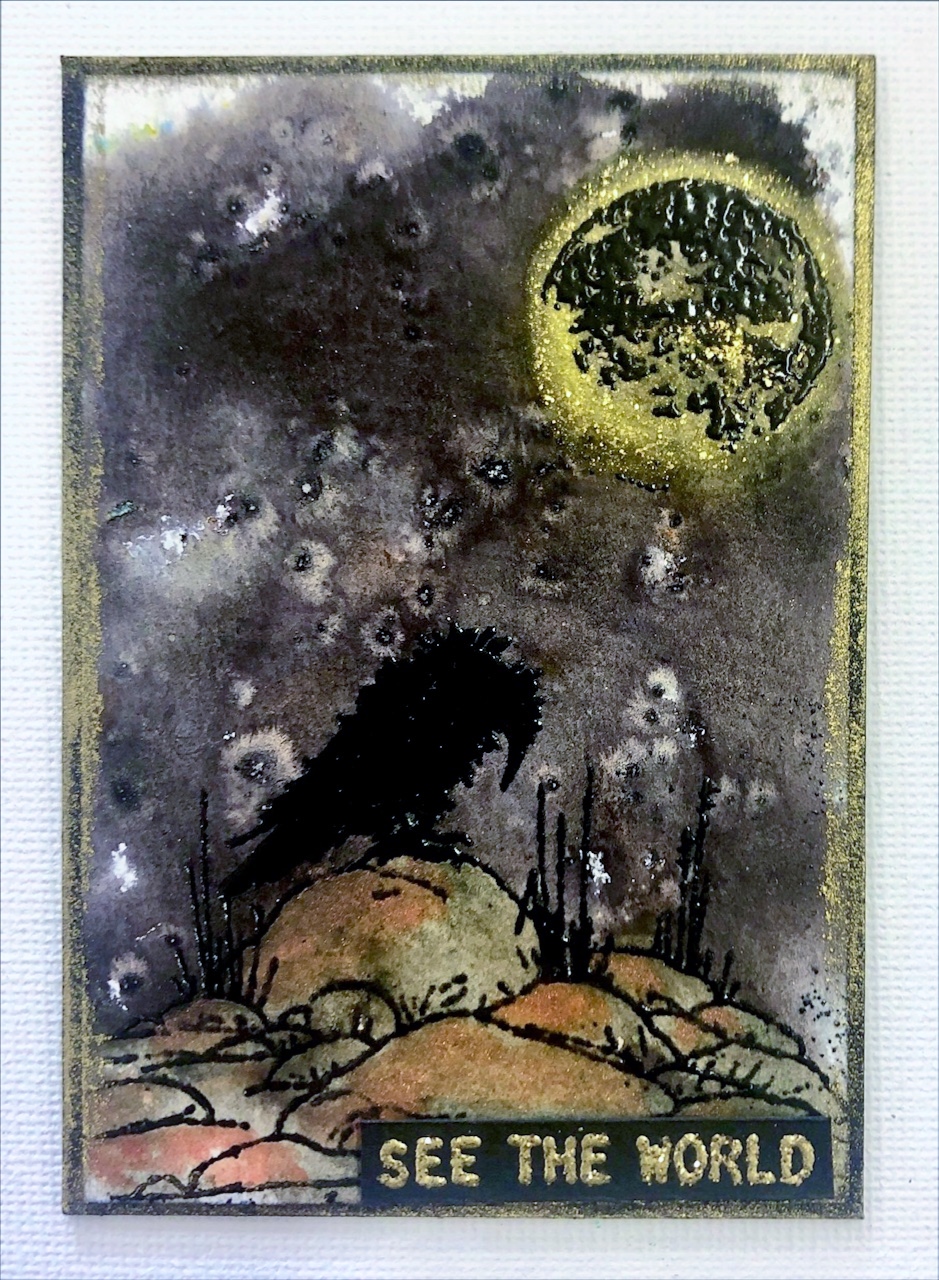
This last atc is from a previous class, Brushos &
Other Powders. 

"See the world"