Sunday, February 4, 2018

CRAYON MELT BACKGROUND

I have previously done classes where we've used either a mini craft iron or a Clover quilting iron to melt both beeswax as well as wax crayons to create a background.  Several people wanted to revisit this technique so I tried to work out a way to do it without the use of the irons.  I think I was successful!  All I used was cheap wax crayons, not watercolour ones though, just ordinary Crayola kids ones, a heat gun and a small, metal palette knife.  It wasn't always necessary to use the palette knife to spread the wax, sometimes I could do it purely with the heat of the heat gun to remelt the wax and get it to drip and run.  But other times if you want specific swirls or more definite strokes, the metal palette knife worked really well.  I even used my metallic crayons with great success.  Like all of these techniques though, viewing on the computer screen just does not do the backgrounds justice, amazing texture, satiny shine and metallic shimmer when gold, silver or copper was used.

"Scars"...
(gold & black crayons)

"Tequila"...
(citrus & pale grey crayons)

"Salty"...
(green-blue & copper crayons)

"Psychic"...
(orange & purple crayons)

"Demons"...
(red & dark grey crayons)

Friday, January 26, 2018

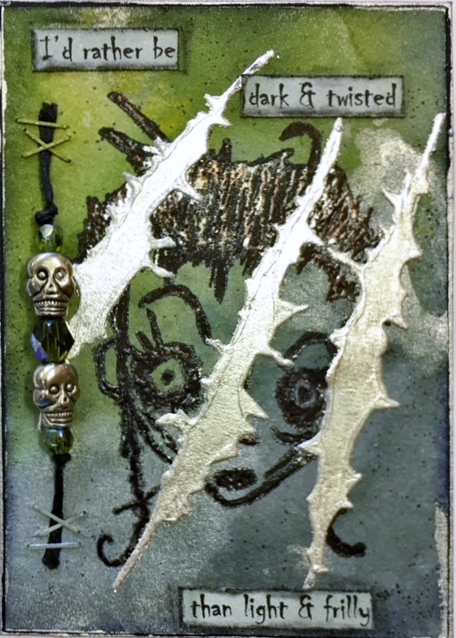
LEAFING FLAKE SCENES

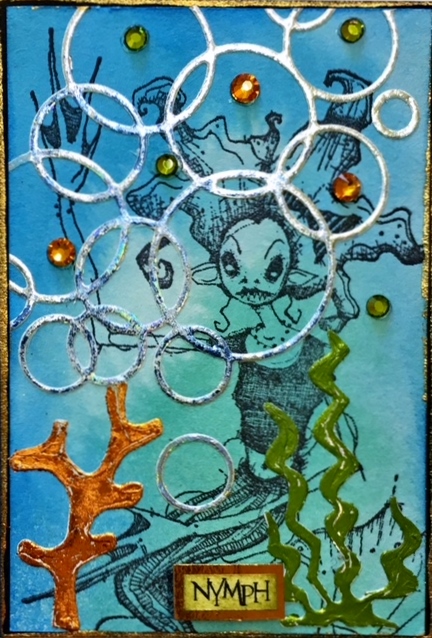
As it is January, it means the beginning of a new Technique book, #19 to be exact!  I've had a few deliveries over the last couple of months of some leafing flakes and some new dies and I thought as we are doing a cover, which is a larger size than our normal atc's, we could utilize the dies to "tell a story".  You can combine stamping as well with this technique and I used JAC paper (double-sided adhesive paper) to cut my die shapes from so I could apply the leafing flakes.  

Besides using leafing flakes on the die cut shapes, I've also used embossing powder as well as shiny foil and both work really well.  The only thing you need to watch out for with the embossing powder is not to heat it for too long as it will cause the JAC to lift up.  If you warm up your heat gun first, then do short bursts by applying the heat for a second or two then moving the heat gun away, apply heat again, move away again... repeat these steps until the embossing has melted.

"Nature's graffiti"...
(leafing flakes)

"Dark & twisted"...
(leafing flakes)

"Stars can't shine"...
(embossing powder on buildings
and stars, then a little Stickles
on the stars & to make more stars)

"Find your wings"...
(embossing powder on moon, bird 
and wavy sea shapes)

"Nymph"...
(foils - copper, green & silver)


Finally, here is the cover for Book #19.  All done with foils of various colours.  The size of this is 20cm x 15cm (or 8" x 6").

Tuesday, November 28, 2017

WATERCOLOUR TISSUE PAPER

The last class of the year is always a Christmas theme with a technique thrown in for good measure.  The technique this time is Watercolour Tissue Paper.  Tissue paper can be a little temperamental to handle when it's really wet but by doing this technique directly onto your craft sheet, then drying it in place until you can move the tissue easily without it tearing, makes it a whole lot easier.  Virtually anything that can be diluted down with water to make a wash will work.  I used Distress Stains and Distress Sprays. 

I have found some of my Distress Stains have totally changed colour so I am always cautious about using them straight away and test them first on a scrap piece of paper to see if it has altered.  My Pumice Stone looks like Forest Moss!  My Tumbled Glass looks like Broken China.  But you work with what you have.  After colouring the white tissue paper and then drying it, I've stuck it down to a piece of white cardstock using a Xyron.  You can either stick the tissue paper down flat or scrunch it up first to add extra wrinkles to it.  

Merry Christmas everyone... see you in 2018!

"I don't smell".... (this is my FAVOURITE!!!)

"I like your balls"...

"Happy Yule"...

"Wreck the tree"...

"Fleece Navidad"...

Friday, November 17, 2017

VELLUM OVERLAY

I bought myself a Stamp Positioner (Stamp Master one) some time ago and I wanted to use it in a class as I know that others have bought them and there they sit, in the box, unloved.  Whether you have a Misti, the Tim Holtz Stamping Platform, the Stamp Master or whatever, they all do a wonderful job of creating a really great, dark impression by stamping over the same image time and time again with no blurring.  Of course, you need to use unmounted stamps with these as the wood block ones just don't work.  There are lots of Youtube videos on how to use one so if you have one and haven't tried it out, give it a go!  

These atc's have the background stamped on plain white card using the Stamp Positioner to get a really dark image.  Then I have used a Xyron machine (puts sticky onto the white card face) and then pressed vellum down over the stamped image.  An alternative is to use a sewing machine (as in the sample below - Courage to fly) to stitch both the vellum and white card together.  The final layer on top of the vellum is die-cut shapes cut from plain black card and these are then stuck over the vellum to continue the story.  It's important to have the underlying stamped image suit the die-cut shapes to continue whatever theme you are going with.  Wording and maybe a little extra embellishing by way of crystals, Stickles, foil, Liquid Pearls etc will finish it off.  

"Unpleasant dreams"...

"Courage to fly"...

"Gardening"...

"Observe Life"...

"Black fixes everything"...

Tuesday, October 31, 2017

LEAFING FLAKES

Leafing Flakes or Gilding Flakes as they're also known are making a come back in the craft world.  They will stick to anything that's sticky and some would have you believe that you must use a specific type of glue for them, nope...untrue.   A tacky surface is all that's required for the flakes to adhere to but some work better than others.  If you look at my samples below, the first 3 and last 1 all have used die-cut shapes cut out of JAC paper (double-sided sticky paper) and this is the absolute easiest way to use the flakes.  I have a tub of gold, silver & copper all mixed together but I also have one of just gold and one of just silver.  I store them in a 1.5-litre lunch box as it's really easy to just dip your card in with the sticky exposed, press the flakes on and brush off the excess, all within the confines of the container.  This stuff floats EVERYWHERE!!!

The 4th sample below (Music speaks) is one that I have used by Zig glue pen to trace around the edges of the drips, wait a good 10 minutes for it to get tacky and clear (it goes on blue), then press on the flakes.  Perfect!  Of course, double-sided tape works really well with gilding flakes.  

As an experiment, I also tried out using clear embossing ink and the sticky embossing powder with a stamp.  I was the least happy with this as it was a little patchy in areas though if you were after a random background effect it'd work ok.  Just be really careful to not overheat the sticky powder as it won't be sticky if you heat too much.  It's a fine line.  😉

"Enchant"...

"I'll wear black"...

"Life is short"...

"Music speaks"...

"Stay creepy"...

Tuesday, October 17, 2017

ALCOHOL INKS & METALLIC PAINTS

Even though alcohol inks have been around for years now, they are still a favourite medium of mine.  When you combine them with metallic paints as the base, it creates a different and unexpected background.  Your wash of metallic paints needs to be wet for this to work so the alcohol inks have something to repel against.  The added bonus is the beautiful shimmer that can happen as the inks and metallic elements in the paint react together.  This is one of those techniques that you need to play around with yourself to see the reactions.  I used both Yupo and gloss card for the backgrounds, both react differently.

"Hakuna Moscato"... (gloss card)

"Landscape Painting"... (Yupo)
 

"Fly"... (Yupo)

"In the face"... (Yupo)

"So stupid"... (Yupo)

Friday, October 6, 2017

DISTRESS OXIDES & WEBBING SPRAY

Webbing Spray by Krylon is a fantastic product that has been around for a long time and has such a grungy look and feel to it that it just adds that something extra to an existing background.  Once again we'll be using the new Ranger Distress Oxide inks but this time on gloss photo paper.  They do react very differently when you do the "smoosh" technique with the Distress Oxides onto the photo paper and then when dry, wipe them off with a baby wipe.  This removes the oxidisation from the pigment inks and leaves a more vivid looking background.  Over the top of these backgrounds I've sprayed black webbing spray.  
You really only need the one colour of webbing spray (it's available in black, white, gold, silver, green and red) because if you have some embossing powder at the ready, as soon as you've sprayed your colour, quickly dump on embossing powder in a different colour, tap off the excess and heat.... voila, a different colour of webbing spray!  Make sure your background is really dry to prevent the embossing powder from sticking to the Distress Oxide inks!

"Kiss my sass"...

"Pitch Black"
(how awesome are these baby black spiders!)

"Bend in the road"...

"Paper cut"...

"Underestimate me"...