Tuesday, January 28, 2014

TRI-COLOUR BRAYERING (& MASKING)

We have tackled the trickiness of brayering before in a cover class but that was using white embossing as a resist.   Once again we are using embossing as a resist but it's black this time and it goes hand in hand with good old masking.  It's surprising the amount of stampers who don't use masking as a technique more often as it gives a really good effect!   I also love how different the brayering looks when done on gloss card stock compared to plain white card stock. 
 
"Be seen"... (a zetti-style atc, love the colours of this one!  It's on gloss card.)
 
"Always know"... (this one is on plain card stock.  When you're unsure of
what colours to use, it's always fool-proof to stick with 3 colours that are next to
each other on the colour wheel - this one is Barn Door, Spiced Marmalade and
Scattered Straw - in other words, red, orange and yellow!)

 
"Gate Keeper"... (gloss card, much lighter colours this time - Stormy Sky, Shaded Lilac
and Scattered Straw.)
 
"With wild abandon"... (plain card stock - Evergreen Bough, Tumbled Glass and Iced Spruce.)
 
 
More to come......  (next time I post I'll be a Nan!!!  My
son and daughter-in-law are expecting a baby girl TOMORROW!!!!!!)

Sunday, January 12, 2014

Steampunk - New Year - New Book Cover

EDITED - 14TH JANUARY 2014
(more atc samples added)
 
So another year begins, which means a brand new Technique Book as well!  It takes 6 months for the girls to complete a Technique Book and this book is number 11.... that's a lot of techniques!!!
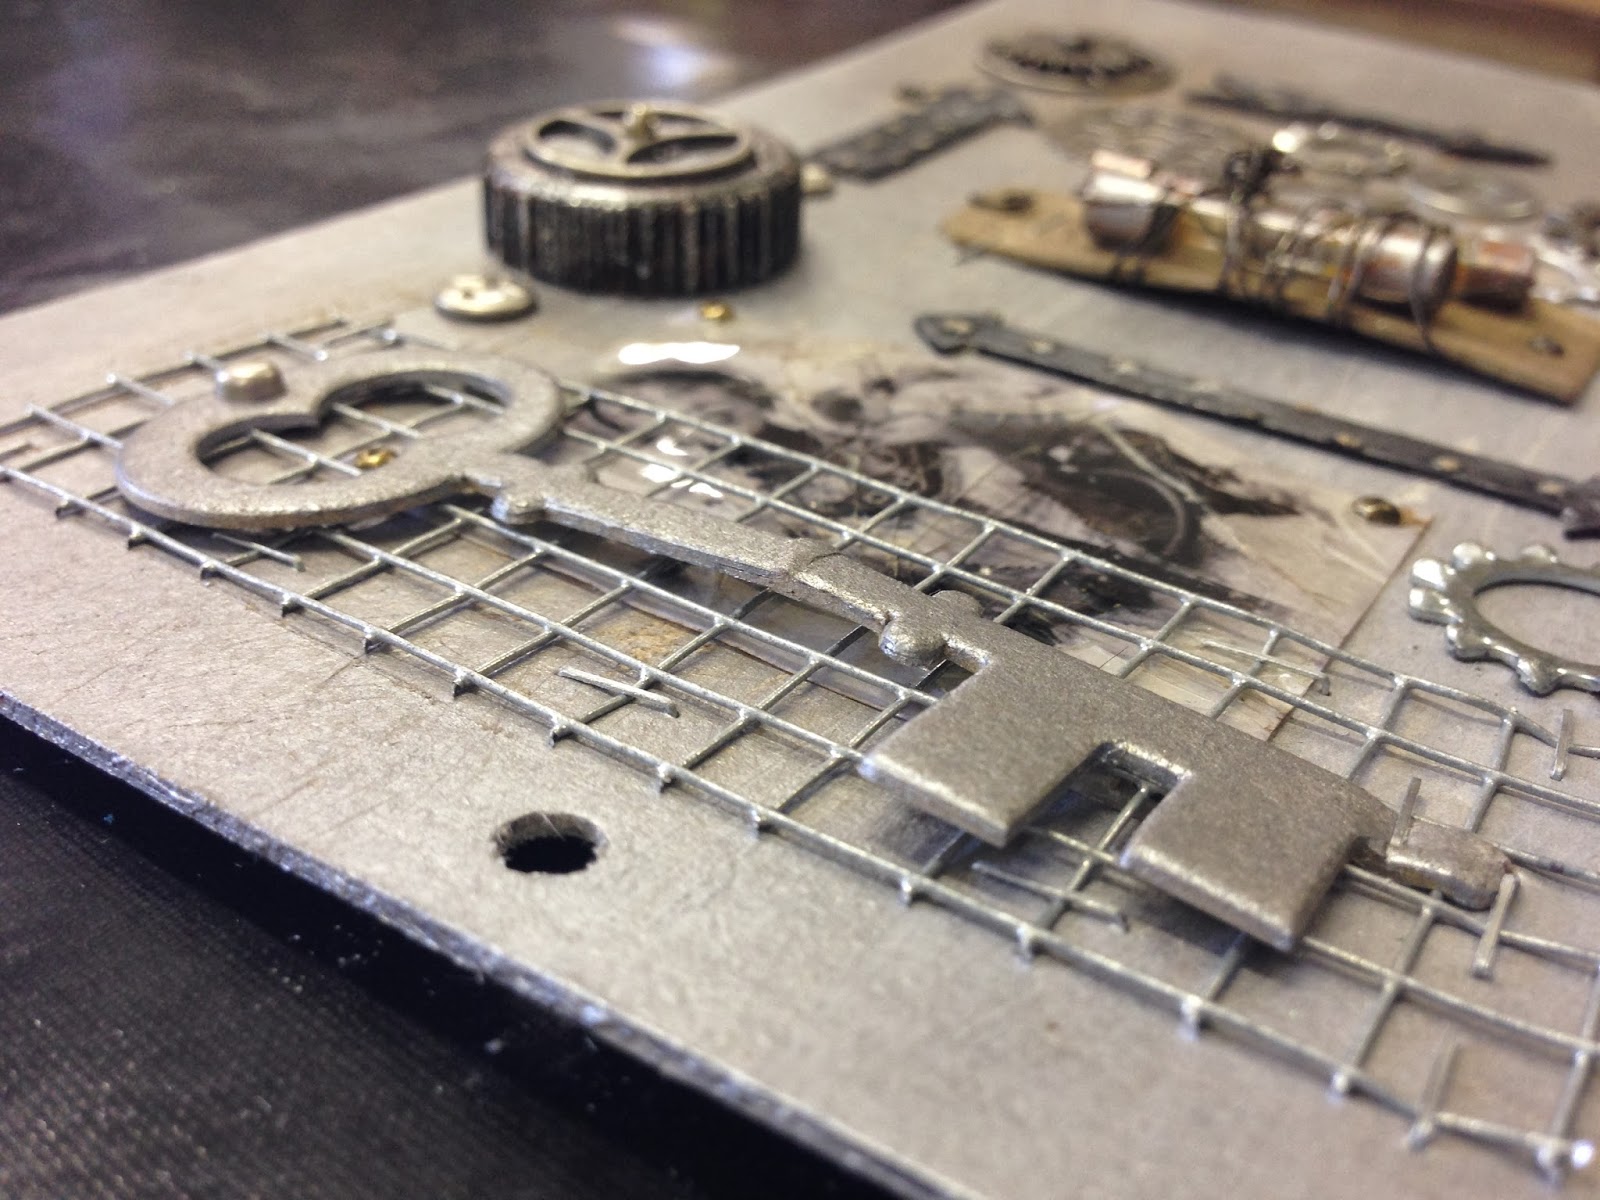
This cover is a theme rather than a technique though we will be using an old technique for the base, Julie van Oosten's (Collections chipboard products) "Industria".   From there it's a matter of carrying through the Steampunk style of Victorian/metal/industrialised theme.... so think cogs, watch parts, arrows, light fuses, wire, brads, pen nibs, hearts & wings, metal numbers, chain, in fact... almost anything metal will work.  The two round items on my cover page (which is 15cm x 20cm) that are at the top left-ish and bottom right are long-life milk lids.  These are plastic but take paint quite well and are relatively flat so will work on things that are quite 3d without being too large. 
 
Steampunk cover...
 
Steampunk cover close-up... (note the milk lid!)

another close-up... (image is made using the Cracked Glass technique)

and another close-up... (note that I've attached the lettering with the Tiny Attacher!  Works great)

"Steampunk"... (this is an older steampunk style atc that I made a while ago
using the Tissue Paper background)
 
"Steampunk"... (this is from a recent class using a Microbead Technique)
 
"Un-named"... (this isn't complete yet but you can see the metal elements
that I've used on this one.  The Mexican Milagro arms and
legs worked really well with this as did the
heart and wings for a face.  Notice the clock hands???   lol)
 
Because Perth has been sweltering with a severe heat-wave over the last few days I haven't had the inclination to spend time in my studio creating more Steampunk atc's.  Our weather is going to cool down a bit over the next few days so I'll get back into it and get some more made before the classes start next Saturday.   For the US girls who have been shivering in their own cold snap, we've been cooking with 44 (111 degrees F) degree temps here yesterday and by 9.40 this morning, it was already 41(105 degrees F)!  Thank goodness for the sea-breeze that arrived today.   I will have more steampunk atc's to post shortly, there's another 3 that are underway....
 
Added 14th January 2014...
Below are the new Steampunk atc's for this class as well as a completed "Metal Head" from above.
 
"Metal Head"...
 
"Dr. E"...
 
"Stay Calm"...
 
"Stay Calm"... (showing the 3d effect of the cut cardstock)
 
"Love"... (not sure if this one is finished, might
add some more bits to it yet)


Tuesday, December 3, 2013

Chalkboard ATC's

The Chalkboard style of stamping has been around for a little while now and it really suits a more focal image style of stamp as well as a great opportunity to use some quote or word stamps.  I love the simplicity of embossing with white powder and using white pigment ink to create the shadow effect around the stamp and then making your chalkboard dirty by sponging on more of the white pigment ink.  A white pencil adds some more detail or alternatively, you can use a little coloured pencil, either watercolour or normal pencils work equally as well!  A few samples for this last class for my Technique Book for this year.  Classes start again in January 2014.
 
"Rubber gloves"... (I've wanted to use
this quote for a while now!  lol)
 
"No Prince Charming"...
 
"Last Embrace"...  (this stamp is a little busier
than the previous two, I think I like a little
more chalkboard showing.)
 
Here's the last three samples from my previous class, Bleach & Faux Bleach.
 
"Sarcasm"...
 
"Medicated"... (Love these Stampotique girls!!!)
 
"Decompose"... (this is Faux Bleach using the paint
and you can see how much more the
Twinkling H2O's show up with
the paint acting as a base on the fish.)
 
I'll have more Chalkboard ATC's to post pictures of before Christmas.  Can't wait to see what the girls do with this particular technique!!!

Friday, November 22, 2013

Bleach & Faux Bleach Technique

The last time I taught the Bleach Technique was nearly four years ago and some of my newer students have asked to have a replay of it.  I like to also add a little extra for my girls who've been doing classes with me for several years so have introduced Faux Bleach to this class as well.   Not all card stock is created equal!  Meaning, not all brands will bleach with household bleach.  I like to work with a black background and I've found the Black Bazzill works the best for this technique with bleach.  I do have other black that just doesn't change colour at all, so to get around this, after stamping and embossing your image with clear embossing ink & clear powder, paint over the areas you wish to re-colour using a watered down acrylic paint, or even Picket Fence Distress Stain. 
 
I then add colour (after the paint or bleach is dry), using Twinkling H2O's.  These little pots of watercolour paint add lots of dimension and shimmer and even work over the solid black areas that you don't add bleach to. 
 
An open style stamp with areas to colour works better than a stamp with lots of solid areas.  If you want to see my earlier bleach atc's, click here.
 
"Damaged"... (using real bleach)

"Romantic"... (Faux bleach - acrylic paint)
 
"Simple moment"... (real bleach)
 
"Ill-fated Voyage"... (Faux bleach - acrylic paint)
 
"Ill-fated passage"... (Faux bleach - Distress Stain Picket Fence)
 
"Finding yourself"... (real bleach)

 
Finally, here's the last couple of Marble Emboss atc's from the previous class.
 
"End of the Ocean"...

"Dig two graves"...

Tuesday, November 5, 2013

Marble Emboss

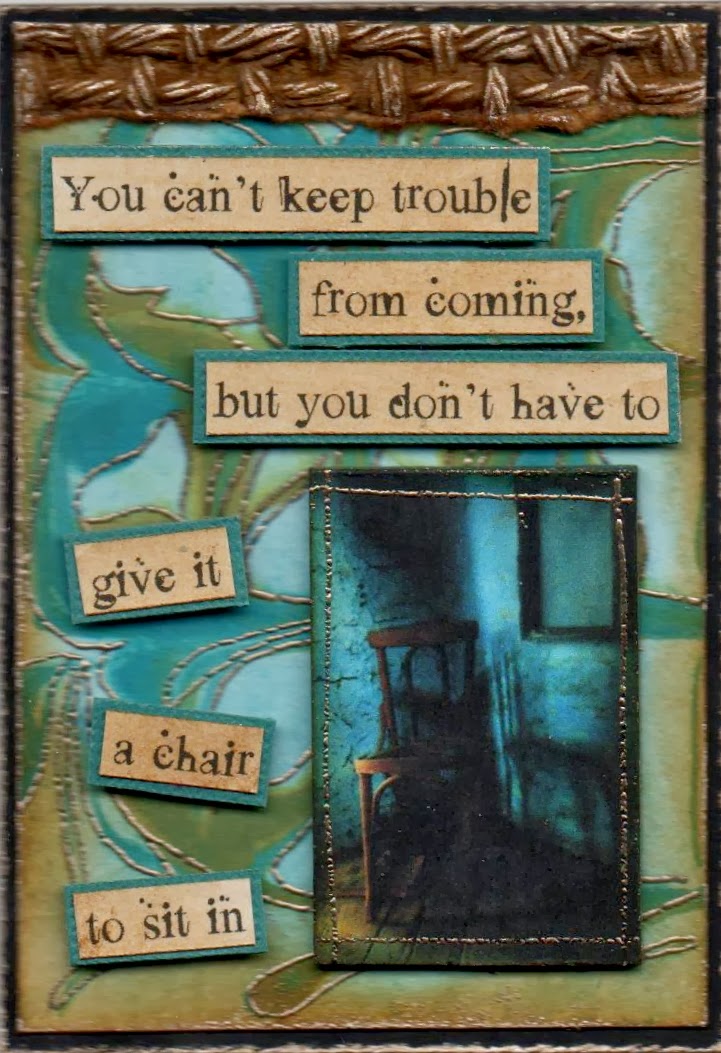
Just over three years ago I did a marbling technique using shaving foam and distress inks.  Because I have new students I'll be repeating this class but I like to add something different so the students who have stuck with me all this time can have a play with an old technique, but with a twist.  I'll be using embossing as a way of highlighting the wonderful swirls and patterns you can create with the marbling technique on the card stock.  Love how different all these backgrounds turn out and how the little addition of embossing applied with the special Eraser Max pen can alter how it looks.  The Eraser Max pen does such fine lines that it doesn't overpower whatever you use it on but if you want to do a heavier application, you just scribble with it to colour in an area and it will emboss a larger area if you wish.
 
"Two languages"...
 
"A chair to sit in"...
 
"Despair"...
 
 
These next two are the remaining samples from my previous class, Flooded Alcohol.
 
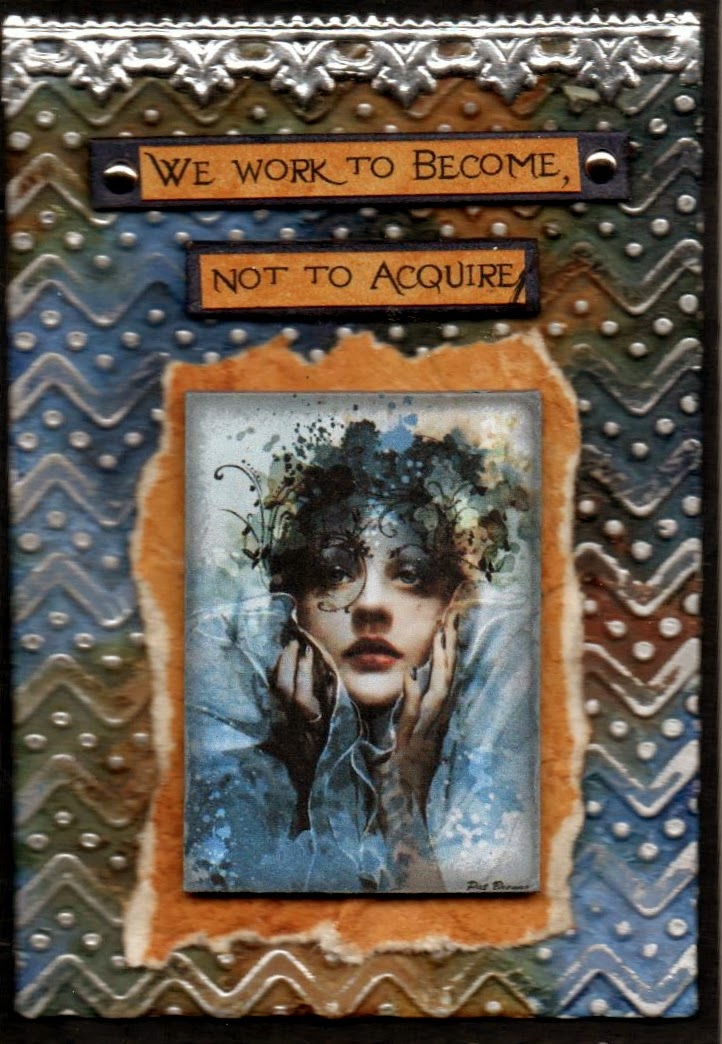
"Work to become"...

"Elusive"...
 
More Marble Emboss to follow.... if you want to check out my previous
Marbling atc's, go here.


Tuesday, October 22, 2013

FLOODED ALCOHOL

We used Alcohol Inks in a class a few weeks ago so I thought as I had the girls drag theirs out from hiding, we might as well continue with Alcohol Inks in another technique.  This one is based on a technique I saw on you-tube.... which of course I can't find now.  I knew I should've book-marked it!  Anyway, I went ahead and had a play and it worked out just fine from what I could remember.  Foil tape as a base, run through the Big Shot (or Cuttlebug) with an embossing folder of choice, painted with Gesso, dried then flooded with Alcohol Ink, hence my Flooded Alcohol name for this technique.  I also sanded back some of the Alcohol Ink to get the silver foil tape to show through, just for a distressed look and so it shows the texture of the embossing folder more as well.  Whoever did this on you-tube.... thank you!   I think I did it slightly different from the original one I saw but this still worked fine as far as I'm concerned. 
 
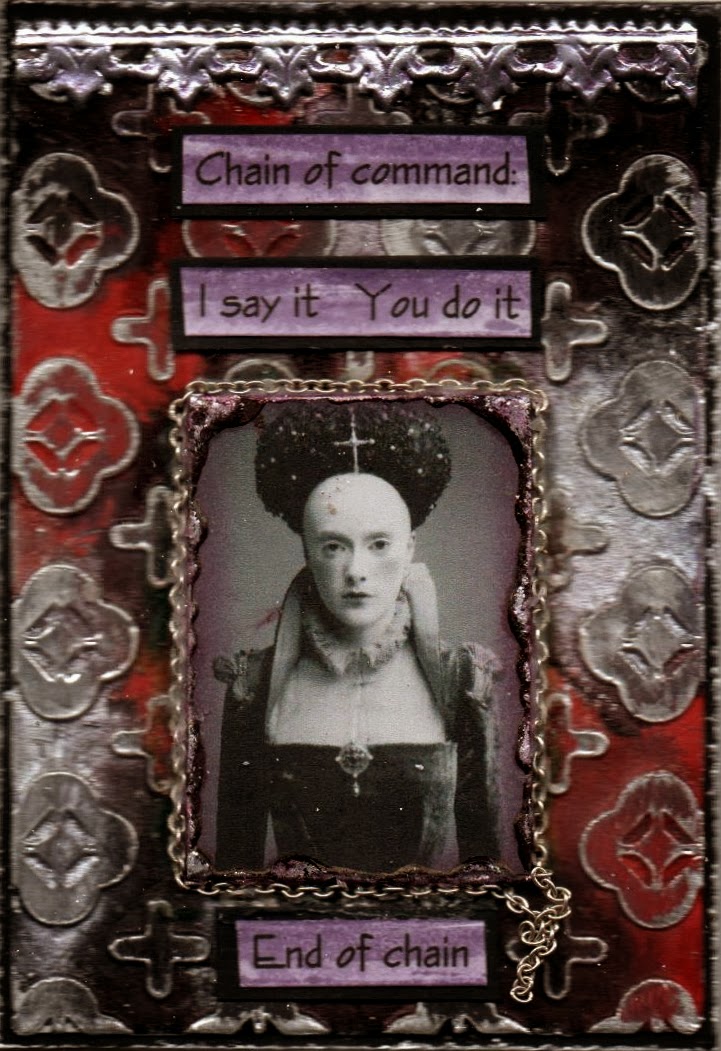
"Chain of command"...

"Canvas"...
 
"Ambivalent"...
 
"Enchantress"...
 
"Old Age"...

Below are a couple of more samples from the previous class - Noodle Embossing.

"Contemplation"...

 
"The kind of glance"...

Wednesday, October 9, 2013

Noodle Embossing

I had seen a couple of posts on the internet about using those silicon basting brushes as a way to do embossing.  The beauty of these brushes is, unlike an ordinary paint brush, the noodle type bristles separate and can place more randomly spaced lines on the card.  The other really unusual thing about this particular technique is no embossing ink is used.  (Note:  K-Mart sell the noodle brushes for $2 each!!!)
 
Generally when you do embossing, it's embossing ink onto a stamp and then pour your embossing powder on, tip off excess and heat the design to get the beautiful embossed stamped image.  There really is no other way to get this more random, organic effect than with the noodle brush and, wait for it....... water!   You need to work quickly so the water doesn't dry, don't use too much water and a low blow heat gun works the best as it won't blow all your embossing powder everywhere before it has a chance to heat and melt.  If you don't have the Ranger low-blow heat gun you can use a normal one, just heat from the underneath of the card and watch the embossing powder on the top as it melts and try not to burn the underneath of the card.   The smell should give it away, nothing like the smell of burnt card stock!!!  After the embossing is done you can go to town using your Glimmer Mists or Starburst Stains or whatever other shimmer sprays you have.  Here's my samples.
 
 
"Disenchanted"...
 
"Fragile"... (the tape up the top and down the bottom is
gold washi tape with one of my clear
sticky words placed on it)
 
"Obedient"... (this is me being my obedient wifely self.... lol... nope!)

"Nocturnal Spirit"... (love the organic effect of the stick
and the string on this one)
 
"Eternal Dreamscape"... (the shimmery paper up the top, which
you probably can't see very well, is actually some
gift wrap that I've had for years and use little
bits of it occasionally on my atc's.  It's very shimmery
and is quite crinkly, very hard to describe.  Keep your
eyes open for good gift-wraps to use!)
 
"Mystic"...
 
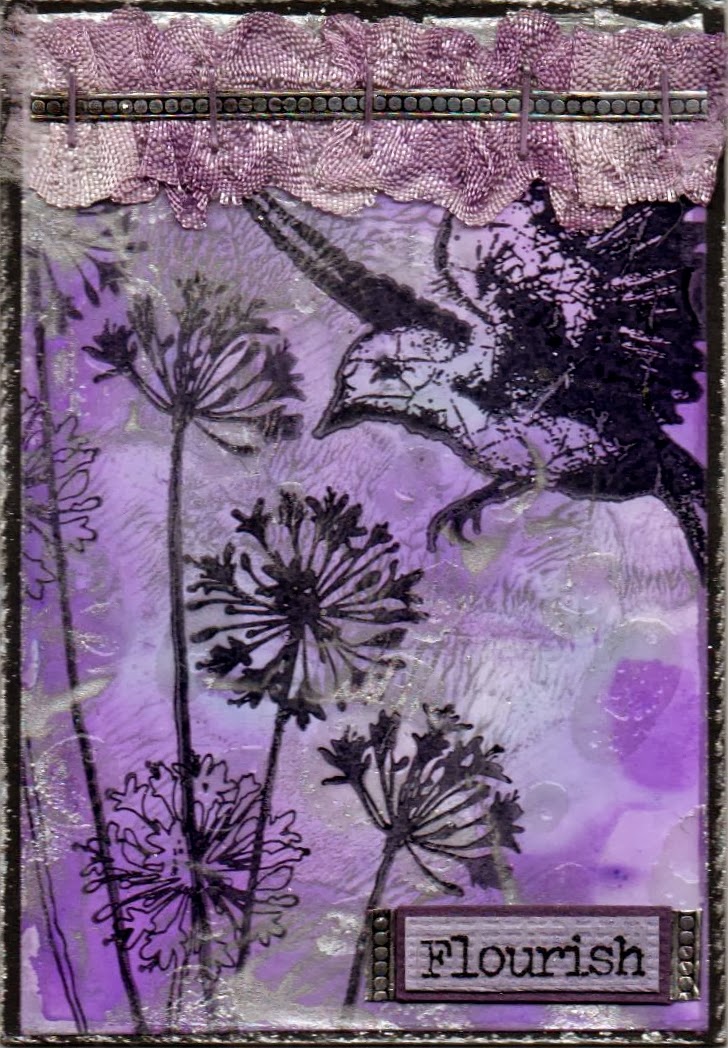
Finally one more sample from the previous class, Alcohol
Acetate Smoosh.
"Flourish"...
 
More Noodle embossing to follow.....