Tuesday, October 22, 2013

FLOODED ALCOHOL

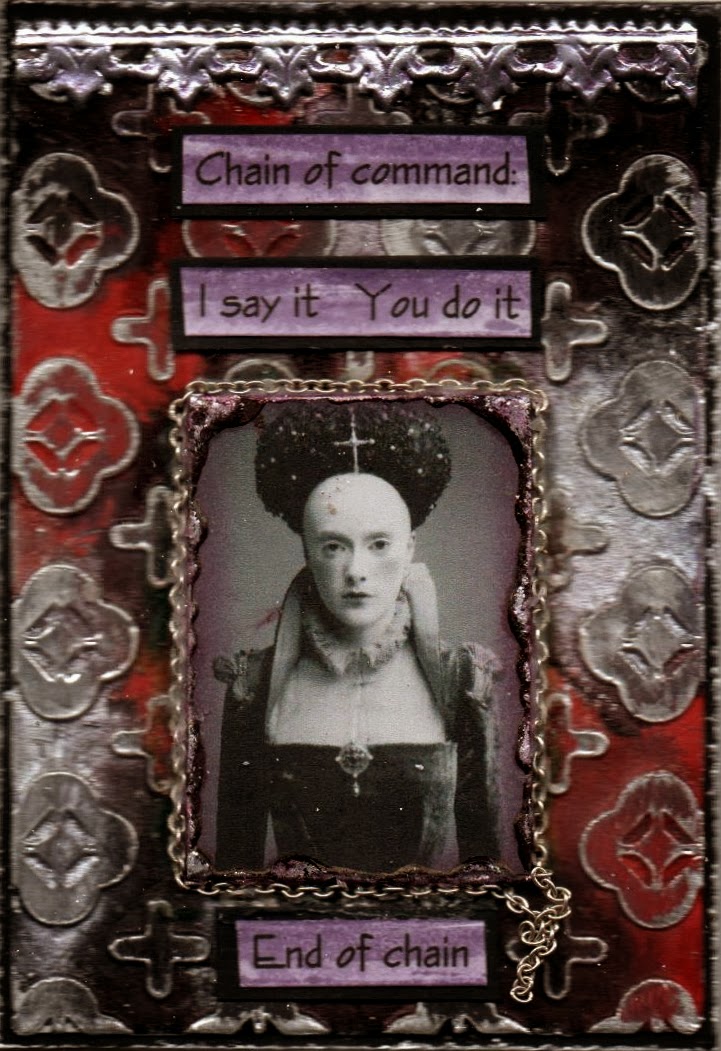
We used Alcohol Inks in a class a few weeks ago so I thought as I had the girls drag theirs out from hiding, we might as well continue with Alcohol Inks in another technique.  This one is based on a technique I saw on you-tube.... which of course I can't find now.  I knew I should've book-marked it!  Anyway, I went ahead and had a play and it worked out just fine from what I could remember.  Foil tape as a base, run through the Big Shot (or Cuttlebug) with an embossing folder of choice, painted with Gesso, dried then flooded with Alcohol Ink, hence my Flooded Alcohol name for this technique.  I also sanded back some of the Alcohol Ink to get the silver foil tape to show through, just for a distressed look and so it shows the texture of the embossing folder more as well.  Whoever did this on you-tube.... thank you!   I think I did it slightly different from the original one I saw but this still worked fine as far as I'm concerned. 
 
"Chain of command"...
"Canvas"...
 
"Ambivalent"...
 
"Enchantress"...
 
"Old Age"...

Below are a couple of more samples from the previous class - Noodle Embossing.

"Contemplation"...

 
"The kind of glance"...

Wednesday, October 9, 2013

Noodle Embossing

I had seen a couple of posts on the internet about using those silicon basting brushes as a way to do embossing.  The beauty of these brushes is, unlike an ordinary paint brush, the noodle type bristles separate and can place more randomly spaced lines on the card.  The other really unusual thing about this particular technique is no embossing ink is used.  (Note:  K-Mart sell the noodle brushes for $2 each!!!)
 
Generally when you do embossing, it's embossing ink onto a stamp and then pour your embossing powder on, tip off excess and heat the design to get the beautiful embossed stamped image.  There really is no other way to get this more random, organic effect than with the noodle brush and, wait for it....... water!   You need to work quickly so the water doesn't dry, don't use too much water and a low blow heat gun works the best as it won't blow all your embossing powder everywhere before it has a chance to heat and melt.  If you don't have the Ranger low-blow heat gun you can use a normal one, just heat from the underneath of the card and watch the embossing powder on the top as it melts and try not to burn the underneath of the card.   The smell should give it away, nothing like the smell of burnt card stock!!!  After the embossing is done you can go to town using your Glimmer Mists or Starburst Stains or whatever other shimmer sprays you have.  Here's my samples.
 
 
"Disenchanted"...
 
"Fragile"... (the tape up the top and down the bottom is
gold washi tape with one of my clear
sticky words placed on it)
 
"Obedient"... (this is me being my obedient wifely self.... lol... nope!)

"Nocturnal Spirit"... (love the organic effect of the stick
and the string on this one)
 
"Eternal Dreamscape"... (the shimmery paper up the top, which
you probably can't see very well, is actually some
gift wrap that I've had for years and use little
bits of it occasionally on my atc's.  It's very shimmery
and is quite crinkly, very hard to describe.  Keep your
eyes open for good gift-wraps to use!)
 
"Mystic"...
 
Finally one more sample from the previous class, Alcohol
Acetate Smoosh.
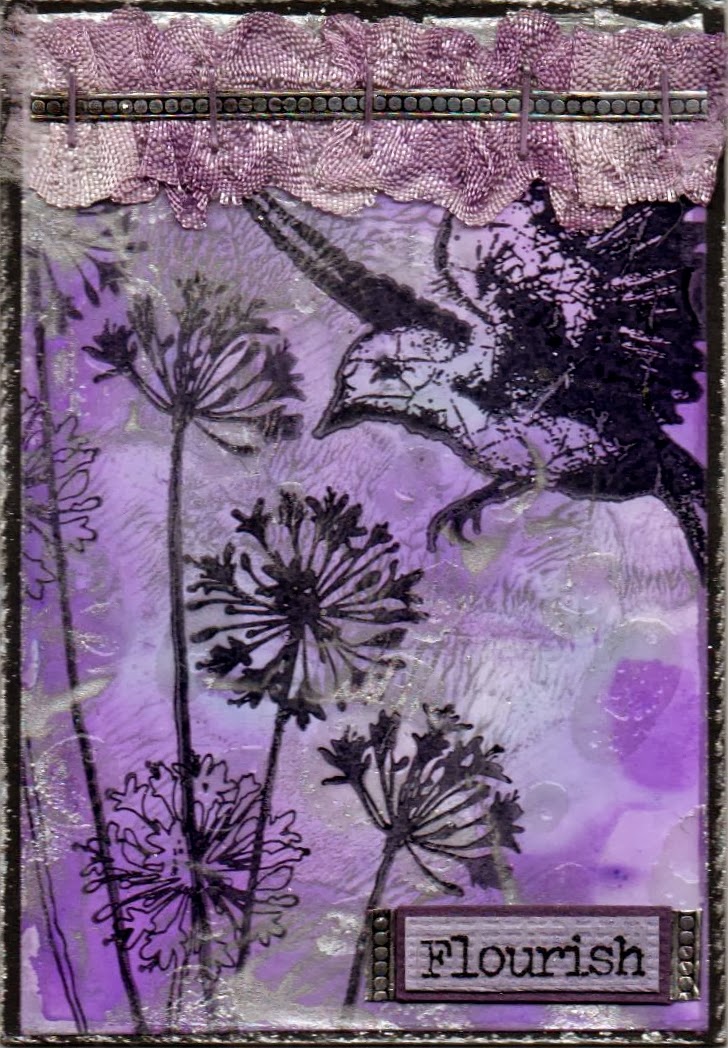
"Flourish"...
 
More Noodle embossing to follow.....


Friday, September 27, 2013

Alcohol Acetate Smoosh

The technique for this fortnight's class is called Alcohol Acetate Smoosh.   I wanted to use alcohol inks on acetate as I know how wonderful they look when placed against a light coloured background.  Usually you would stamp an image on the un-inked side of the acetate and place the ink down against the card to protect it and the light coloured card stock would show not only the wonderful ink colours, but the stamping as well.   This technique incorporates that technique but also uses the fantastic properties of glossy card stock as it also takes alcohol ink really well!    So we've all done Tim Holtz's Distress Ink Pad smoosh technique on craft sheets but I wanted to do a similar thing but using the acetate on one side and the gloss card on the other.   This way you get two pieces of wonderfully coloured background to work with. 
 
There are several ways to treat the card and acetate once it's coloured.  The first sample below "Horticulture" is the gloss card with Red Pepper, Pitch Black and Silver Alcohol Inks, then stamped with Black Archival Ink.  You can see how wonderfully the silver actually shows up and this would have to be one of the first times when I've seen Pitch Black actually behave as a black.  Sometimes it ends up a weird dark purple colour, depending on what you are doing it on.  The sample below is the acetate piece that was smooshed against the gloss card, then the image was stamped on white card stock and the coloured acetate was layered over the top.  Wonderful!!!
 
"Horticulture"

"Rules"...
 
"Wicked Intention"... (This one has the coloured acetate layered over a stamped image that was
stamped onto a piece of book paper instead of plain card stock.)

"Black Bird"... (This is the gloss card piece of the acetate/gloss card smoosh
from above.  The moon is a small piece of acetate
that has been coloured with alcohol inks
then layered over a piece of foil tape to give it shine. 
This was layered under a hole that was punched in the atc.)
 
"Destiny"... (Alcohol Ink on acetate and then stamped onto the
un-inked side of the acetate, layered over a buff coloured
piece of card stock.)
 
"Like a Star"... (This stamp was stamped onto a piece of white card stock, then
coloured with markers and a coloured piece of acetate layered over the top.)
 
"No Fear"... (Alcohol Ink acetate layered over stamped image on white card stock).
 
 
I know people have some difficulty in working out how to attach acetate to cards.  As you can see from some of the samples above, I stitch the layers together using a sewing machine, you can also run the acetate piece through a Xyron sticker maker machine to add adhesive as it's pretty clear (you can't use JAC paper, it's too milky).  I have also used a very thin double-sided tape around the 4 edges to attach some of them and if the adhesive shows up you can also disguise this with thin German Scrap or similar (as in the sample above called "Destiny").  Of course you can also use brads or even the Tim Holtz Tiny Attacher (mini stapler) but just make sure that you have no buckling in either the acetate or the card behind and they both lay nice and flat against each other.

Tuesday, September 10, 2013

Paper Trapunto

Trapunto is a quilting technique where an area is raised by the addition of stuffing between two layers.  It's actually more complicated than that but this explanation will do for this technique.  I first learnt how to do Trapunto when I was making cloth dolls several years ago before I ventured into the paper-craft world.  I was going to teach my students how to do a trapunto technique using fabric but thought about what's actually required with sewing machines etc and figured there must be an easier way to do it with paper.  Well, there is... and even though you can't see it in these pictures, there is a section on each atc that is raised above the rest and is about 2-3mm higher than the rest.   It needs to be a large enough section of a stamped image to raise and fairly simple in shape.  Cotton wool balls are the secret and the images are coloured using watercolour pencils.  Think this technique is going into my next Technique book that I hope to have ready by about November this year,
just in time for Christmas!
 
"Exhibit A"... (raised area is the pointy brick hat)

"What is art"... (raised area is the body of the urn)
 
"See me"... (raised area is the rectangular body)
 
"Lather"... (raised area is the skirt - this one also incorporates
micro beads from a previous class)
 
 
There will be more samples to follow and I'll try and get a side-on picture so you can see the raised area as it's really not noticeable on these scans....it also doesn't help if you squash down the atc on the scanner bed so you can get a clear picture!!!   ;-)
 
These images below are from previous classes.  The first one is from Faux Brick and the other 3 are from the Micro Beads class.
 
"Lash"... (Faux Brick class)
 
"Mesmerize"... (micro beads class)
 
"Diamonds"... (micro beads class)

"Steampunk"... (micro beads)

Wednesday, August 28, 2013

Faux Brick

The technique for this fortnight is called Faux Brick.  I've had a scrap of scrapbook paper floating around in my off-cuts box for a while that is like a stone brick wall which is where the inspiration for this technique came from.   On some of my samples I've stamped the Faux Brick over the top of one of my previous classes where we did Wax Resist.  This gave a little more texture to the bricks.  But it can be done just on plain white card stock.  The Faux Brick is stamped with Distress Inks and another darker colour is added to the edges to give depth and definition to the bricks.  Of course, it's sort of hard to see the bricks with some of the eye-candy I have on my atc's!  Always a problem, but one that I'm happy to put up with.  :-)
 
"Steak"...

 
"Hot"...
 
"Sticks & Stones"... (the metal piece is one of Tim's
 little tassel embellishments!  You can also see
the wax resist showing through.)
 
"Never regret"... (this one is on plain card stock)
 
"Arrow of Truth"...
 
"Wilderness"...
 
 
These next two are from my previous class, Micro Beads.  I also have a couple more of
these samples to post but haven't finished them yet.
 
"Emotional baggage"...
 
"Depth of Life"... (See the little microbeads in the background?)

Wednesday, August 14, 2013

MICRO BEADS!!!

 Micro Beads are those little tiny glass or plastic hole-less beads that have been around for a long time and are making a come-back as nail decoration!!!   Check out Pinterest and put in Micro Beads and see all the nail designs.  I've never had nails that are long enough for nail polish, let alone micro beads so alas, all my micro beading is done on paper.  There's a few different ways to use these as an embellishment on atc's and cards.  Below are some of my samples from my upcoming Technique Class using micro beads.  I use Glossy Accents (Dimensional Magic) to adhere my micro beads.
 
"The Invader"... (for this one I've used corrugated card
as my base - love how the beads go in the
little funnels)
 
"Naughty"...
 
"What we see"... (Yes, it's pink!!!)
 
"What we see" - close-up so you can see the dimension.  I've actually
covered a chipboard square frame with the micro beads for this one.
 
 
"Observe"... (another one with corrugated card - an old atc from
my corrugated card class)

"Flighty"...
 
"Fly"... (same Dragonfly stamp but on fabric this time - also
 from a previous class)
 
"Let's pretend"... (micro beads over a stamped image to
create a design) 
 
 
More samples to follow...

Friday, August 2, 2013

Wax Paper Resist Technique

The technique for this fortnight's ATC class is Wax Paper Resist.  It's another background technique using wax paper (which has only JUST been available here again within the last couple of weeks here in Australia - Coles have it).  The wax paper is run through a Cuttlebug/Big Shot and then that is ironed onto card stock  -  glossy or plain  -  and the design of the embossing folder will act as a resist when you then add colour to the card.  I have used my favourite inks - Distress Ink Pads for this technique as I love the colours and the effect is just gorgeous!  Firstly though, here's the remaining ATC's from the previous Texture Paste & Stencils class.
 
"Vamp"... (I used Silver Viva Décor Modelling Crème (Modellier Crème) for the swirls)
 
"Vixen"... (the torn bits up the top and under the image is plain ol' black crepe paper!)
 
"Imagine"...

 Below are the samples for the Wax Paper Resist class.  As you can see, you can either stamp onto the background or you can use an image on it.  It's a very subtle technique and doesn't overwhelm whatever you put on top.  You'll see that I've used the same embossing folder for all these four samples.  I'll use others during my class so my next post will have different designs on the background.
 
"A flower"...
 
"Eye Candy"...

"Timeless"... (this one is on gloss paper with a photo stamp)
 
"Spirituality"...