So starts a New Year! At
Scraptivate we've kicked off 2010 by getting a Ning site going where there'll be lots of wonderful eye candy of all types, challenges, helpful hints as well as lots of discussions on all things papercraft. If you want to join, click
here. There's also a button on the top right of my blog, roll over it with your mouse and click "join", it'll take you to the home page.
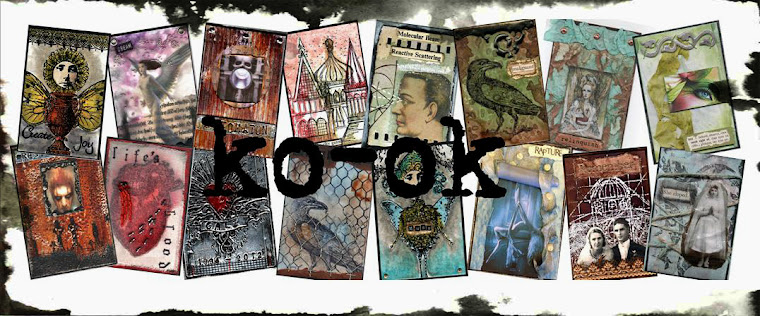
I have to give you 2 more Adam Lambert atc's.....I know, it's a BIG effort to have to look at him but what a great way to start the New Year off!!! The first atc came together really quickly, it's very simple so I thought I'd explain it in detail.
I did an inkjet transparency transfer (Dataline Transparency) onto a piece of book paper, actually a page from a book called Love Bites, all about love throughout the World. This was taken from a small excerpt from the Kama Sutra...hence the name on the atc. Don't worry, there's nothing explicit in the writing, check it out by enlarging and read for yourself.
So after doing the transfer and tearing the bottom of the page for added visual interest (like he needs it!!!), I used a bit of Walnut Stain Distress Ink for colour over the page, then added a torn piece of walnut stain coloured chipboard up the top with Tim's Tiny Attacher (coloured the staples with a brown sharpie first). I then used Tim's little screw brads down the right, flicked on some Bronze Golden brand paint with a spatter brush (I used a piece of scrap paper to cover his face before flicking the paint). Then added the Kama word from the book onto some chipboard and edged it with Gold rub'n'buff to finish the word off. All in all a very clean-ish looking atc with a little bit of grunge thrown in.
"Kama"...

Yep, loved the picture so much had to do another one. I also used Tim's stamps on this one as well, grunge alphabet for the A & L and one of his texture stamps as well as some round metal snaps, beaten slightly with Tim's texture hammer. I sure love my Ranger stuff!!!
"A L"...
Finally, another inkjet transparency transfer using the other well-known hottie, Johnny Depp in all his Cap'n Jack glory. For this one I used texture paste patted on with my finger and then painted to add the extra texture, gold rub'n'buff helps to highlight the texture. His face isn't all that clear, it's the foam pieces under the chipboard/mica doughnut piece that causes all sorts of problems for the scanner. The texture on the chipboard/mica square is also made by Tim's texture hammer...don't know why I put off buying one for so long! Love it!!!
"Jack"...

I've started the ATC Technique Book #3 cover and am ready to add paint today. Some of the moulds are ready but I think I need to have a bigger choice so I'm going to hassle my friends to loan me their moulds. Some peope don't like too many choices as it confuses them....me?...I love choices!
Hope your headache's not too bad, start 2010 off by doing some art.